
Grout or silicone in shower corners?
Distinguish joints between tiles from a change of plane between walls. Check how the junction is designed to move.
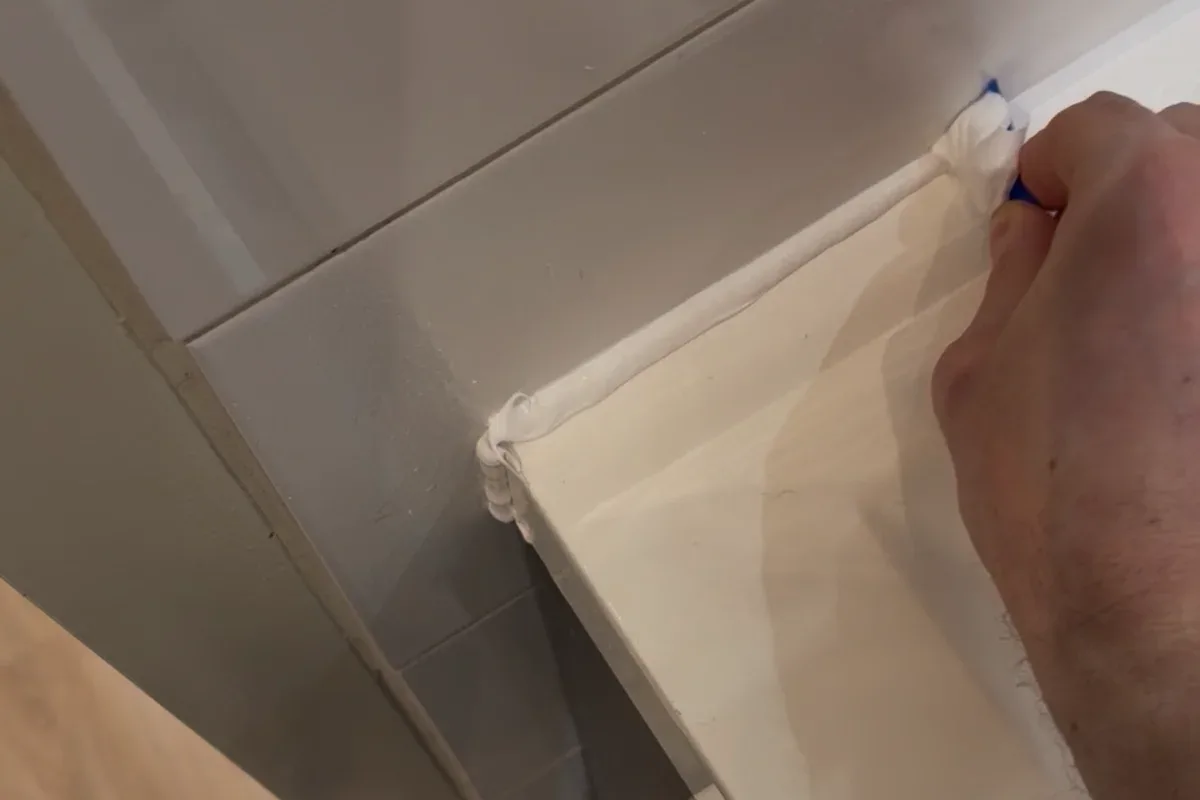
Internal corners: sanitary silicone. Flat joints in the same plane: grout. The silicone is the visible line; the built-in waterproofing sits behind the tile and is not improvised with a bead.
Buying through a product link may earn us a commission at no extra cost to you.
What changes where two walls meet
Where two walls meet, or wall meets floor, there is movement. Temperature, settlement, expansion: the corner works. Cement grout is rigid. It hairline-cracks, opens, and water gets in. That line takes silicone, at the end of the job, once tiling and grout have cured and the substrate is dry.
Between two tiles in the same plane, grout. If you are unsure whether a meeting can move, silicone. In the shower corner, silicone in front — and, on new work, a waterproofing band in the corner before the tiles go on.
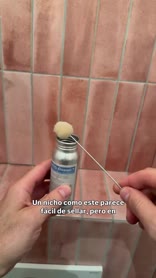
Before opening the cartridge, try the Presch silicone gun in the tightest corner. Check you can turn your wrist and release pressure at the end of the run.
Silicone is not the only barrier
An expensive mistake: thinking the bead is enough. The visible joint is the first line. The room should be watertight before the tile: band and slurry in the corners, behind. Silicone ages and sometimes peels without a show. Without the band, water goes into plasterboard or timber.
If the tiling is already on, you cannot always see that band. On a new strip-out, check it before the tiler closes.
Dry-fit the FUGENFUX profiling tool. Choose the edge that meets both sides without scooping out the middle, then tool the bead before a skin forms.
Order on a renovation
Tile and grout the flat joints; leave corners clean, V or U, free of grout. Wait 24–48 hours for adhesive and cement to give up moisture. Silicone on damp will not grab: vapour pushes the bead off. Degrease. Sanitary silicone — OTTOSEAL S100 on ceramic — with body. Tool it flat or slightly proud so water leaves the corner, not a channel.
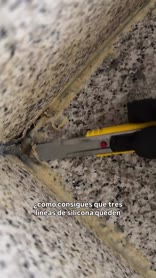
If tiles kiss on the arris, there is no mass. Leave about 5 mm. In wide corners, Backer rod: two-sided adhesion. Stuck in the point as well (three faces), the rubber cannot stretch and fails early.
If the sealant allows a Smoothing spray, use it sparingly when tooling silicone. Keep it off the bonding faces and check for staining before using it on stone.
Mistakes
“Same bag of grout for the corner”: pretty for a week, then hairlines. Sealing while the corner is still dark with moisture. Over cracked grout: a thin skin that lets go. Rake the cement out first.
Tools and materials for this job
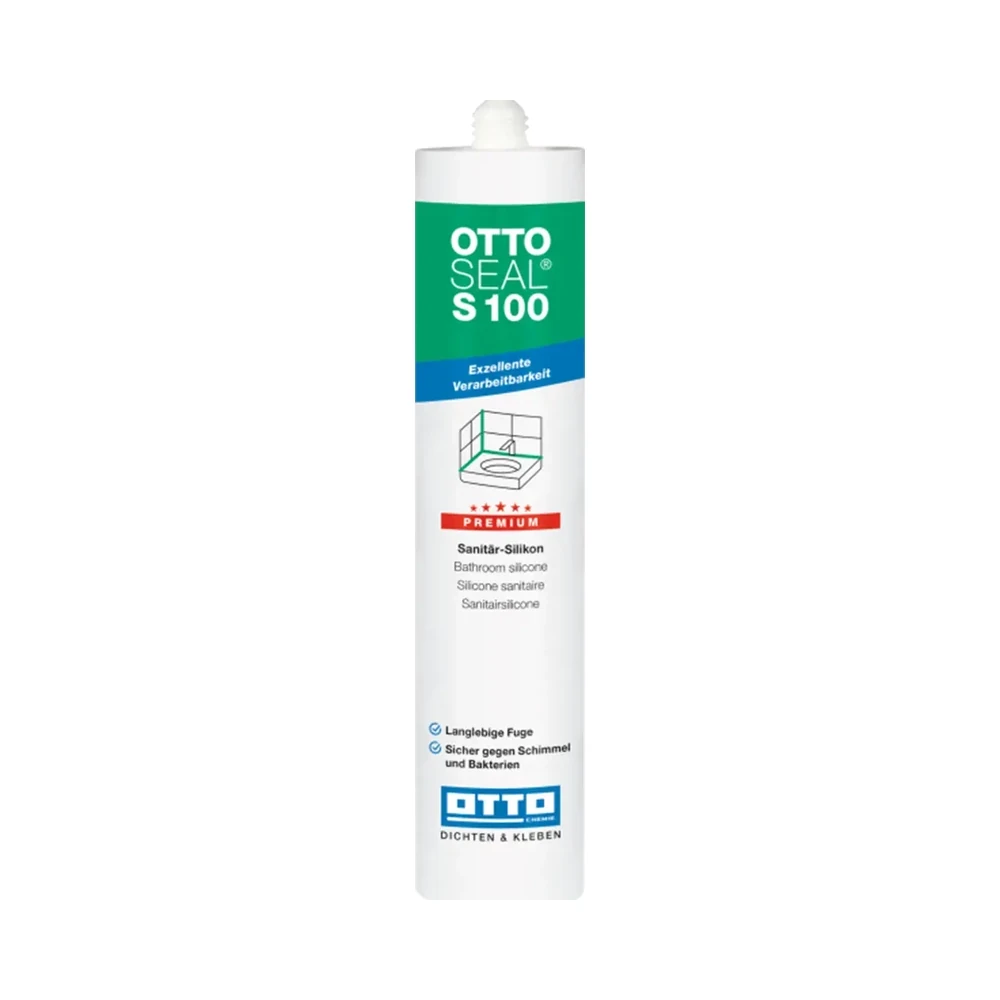
OTTOSEAL S100
Sanitary silicone for compatible surfaces. Check both edges before opening the cartridge.
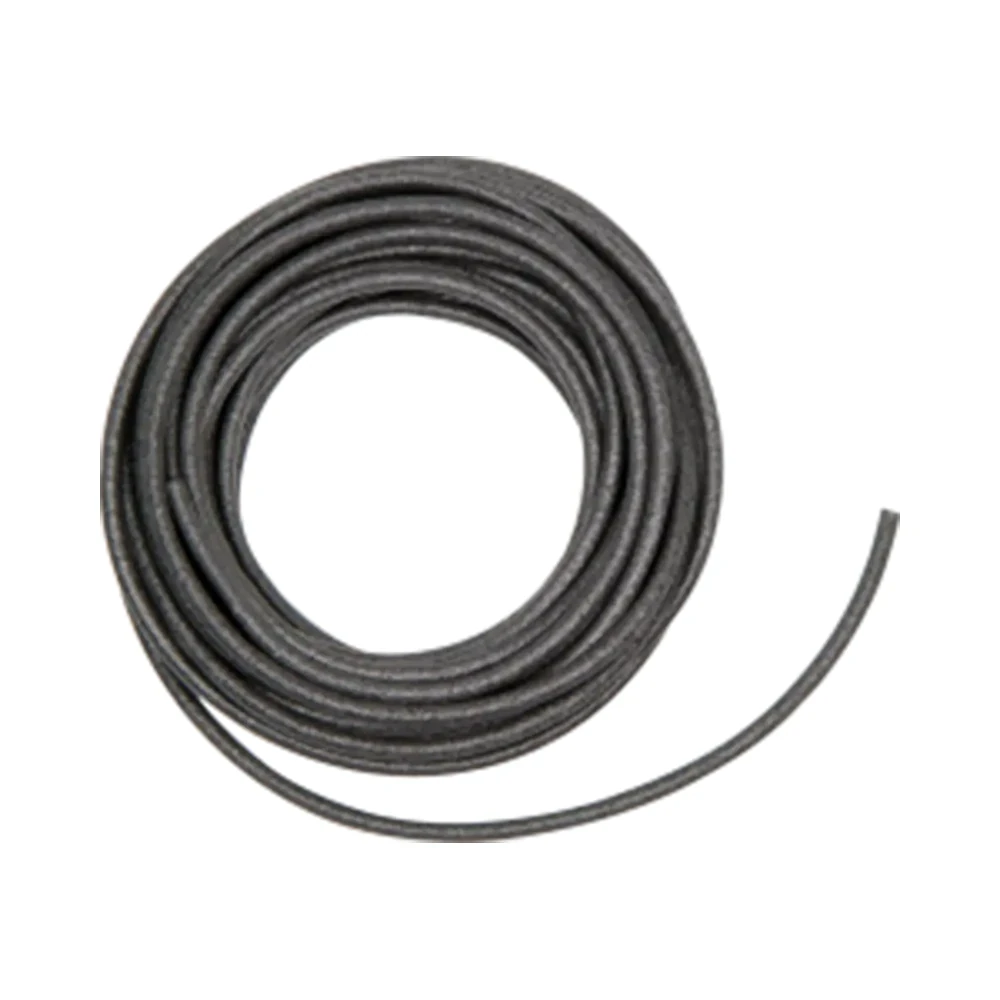
Backer rod
For depth control where specified. Choose the diameter to suit the measured width.

Presch silicone gun
Manual cartridge gun. Check you can release pressure in the last centimetre.

FUGENFUX
Profiling tool. Dry-fit the edge that reaches both sides of the joint.
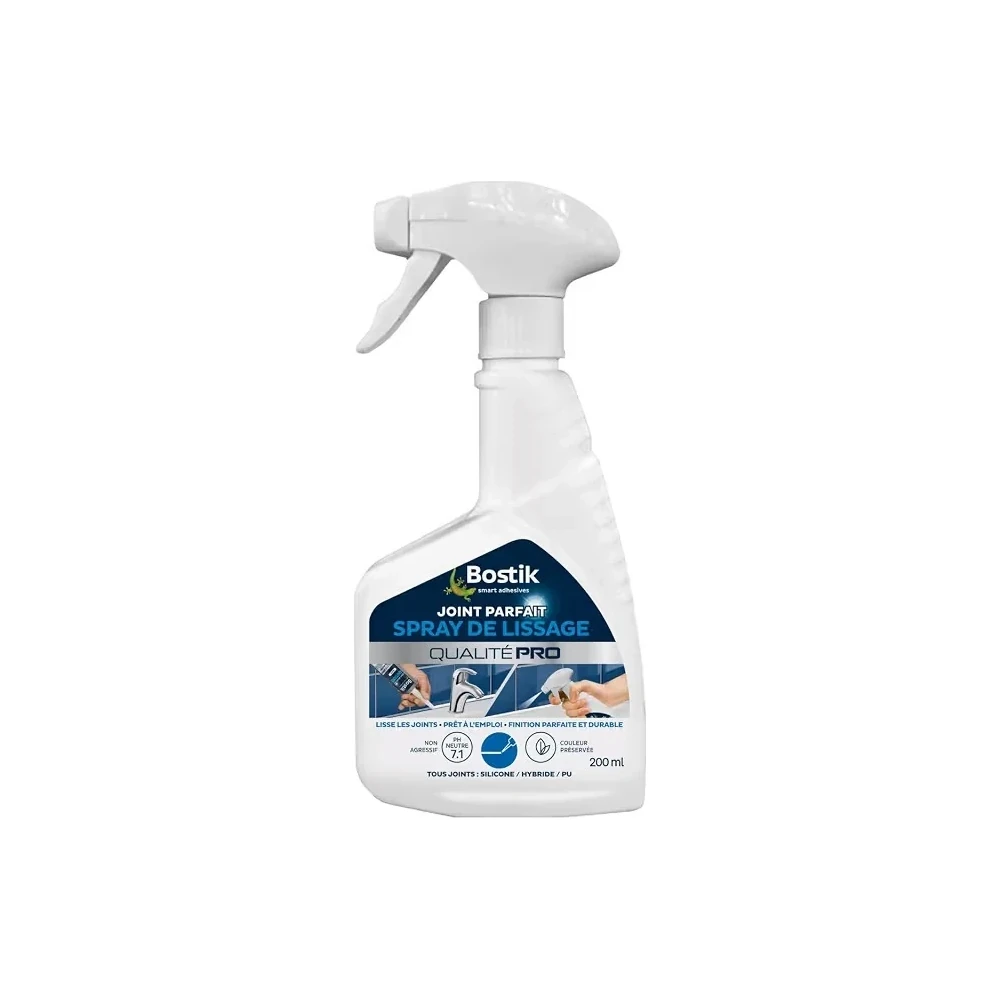
Smoothing spray
For tooling silicone where the manufacturer allows this agent. Keep bonding faces dry.
Exceptions
A flat meeting that does not move: grout. A corner that was grouted and has split: do not cap it; empty it and seal. Heavy sanitaryware: better to seal once it has settled, not with the tray still “in the air”.
-
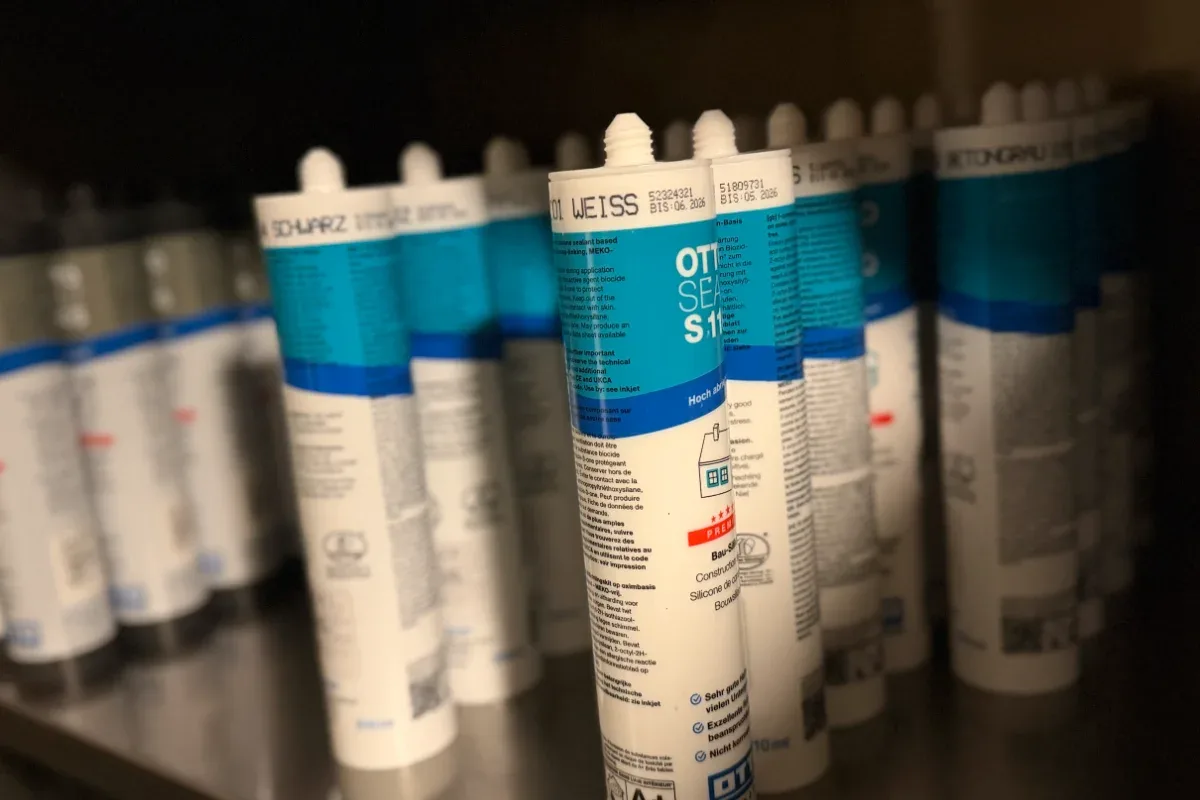
Which sealant should you use in a bathroom?
Start with the surface and water exposure. Tile, natural stone and a trim that needs painting call for different choices.
-
Movement joints in a tiled floor
Trace the joint and identify how the floor system allows movement. Rigid filler can crack again as the floor moves.
-
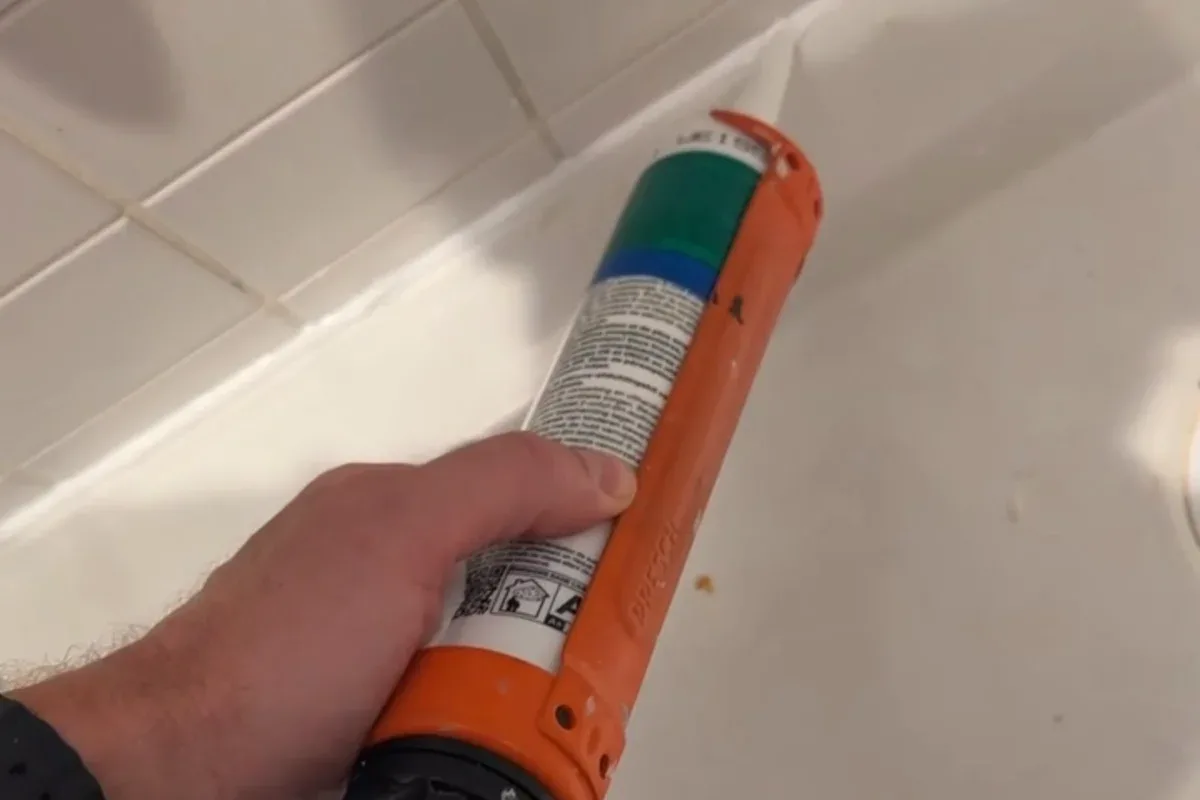
Why sealant needs two-sided adhesion
Look at a cross-section. The sides hold the bead. A third bond at the base restricts the material that can stretch.