
Which sealant should you use in a bathroom?
Start with the surface and water exposure. Tile, natural stone and a trim that needs painting call for different choices.
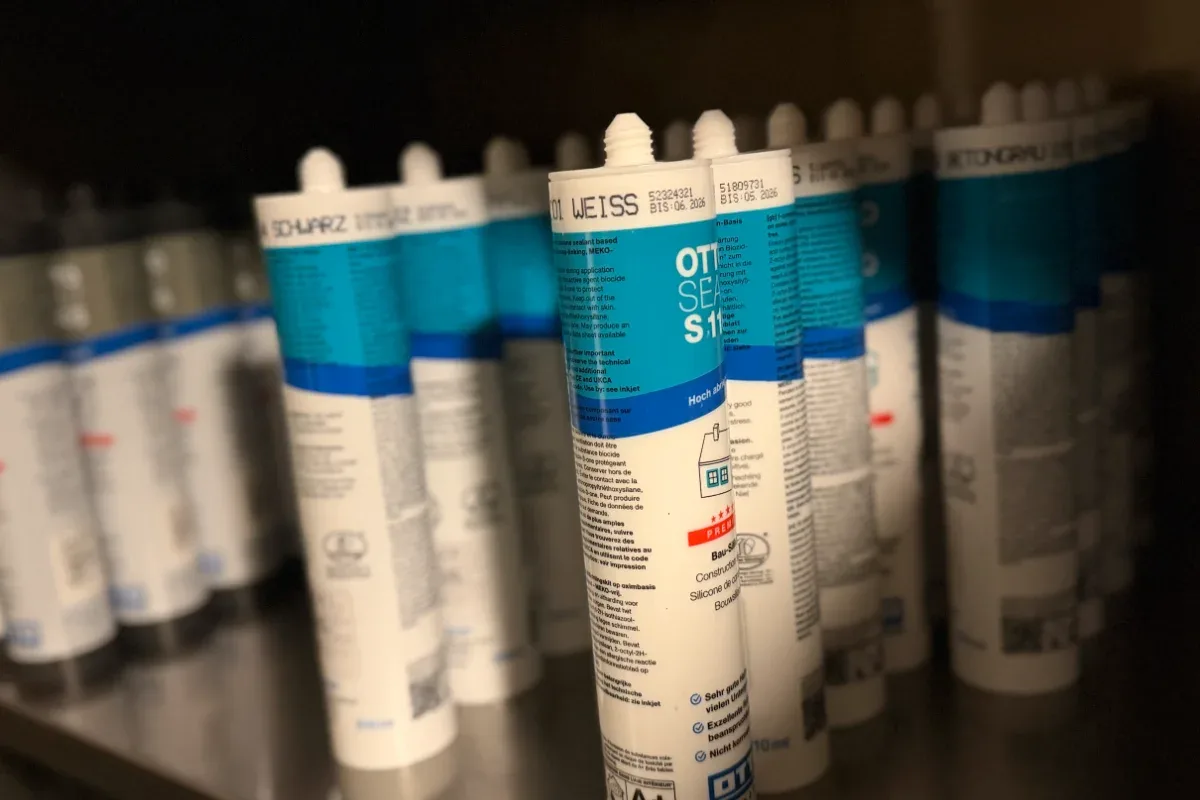
Shower, tray, bath and basin: sanitary silicone. Ceiling or skirting you will paint: acrylic sealant. Marble or granite: natural-stone silicone. Do not run a “universal” cartridge through the wet zone.
Buying through a product link may earn us a commission at no extra cost to you.
Choose by surface and water exposure
On meetings that see water — shower corner, tray, bath, basin — I want sanitary silicone: elastic, water-shedding, with fungicides. Tile moves a little; acrylic moves more. A stiff sealant opens.
On dry meetings you will paint — ceiling, a door lining, sometimes skirting out of splash — acrylic sealant. It is water-based, it takes paint, and it is not meant to sit in a puddle.
Hybrid or MS: when you need to paint a meeting outside the wet zone, or a very specific substrate. It is not the shower shortcut. Silicone does not bond on moisture; hybrid sometimes will, but “a bit damp” on a tray is still a bad idea. Dry first.
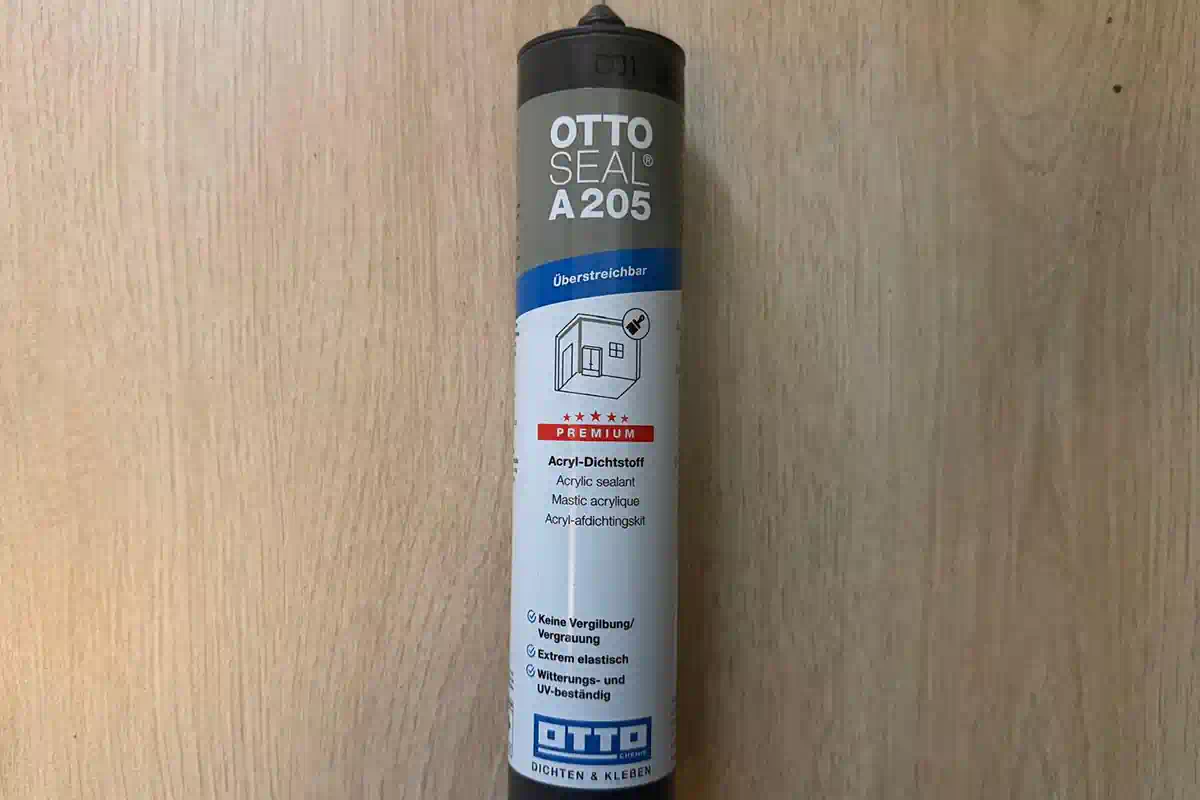
For a dry interior joint that will be painted, check the expected movement against the data sheet for OTTOSEAL A205. Try the finish with your actual paint.
Stone and the cheap cartridge
Marble, granite, agglomerate: natural-stone silicone, without plasticisers that stain the edge. Ordinary shower sanitary is not that chemistry.
The five-euro cartridge is often full of fillers. They evaporate, the bead shrinks, it pulls the flanks and leaves hairline cracks. Fungicides fade early. On ceramic I use OTTOSEAL S100; on stone, the stone line. I want it to stretch and come back.
If one edge is marble or natural stone, trial OTTOSEAL S70 on an offcut and check the tooling agent before touching the visible surface.
Before opening the cartridge, try the Presch silicone gun in the tightest corner. Check you can turn your wrist and release pressure at the end of the run.
How to apply it (colour is the easy bit)
Old silicone out, film included. Technical degrease, not glass cleaner. In deep joints, PE backer rod so you do not bond on three faces. Primer if the substrate needs it — acrylic tray rims, often. Push the mass in; tool with a neutral liquid.
For a compatible floor covering, consider OTTOSEAL S125 only where the floor manufacturer permits an elastic joint. Keep required expansion clearances free.
Acetoxy or neutral
Acetoxy smells of vinegar and, on glazed tile, holds up well. It can attack aluminium and some plastics. Neutral is kinder to metals and acrylic. In a mixed bathroom I choose by meeting, not “one tube for the lot”.
If the sealant allows a Smoothing spray, use it sparingly when tooling silicone. Keep it off the bonding faces and check for staining before using it on stone.
Mistakes
Acrylic in the shower: it softens or washes out. Silicone over old residue: it will not grab. Washing-up liquid when tooling: goodbye fungicides. Paint on silicone: paint will not stick; if it has to be painted, it was not silicone.
Dry-fit the FUGENFUX profiling tool. Choose the edge that meets both sides without scooping out the middle, then tool the bead before a skin forms.
Tools and materials for this job
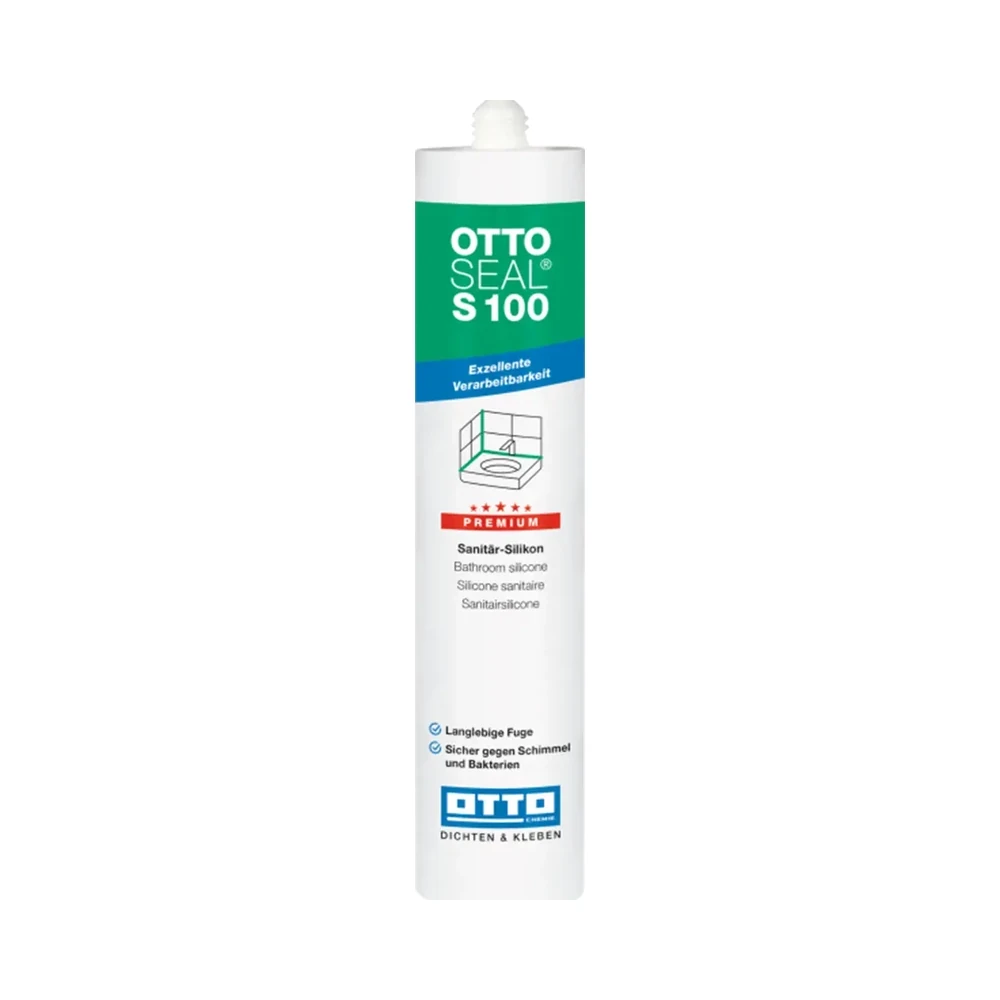
OTTOSEAL S100
Sanitary silicone for compatible surfaces. Check both edges before opening the cartridge.
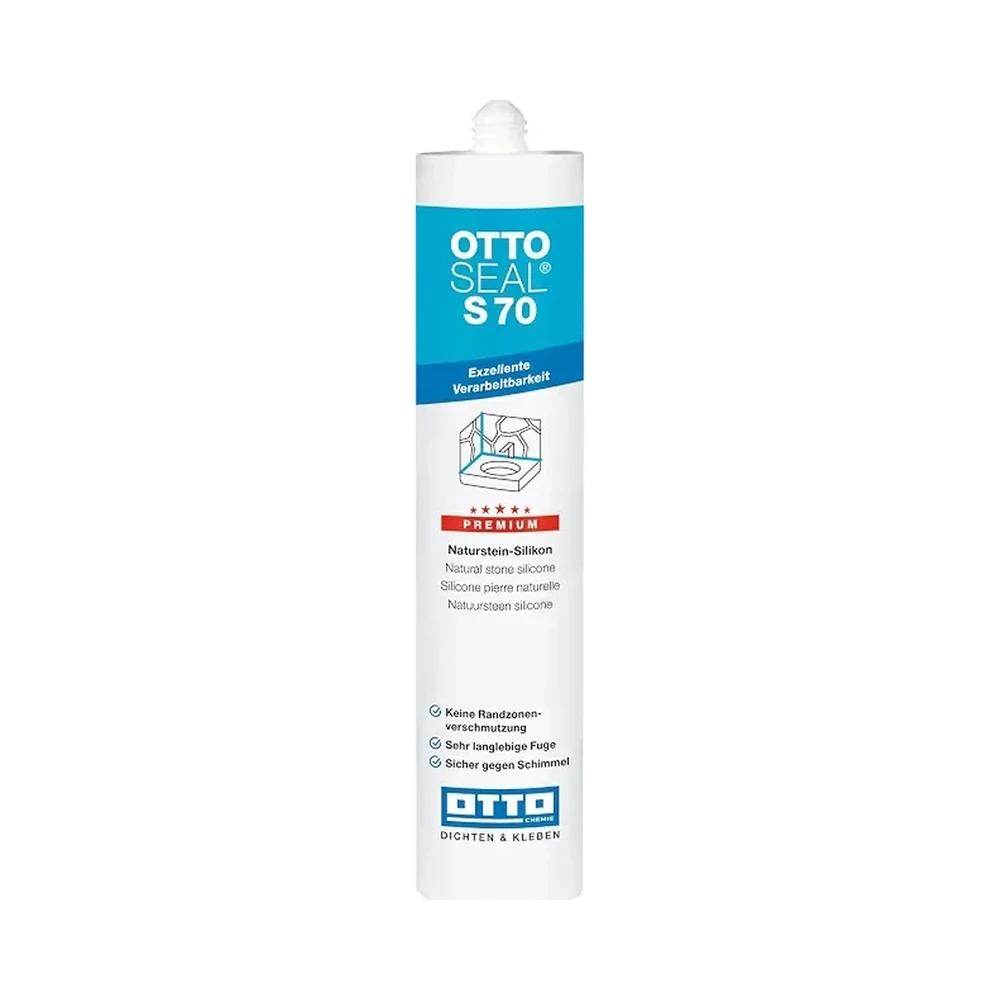
OTTOSEAL S70
For compatible natural stone. Test colour and finish on an offcut.
OTTOSEAL A205
For a dry joint that will be painted. Check movement and paint compatibility.
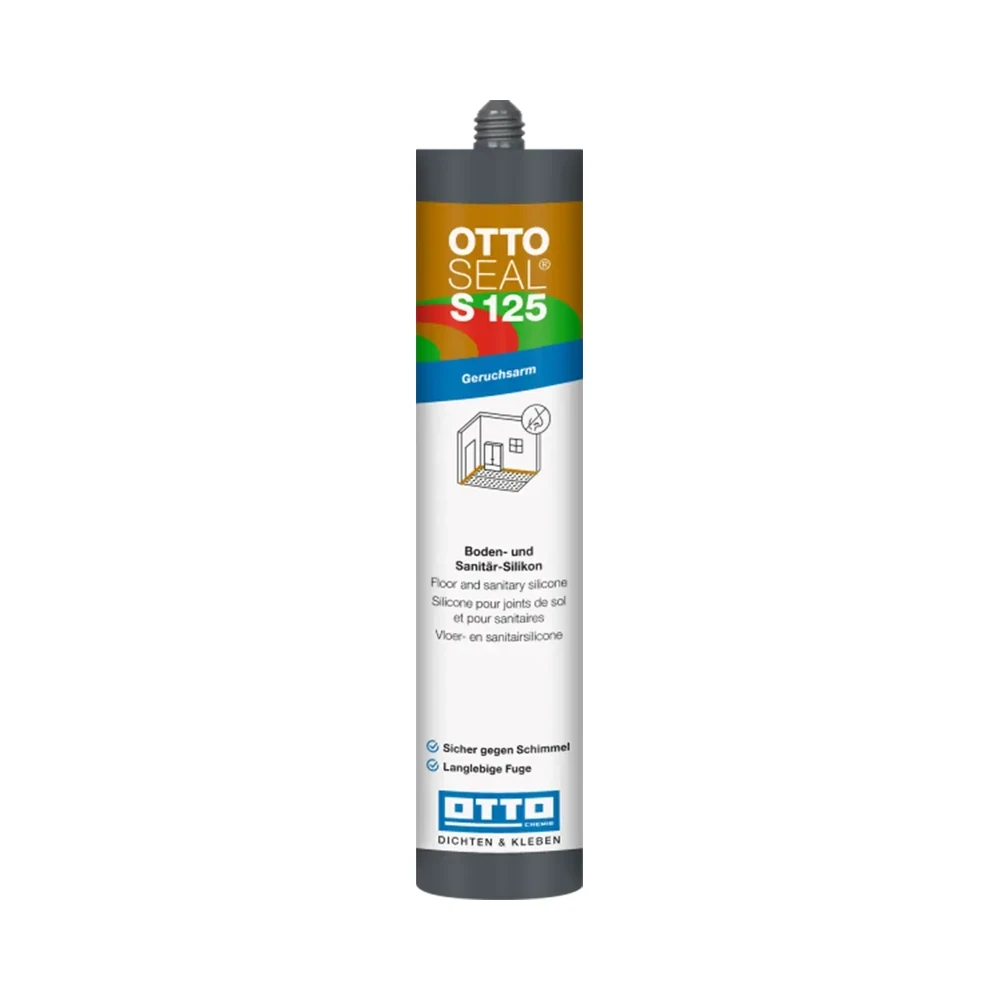
OTTOSEAL S125
For a compatible floor joint where sealing is allowed. This is the sealant, not a colour chart.

Presch silicone gun
Manual cartridge gun. Check you can release pressure in the last centimetre.

FUGENFUX
Profiling tool. Dry-fit the edge that reaches both sides of the joint.
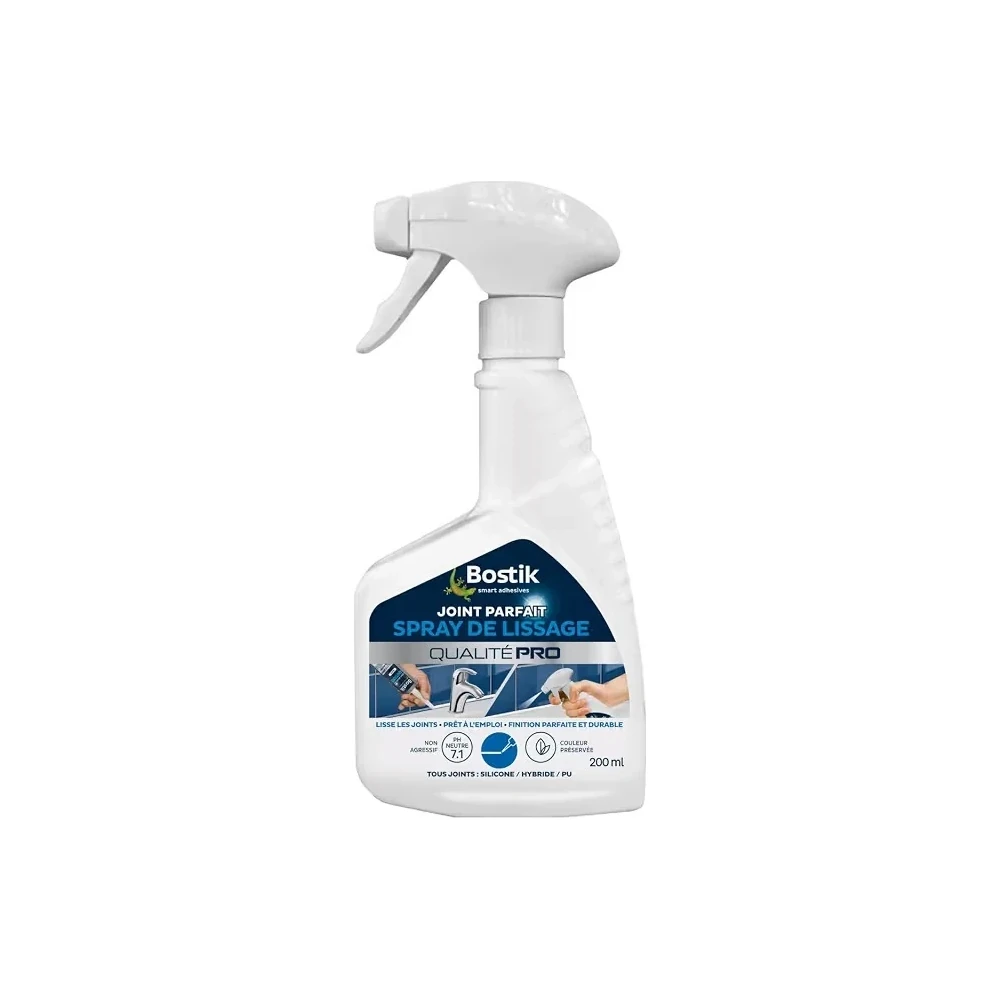
Smoothing spray
For tooling silicone where the manufacturer allows this agent. Keep bonding faces dry.
Exceptions
Substrate still damp: wait. Primer only where it is needed — well-degreased glass and ceramic often do not. Typical cure: around 2 mm a day; a shower joint often wants 24–48 hours before water load, longer if it is thick.
-
Where can acrylic caulk be used in a bathroom?
Distinguish painted trim in a dry area from a shower corner. Check the permitted exposure before choosing acrylic.
-
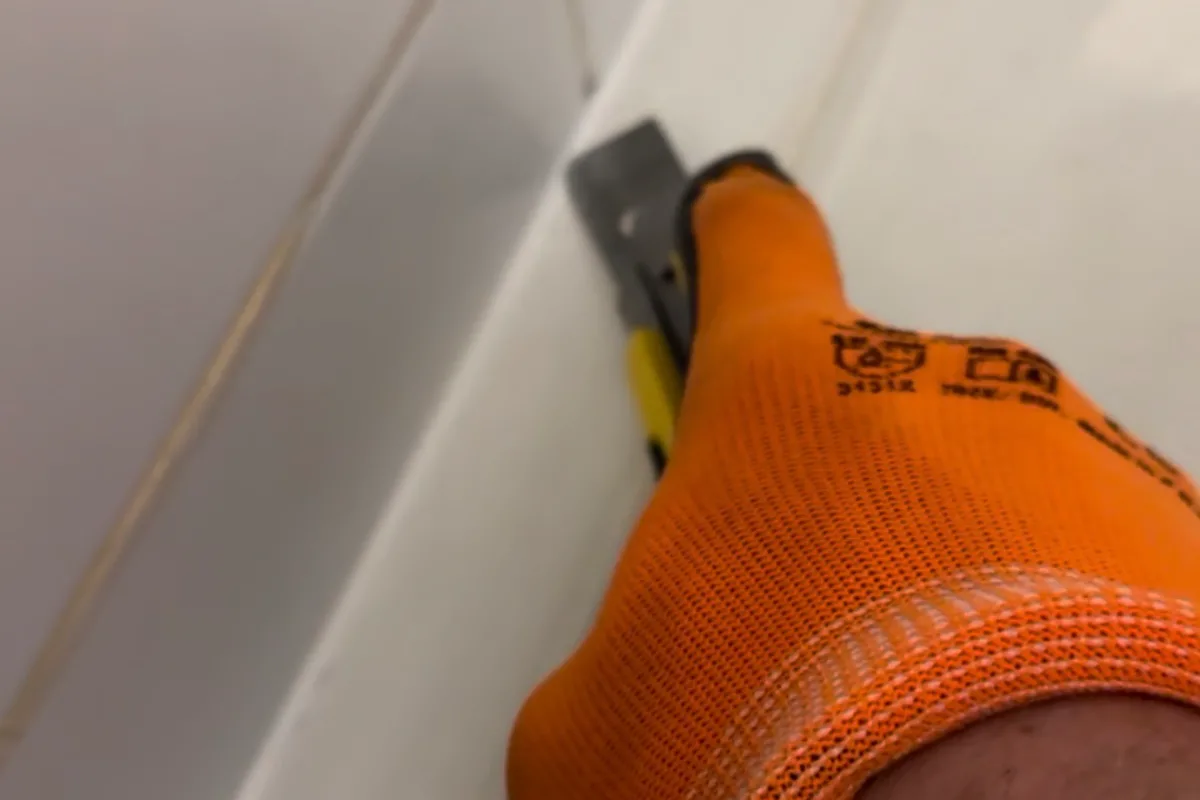
Silicone or acrylic: which fits the joint?
Decide whether the joint must accept paint, water or movement. Those answers narrow the choice before you open the cartridge.
-
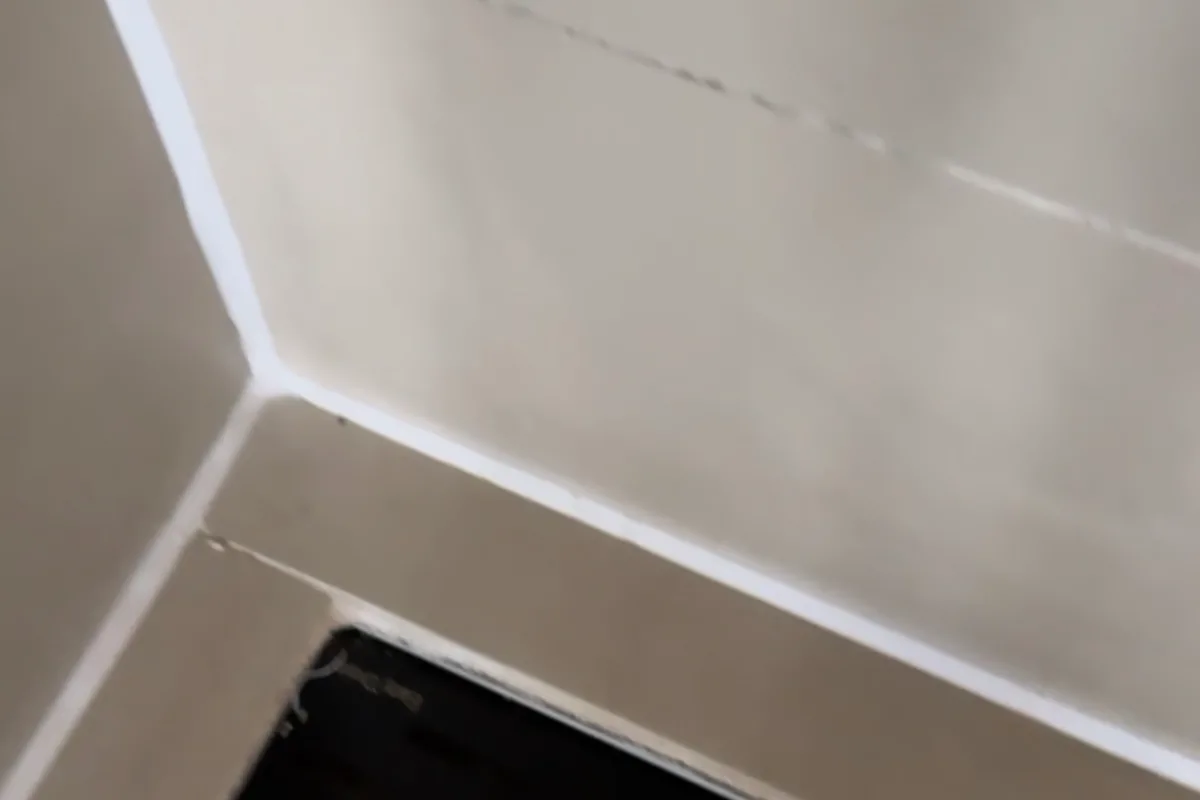
Neutral or acetoxy silicone: how to choose
Choose for compatibility with both surfaces. The smell while curing cannot replace the application chart.