
How to seal a level-access shower
Identify the wall-to-floor joint, the drain channel and the waterproofing below the tiles. A visible bead only seals its own junction.
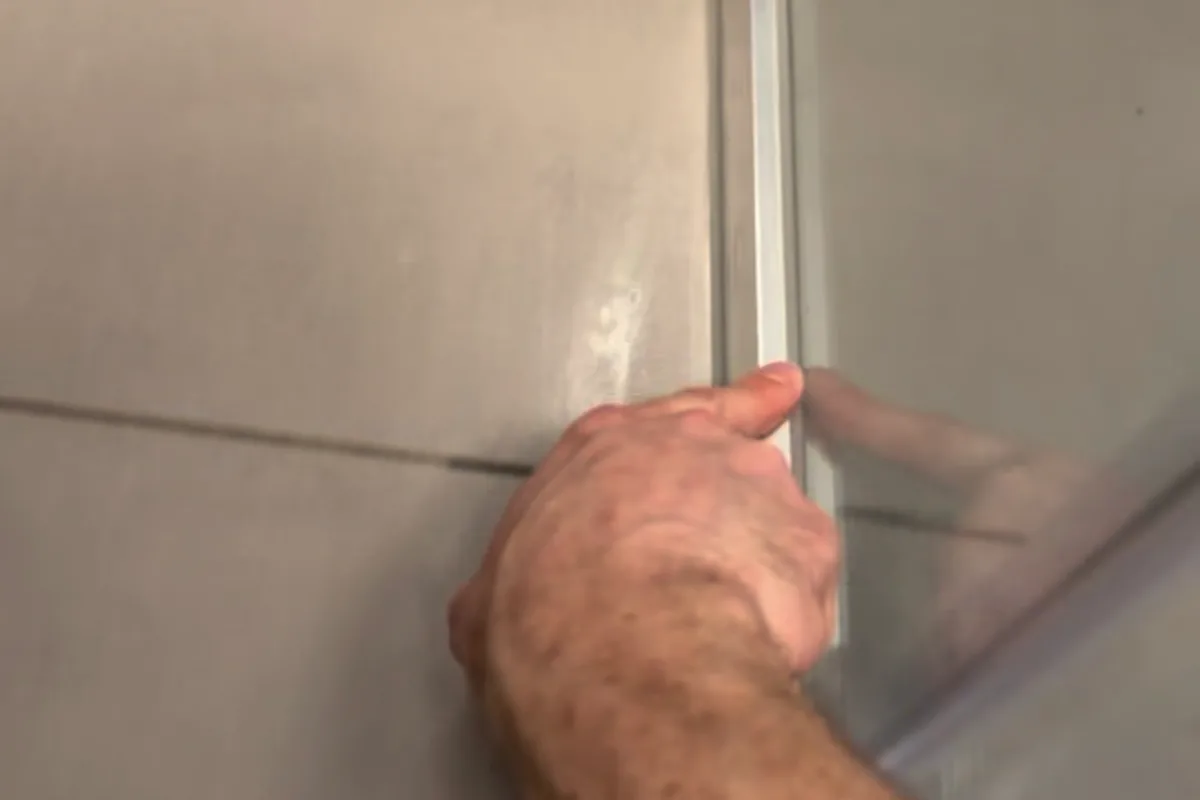
A walk-in needs decent sanitary silicone, proper geometry and backer rod. On stone, stone chemistry. A miss does not stay on the face: water goes under the screed.
Buying through a product link may earn us a commission at no extra cost to you.
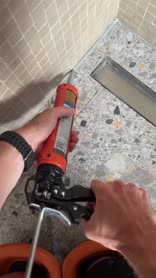
What changes in a level-access shower
On a classic tray, water looks for the waste. In a walk-in, a film often sits on the floor and against the glass profile: standing water. That leans on adhesion and mould protection harder than a bead that sheds in five minutes.
A weak sanitary grade gives up earlier here. I use OTTOSEAL S100 on ceramic; for very heavy use, sometimes S140. On marble or granite, S70, so it does not stain.
A miss is not “a bit of mould”. It is water under the tiling.
Where the detail calls for sanitary silicone on two compatible surfaces, consider OTTOSEAL S100. Porous stone needs a stone-compatible product.
If one edge is marble or natural stone, trial OTTOSEAL S70 on an offcut and check the tooling agent before touching the visible surface.
Glass, fall and backer rod
The wall-to-floor meeting is the critical one. The floor falls towards the drain, so there is tension in the bead. If the fillet is skinny and there is no backer rod, it tears when the building moves.
You do not need to “butter the profile on both sides” with a fat sausage. Water that gets in under the profile by capillary action has to get out. If you close the whole perimeter, it rots inside. The screen also has to be mechanically solid before you seal. A vibrating panel is not a silicone problem.
Do not bed the glass straight onto the floor with no packing: the bead is crushed and fails early.
Where the joint design specifies backing, size the Backer rod to the measured width and install it without puncturing it. Its job is to control depth.
How I do it
- Strip old silicone to the substrate, not over it.
- Clean with a technical cleaner (soap and skin fat block the bond). Faces must be dry: moisture in the adhesive or screed, locked in, grows mould from the inside.
- Closed-cell PE backer in deep corners: two-face adhesion.
- Gun S100 or S140 under pressure, without air pockets.
- Tool with a neutral finisher, not washing-up liquid.
The linear drain meeting (stainless against tile) gets sealed too. Pick chemistry that will bond to metal and ceramic.
Before opening the cartridge, try the Presch silicone gun in the tightest corner. Check you can turn your wrist and release pressure at the end of the run.
Classic mistakes
Sealing while the joint is still damp. Shooting over cured silicone. Tooling with soap and then wondering why it goes black so soon: soap knocks out a lot of the protection.
Dry-fit the FUGENFUX profiling tool. Choose the edge that meets both sides without scooping out the middle, then tool the bead before a skin forms.
Tools and materials for this job
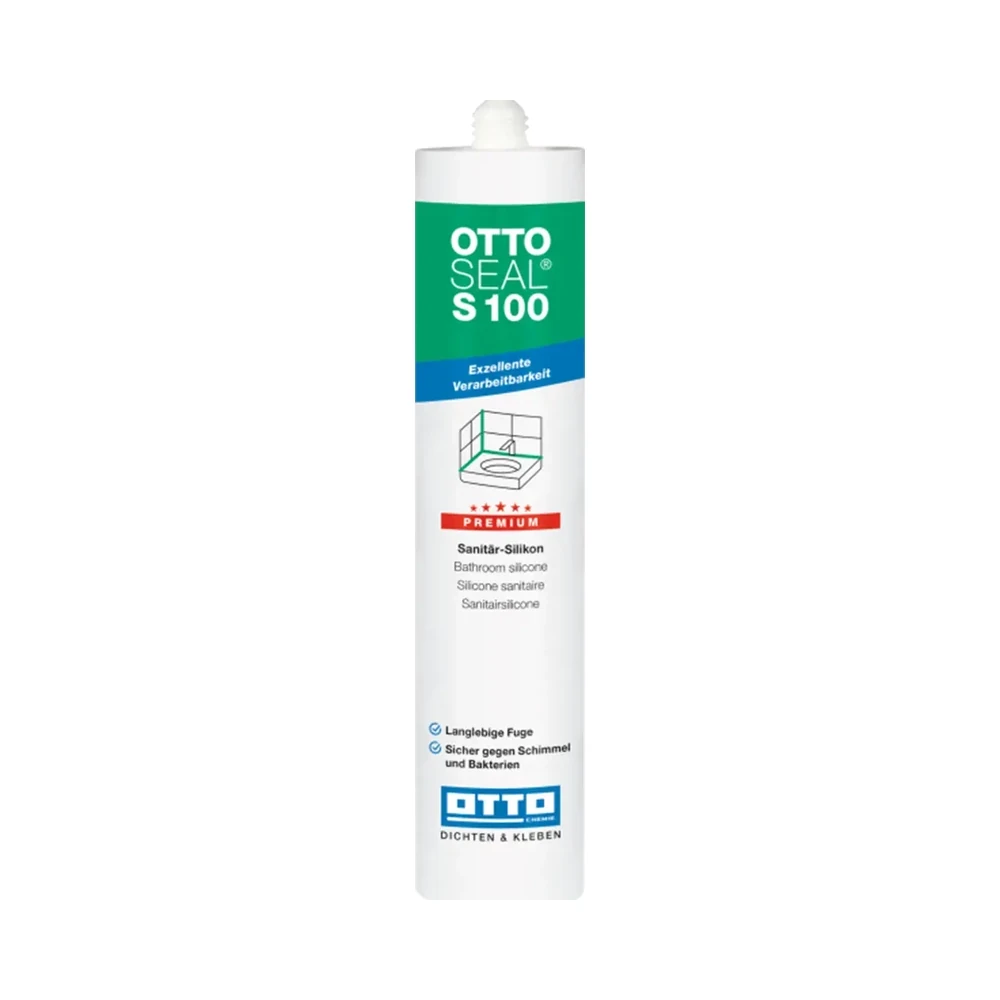
OTTOSEAL S100
Sanitary silicone for compatible surfaces. Check both edges before opening the cartridge.
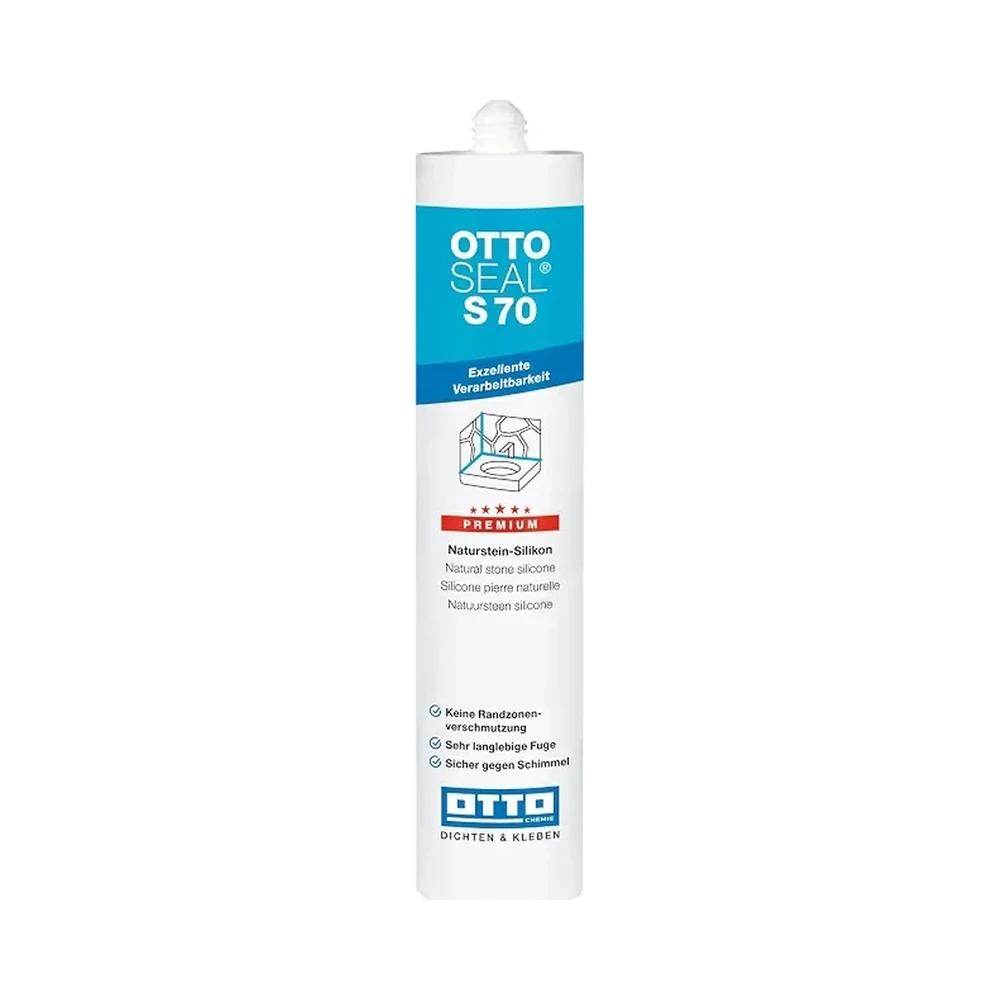
OTTOSEAL S70
For compatible natural stone. Test colour and finish on an offcut.
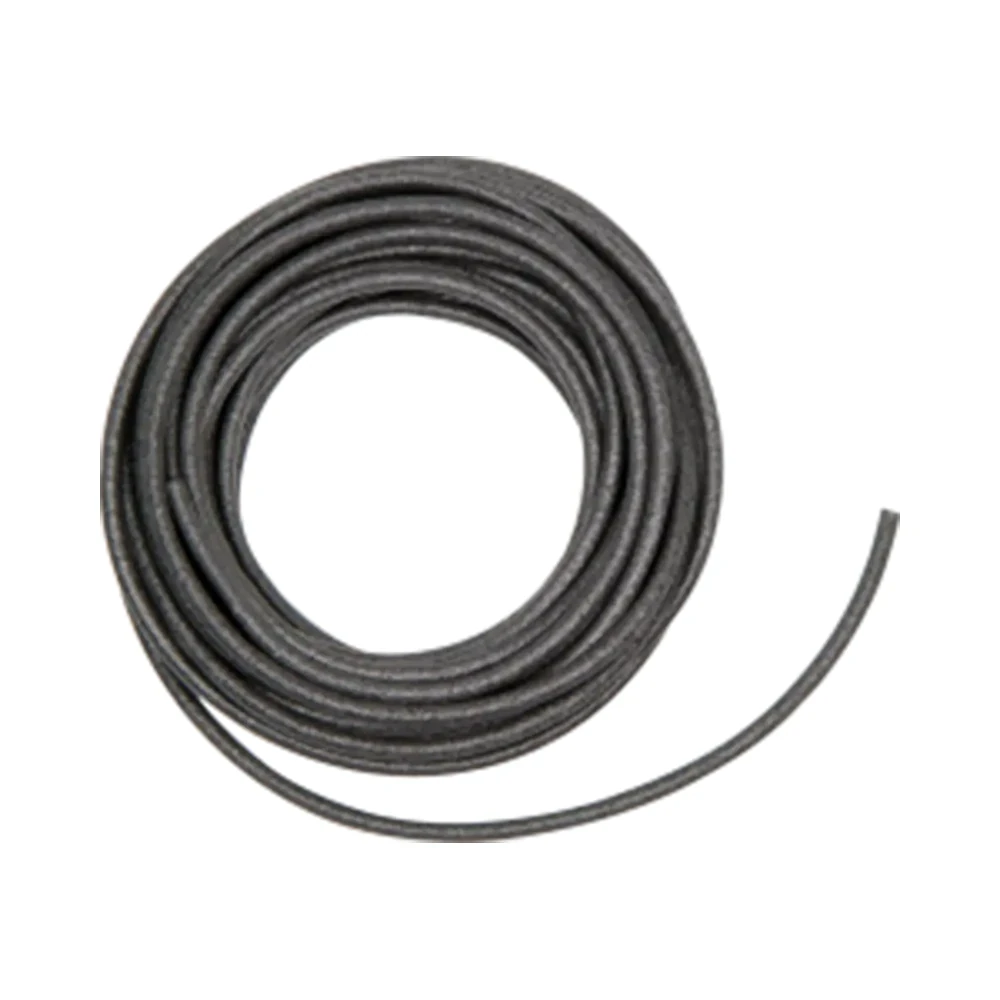
Backer rod
For depth control where specified. Choose the diameter to suit the measured width.

Presch silicone gun
Manual cartridge gun. Check you can release pressure in the last centimetre.

FUGENFUX
Profiling tool. Dry-fit the edge that reaches both sides of the joint.
Afterwards
Skin in a few hours is not a full cure. On a walk-in bead, 24 hours without a shower is the minimum; if the bead is thick, 48 is more honest.
-
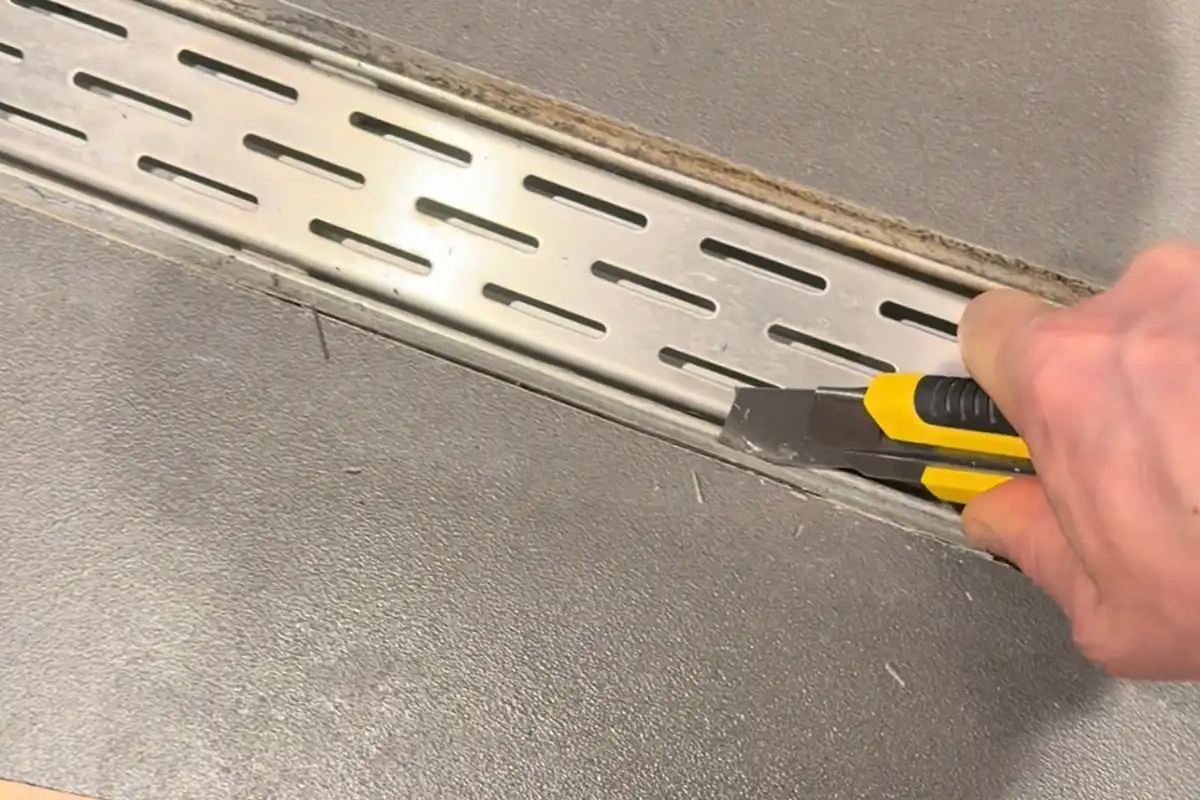
How to seal a shower tray and bathroom joints
Start where the tray meets the wall. The screen has a separate drainage path and its own fitting instructions.
-
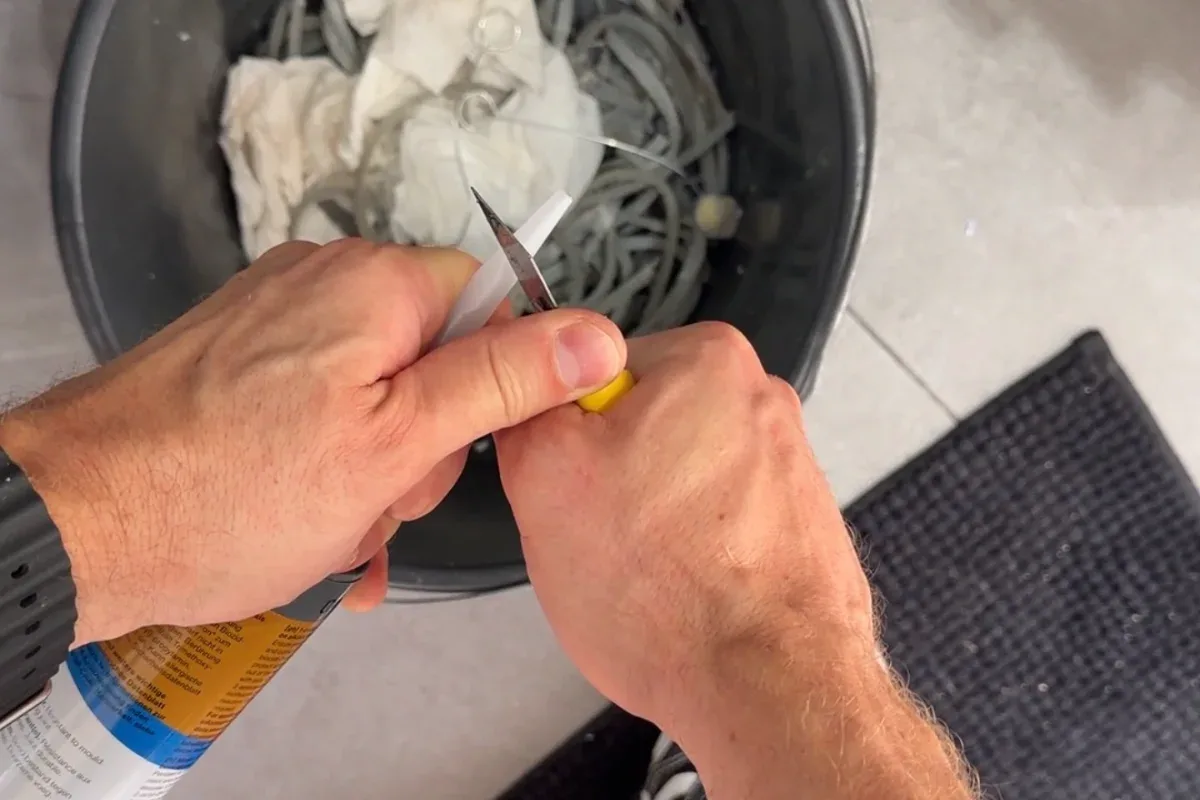
Seal a shower screen inside or outside?
Trace the water through the frame. Your model’s installation drawing identifies the side to seal and the outlets to leave open.
-
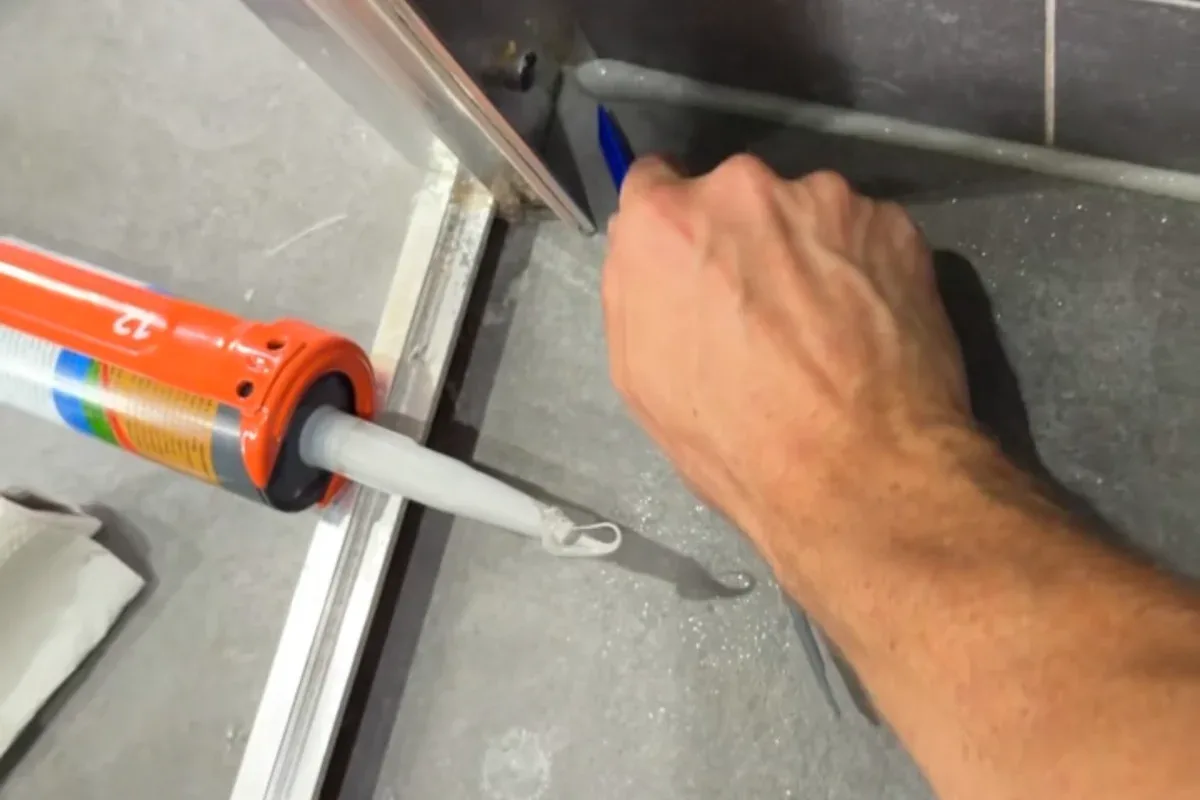
Where to seal around a shower drain
Separate the visible joint beside the channel from the pipe connection and waterproofing below.