
Movement joints in a tiled floor
Trace the joint and identify how the floor system allows movement. Rigid filler can crack again as the floor moves.
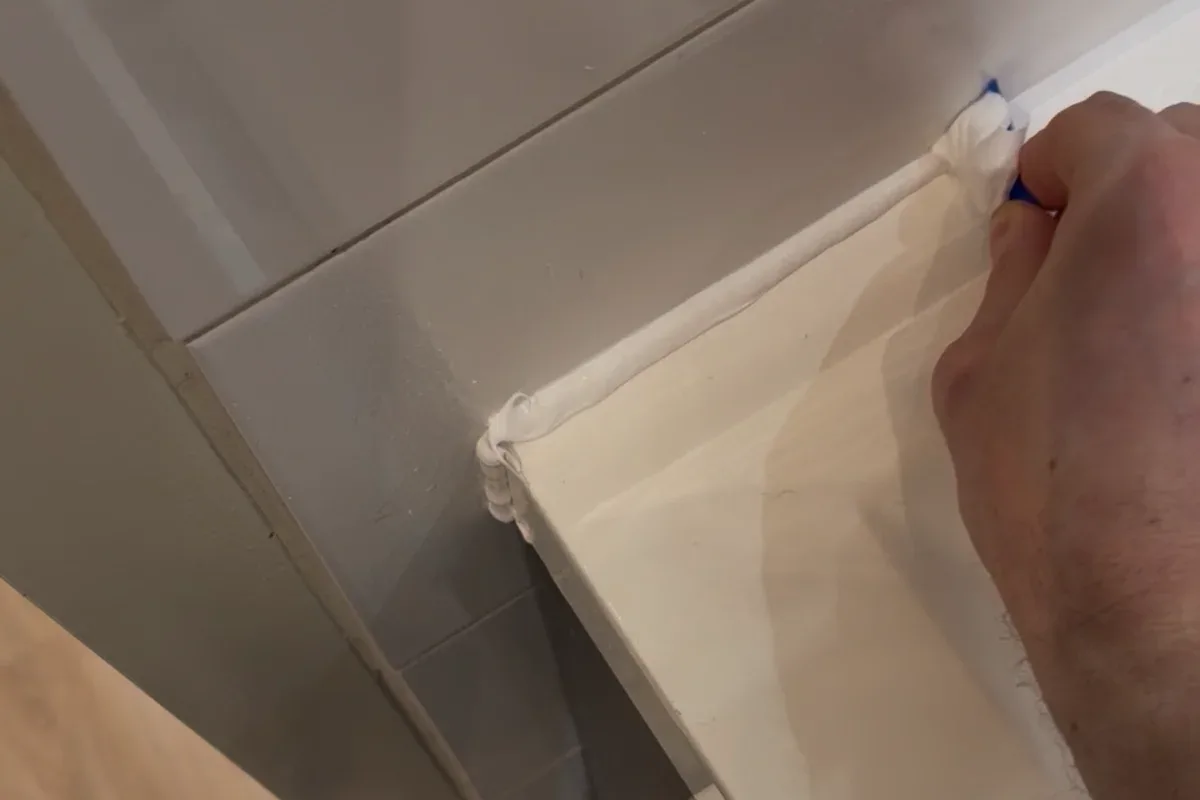
Corner and material change: elastic. Large fields or heating: intermediate joints. Centre of a stable field: grout. Silicone is not an industrial movement profile.
Buying through a product link may earn us a commission at no extra cost to you.
Why a tiled floor moves
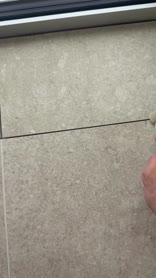
Floor and wall move with temperature, screed shrinkage and deflection of the slab. Cement grout has no elasticity. In a corner, or where tile meets a bath, tray, frame or a pipe, that grout splits. Then water gets in, and in the worst case the field tents.
That is elastic sealant, not more cement. In a shower I use OTTOSEAL S100; on natural stone, stone chemistry so the edge does not stain.
If one edge is marble or natural stone, trial OTTOSEAL S70 on an offcut and check the tooling agent before touching the visible surface.
Where yes — and where not
Yes at internal corners: floor-to-wall and wall-to-wall.
Yes at material changes: tile against bath, tray, frame, penetrations.
Yes on large fields or with underfloor heating. In practice people talk about floors over about 25 m², or runs of 5–6 m, and about honouring movement joints already in the substrate. Those are trade orders of magnitude, not a magic stamp.
Not in the middle of a stable field on a rigid wall: that is grout (cement or epoxy).
Not as a stand-in for an industrial movement profile on a floor with heavy traffic. The profile does that job; silicone does not.
Before opening the cartridge, try the Presch silicone gun in the tightest corner. Check you can turn your wrist and release pressure at the end of the run.
Backer rod, not a corner packed with adhesive
Packing the corner with tile adhesive and then “closing” it with silicone is three-sided adhesion. The mass sticks to both tiles and the hard back; it cannot stretch. Closed-cell PE backer rod, about 20–30 % wider than the gap: two faces.
A fatter bead does not replace width. A movement joint usually wants about 5 mm of width at a minimum, with matching depth.
If a floating screed has no perimeter isolation and is locked against the wall, the floor tents. Grinding only the edge and putting silicone in does not release that lock. Free the screed first.
Where the joint design specifies backing, size the Backer rod to the measured width and install it without puncturing it. Its job is to control depth.
How I do it
- Leave the corner and the movement joints clear of adhesive and grout, full depth.
- Vacuum. Degrease the flanks.
- Set the PE.
- Primer only if the substrate soaks hard.
- Neutral silicone or hybrid, from the bottom up, no voids.
- Tool it.
Do not smear a film of silicone over cracked grout. Do not use acrylic in a wet zone. Do not seal a corner with water trapped behind the tile.
Dry-fit the FUGENFUX profiling tool. Choose the edge that meets both sides without scooping out the middle, then tool the bead before a skin forms.
Tools and materials for this job

OTTOSEAL S100
Sanitary silicone for compatible surfaces. Check both edges before opening the cartridge.
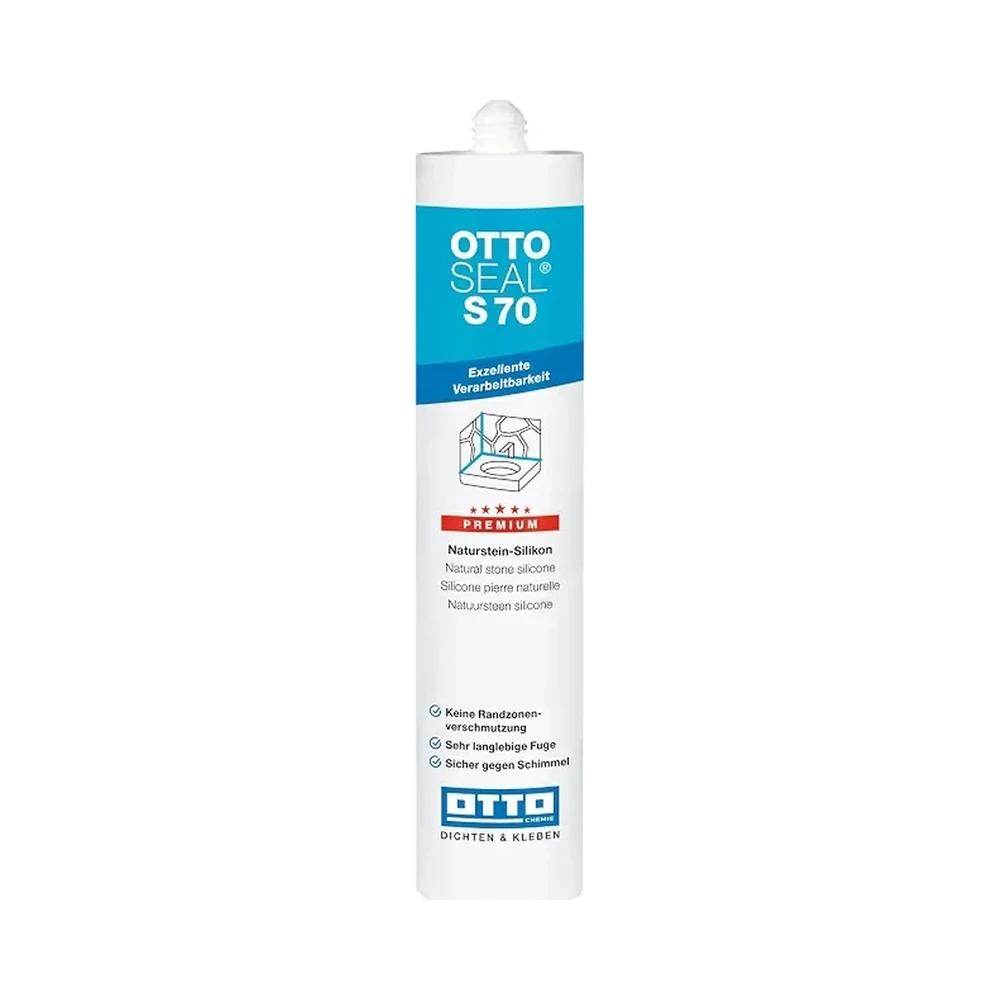
OTTOSEAL S70
For compatible natural stone. Test colour and finish on an offcut.
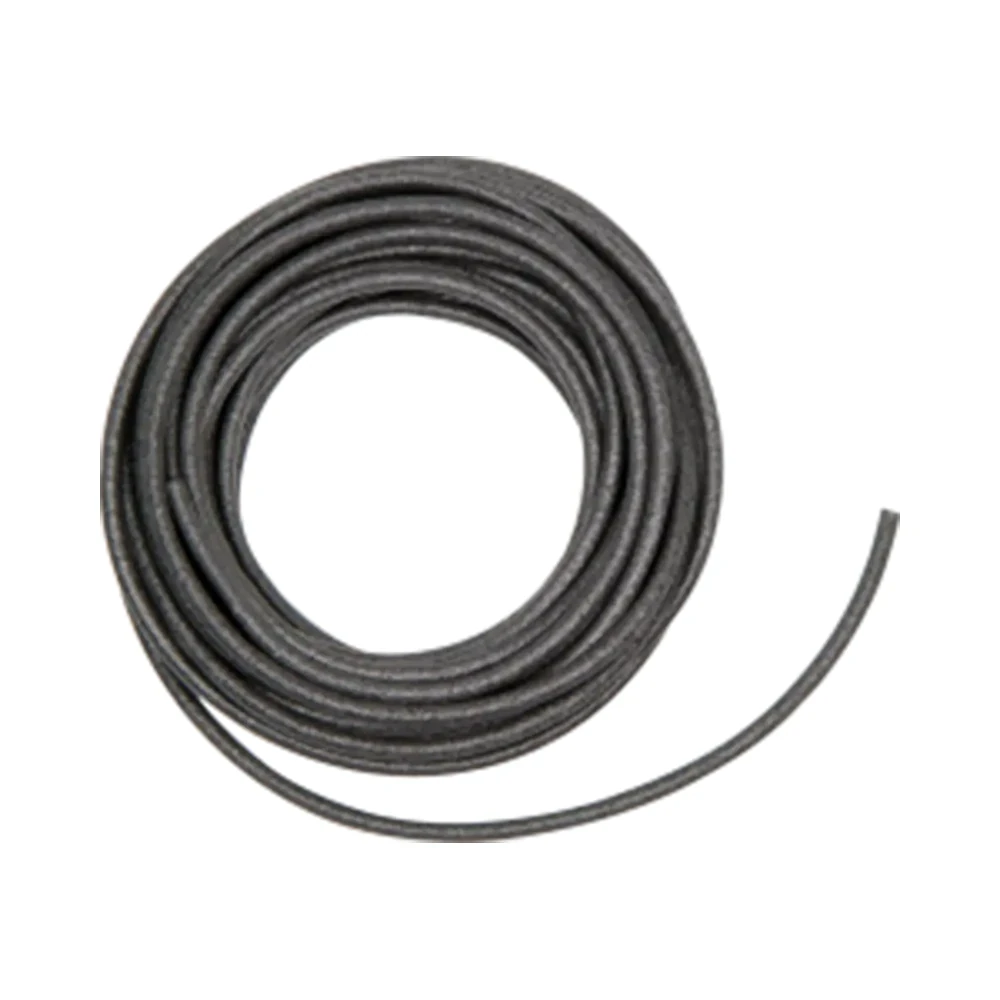
Backer rod
For depth control where specified. Choose the diameter to suit the measured width.

Presch silicone gun
Manual cartridge gun. Check you can release pressure in the last centimetre.

FUGENFUX
Profiling tool. Dry-fit the edge that reaches both sides of the joint.
Exceptions
Stone: stone silicone. Over a movement joint in the substrate, the elastic joint has to line up, not sit “nearby”.
-
Grout or silicone in shower corners?
Distinguish joints between tiles from a change of plane between walls. Check how the junction is designed to move.
-
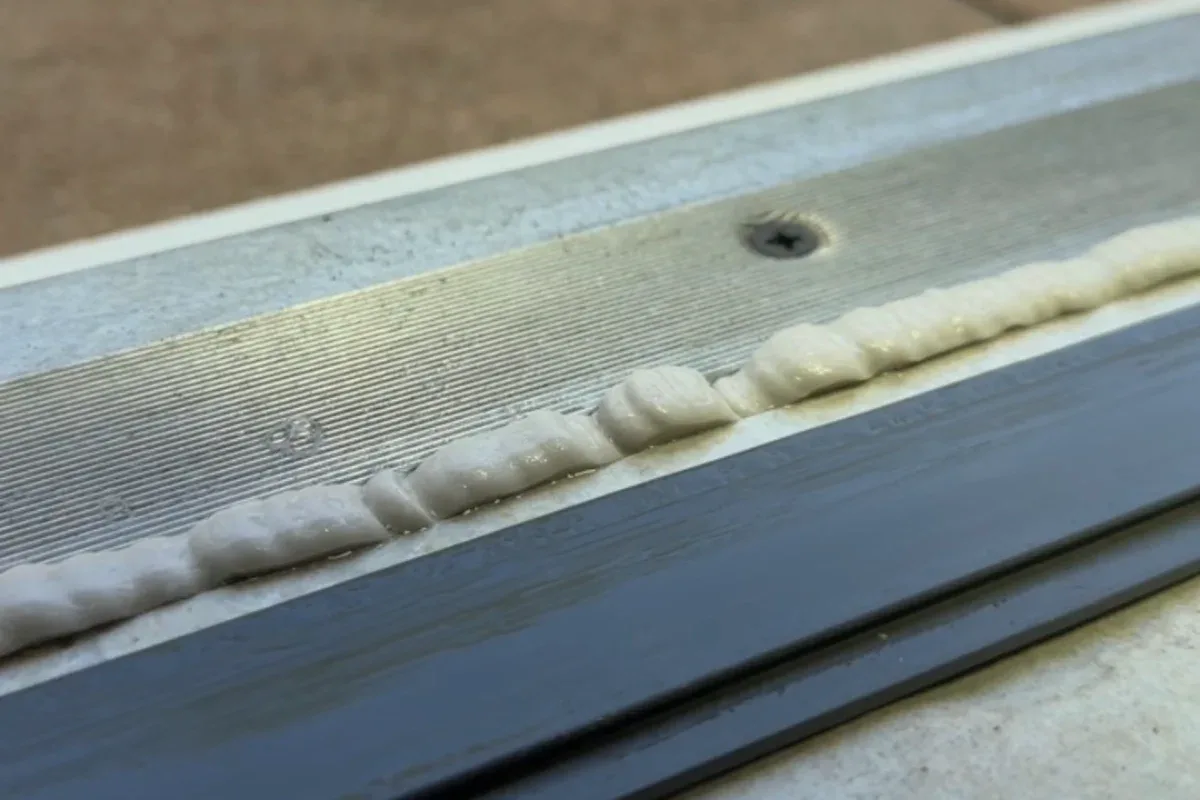
Sealant joints with underfloor heating
Identify the floor system’s joints and expected temperature changes. Preserve the movement the installation requires.
-
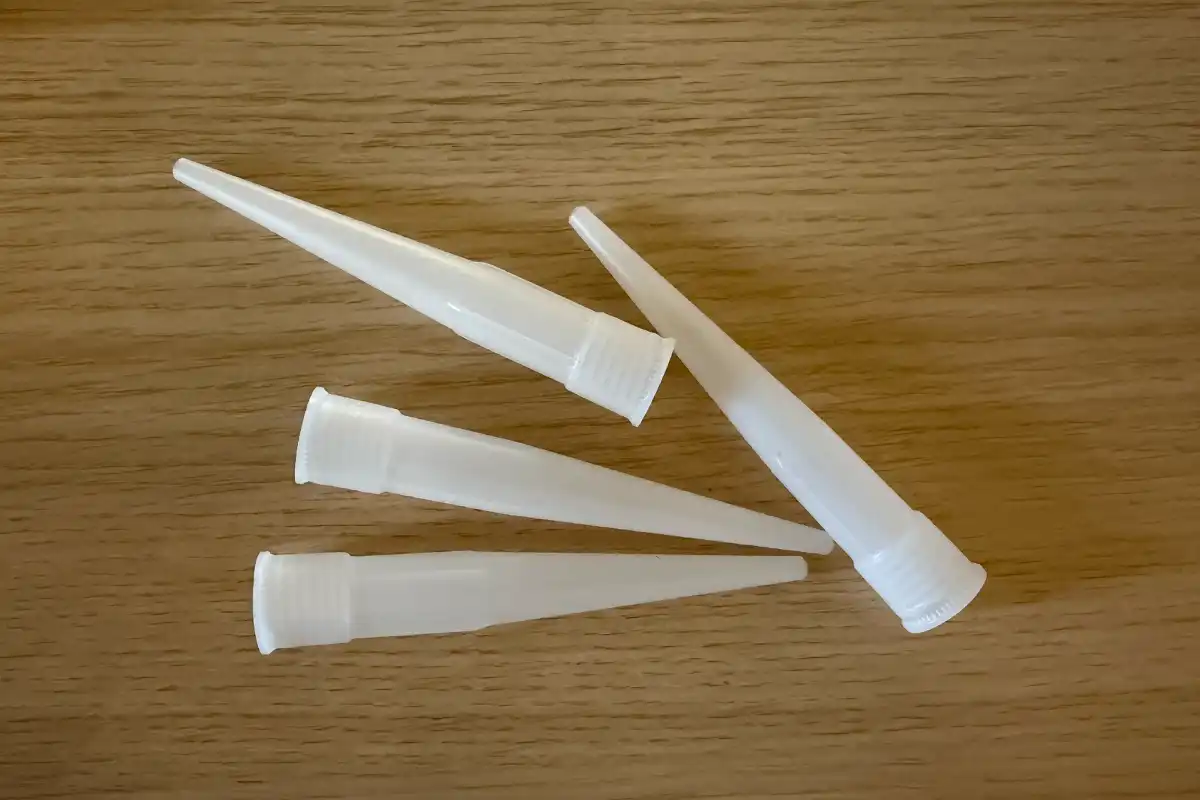
How wide should a sealant joint be?
Measure the narrowest and widest points. Compare both with the limits for those surfaces and the expected movement.