
Why white silicone turns yellow
Compare a dry section with one exposed to water. Distinguish a colour change from surface dirt or mould in the bead.
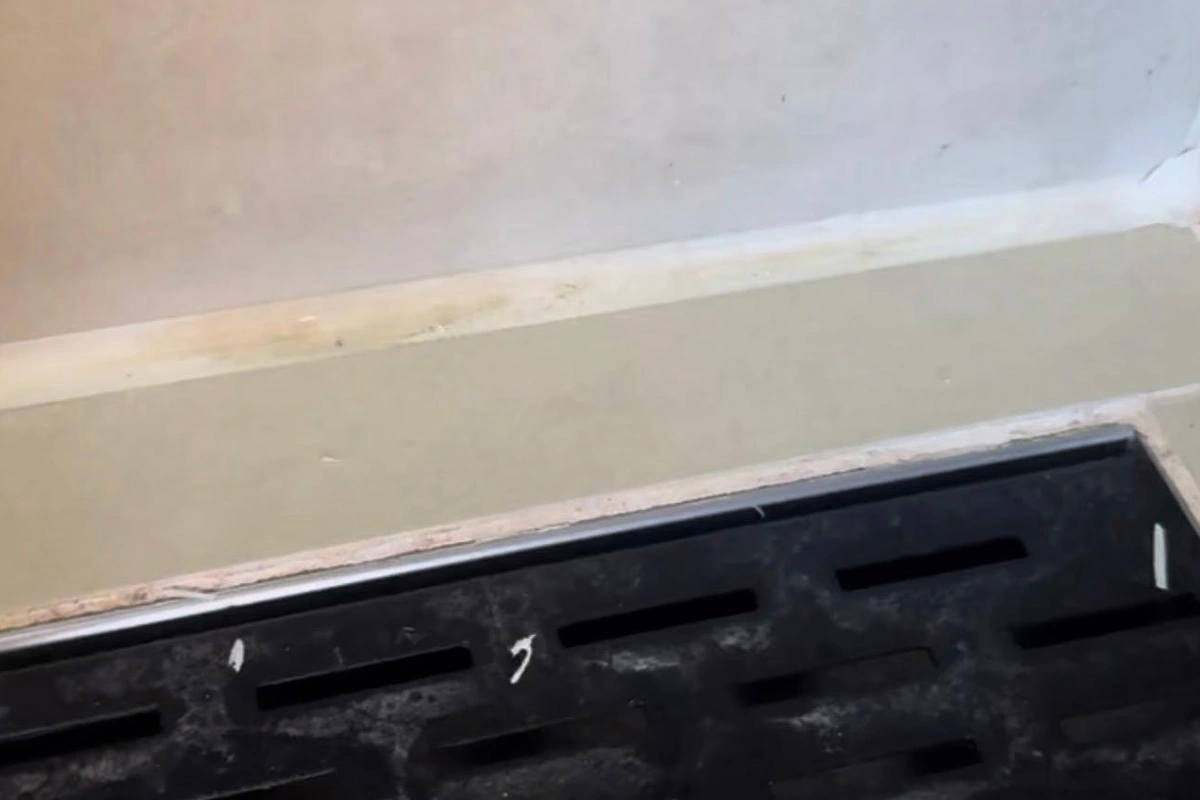
Even yellow or brown is not dirt: bleach will not bring white back. Cut and replace. Black dots are mould — a different job. Fresh yellow after alkyd paint is often solvent vapour.
Buying through a product link may earn us a commission at no extra cost to you.
When the material itself has yellowed
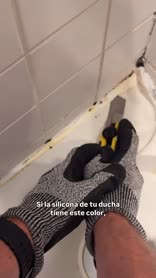
A white sanitary bead that goes nicotine-yellow is one of the most common bathroom complaints. People reach for thick bleach and a scourer. That usually feeds the colour change. You are not lifting soil. You are looking at an irreversible shift in the polymer — oxidation, cheap oil fillers, aggressive cleaners, or a room that never sees daylight.
The harder you bleach to “get it white”, the faster the yellow often returns.
Before opening the cartridge, try the Presch silicone gun in the tightest corner. Check you can turn your wrist and release pressure at the end of the run.
Diagnose before you recut
Even yellow or brown along the bead: chemical change or ageing. It will not polish out. Strip and reseal.
Black pin-pricks in the mass: mould. Bleach may bleach the face and wreck the surface so the next colony sits deeper. That is a replacement and moisture job, not a colour job.
Yellow within a day or two of painting nearby: solvent from alkyd / oil paint can stain a fresh silicone. Sequence matters: finish the paint, ventilate until the smell has gone, then seal. I do not quote a magic number of days — follow the paint, not a slogan.
Clear silicone going milky is often water uptake, not the same as white going yellow. Nicotine and harsh cleaners can yellow clear as well.
Dry-fit the FUGENFUX profiling tool. Choose the edge that meets both sides without scooping out the middle, then tool the bead before a skin forms.
What actually keeps white looking white
Cheap DIY silicones are often extended with oils that discolour with heat, soap film and bleach. I use a colour-stable sanitary silicone (OTTOSEAL S100 is the one I reach for on a normal ceramic shower). That does not make the bead immortal. It does mean I am not starting with a tube already prone to yellow.
Maintenance: mild soap, rinse, dry. No thick bleach, no abrasive pads that scratch the skin and hold dirt. Do not tool the joint with washing-up liquid if you care about colour — residues in the surface start the same chemistry.
Grey and anthracite hide a slight colour shift better than white. That is optics, not a licence to use junk.
How I replace a yellow bead
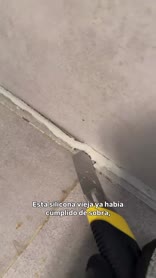
- Cut the old silicone out fully. Do not lay new over yellow: it shows through and it will not bond.
- Degrease with a technical cleaner. Let the flanks dry.
- Apply the new sanitary silicone, tool it, wait for a proper cure before a full shower.
- You cannot paint silicone white again. Paint pearls off.
Yellowing alone does not prove a leak. Aggressive chlorine can still make the mass more open, so adhesion suffers later. Treat even yellow as “replace”, not “wait five years because a blog said so”.
Tools and materials for this job
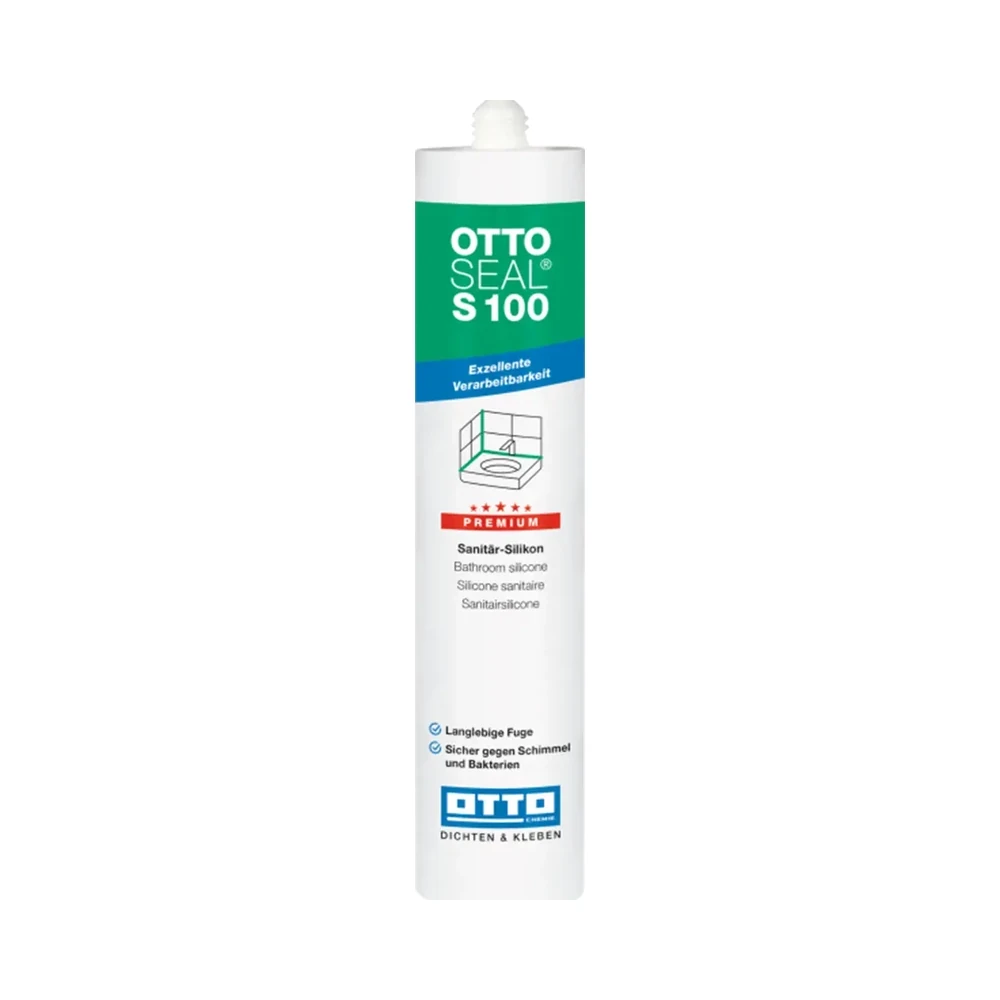
OTTOSEAL S100
Sanitary silicone for compatible surfaces. Check both edges before opening the cartridge.

Presch silicone gun
Manual cartridge gun. Check you can release pressure in the last centimetre.

FUGENFUX
Profiling tool. Dry-fit the edge that reaches both sides of the joint.
Exceptions
Internal bathrooms with no window yellow faster in my experience; ventilation still helps mould and soap film even if UV is not the whole story. If the tray moves, a new white bead will tear as well as stain. Fix support first.
-
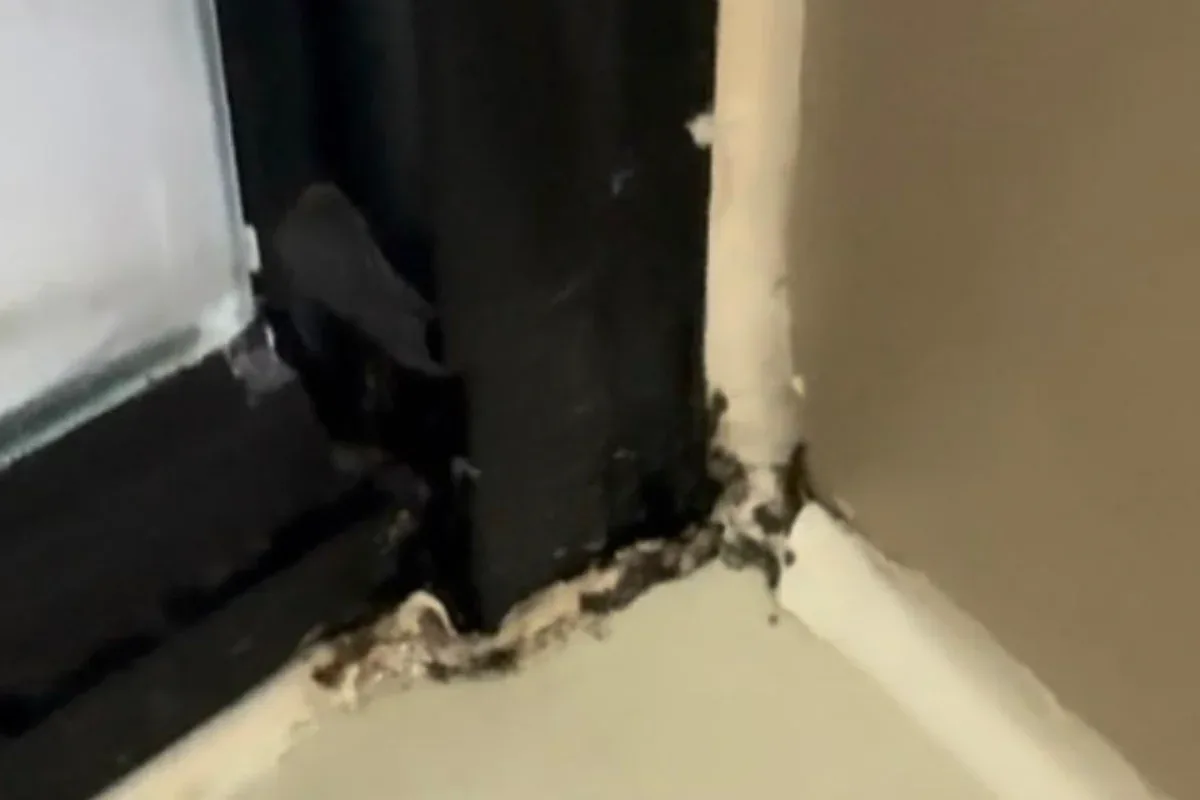
Mould in shower silicone: clean or replace?
Check whether the mark sits on the surface or inside the bead. If it keeps returning, inspect where water collects.
-
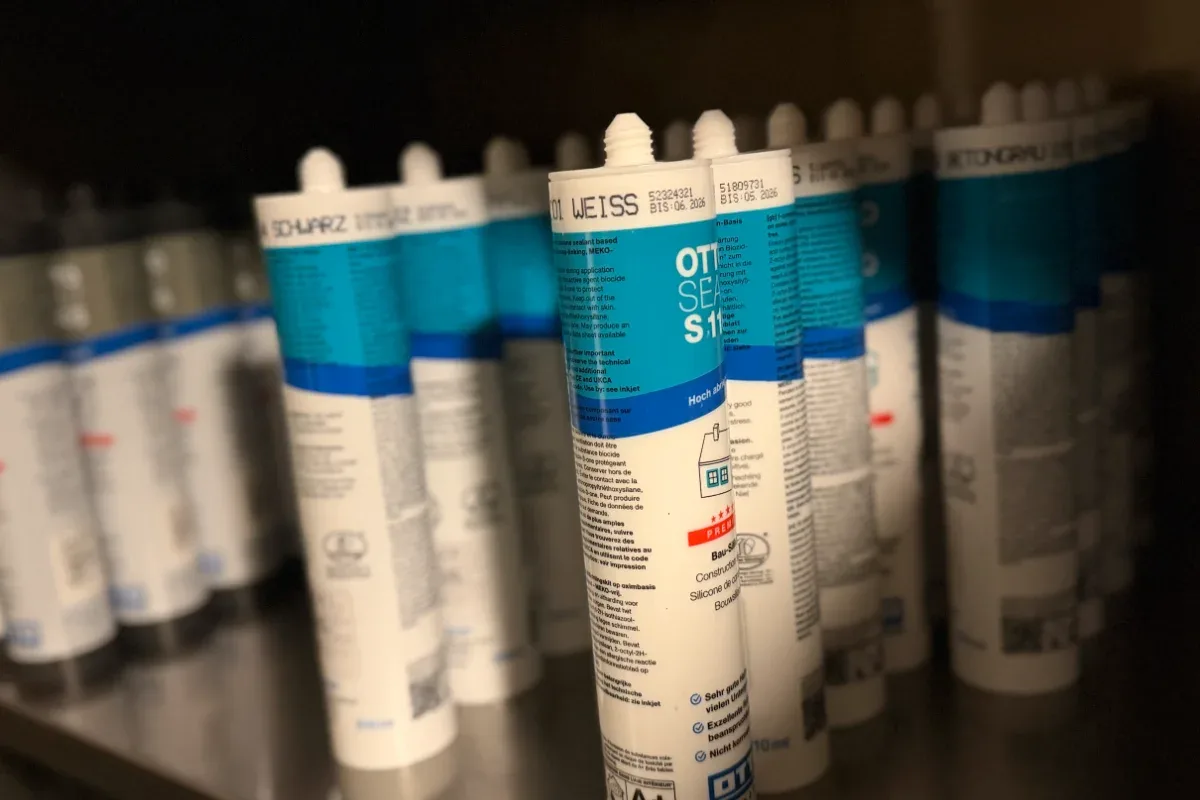
Which sealant should you use in a bathroom?
Start with the surface and water exposure. Tile, natural stone and a trim that needs painting call for different choices.
-
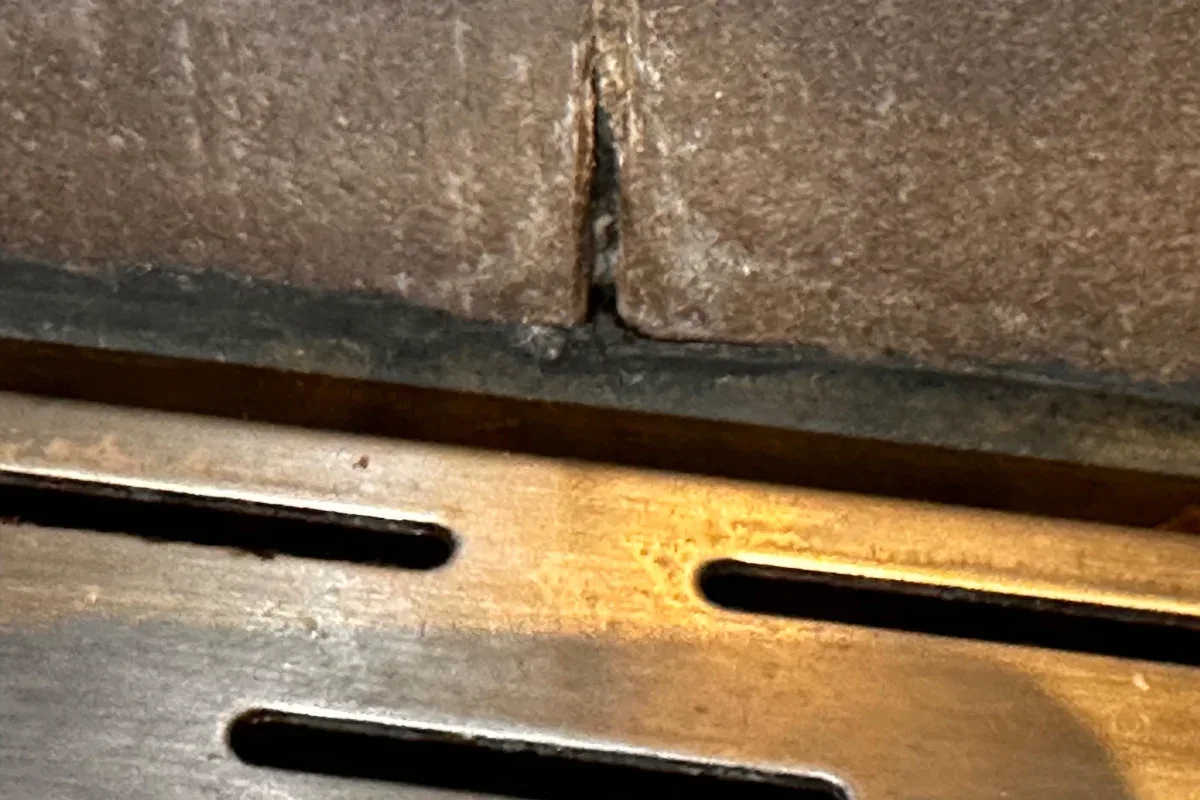
Why is a sealant bead hollow or ragged?
Look along the bead. Voids and torn edges can point to interrupted application or smoothing after a skin formed.