
Mould in shower silicone: clean or replace?
Check whether the mark sits on the surface or inside the bead. If it keeps returning, inspect where water collects.
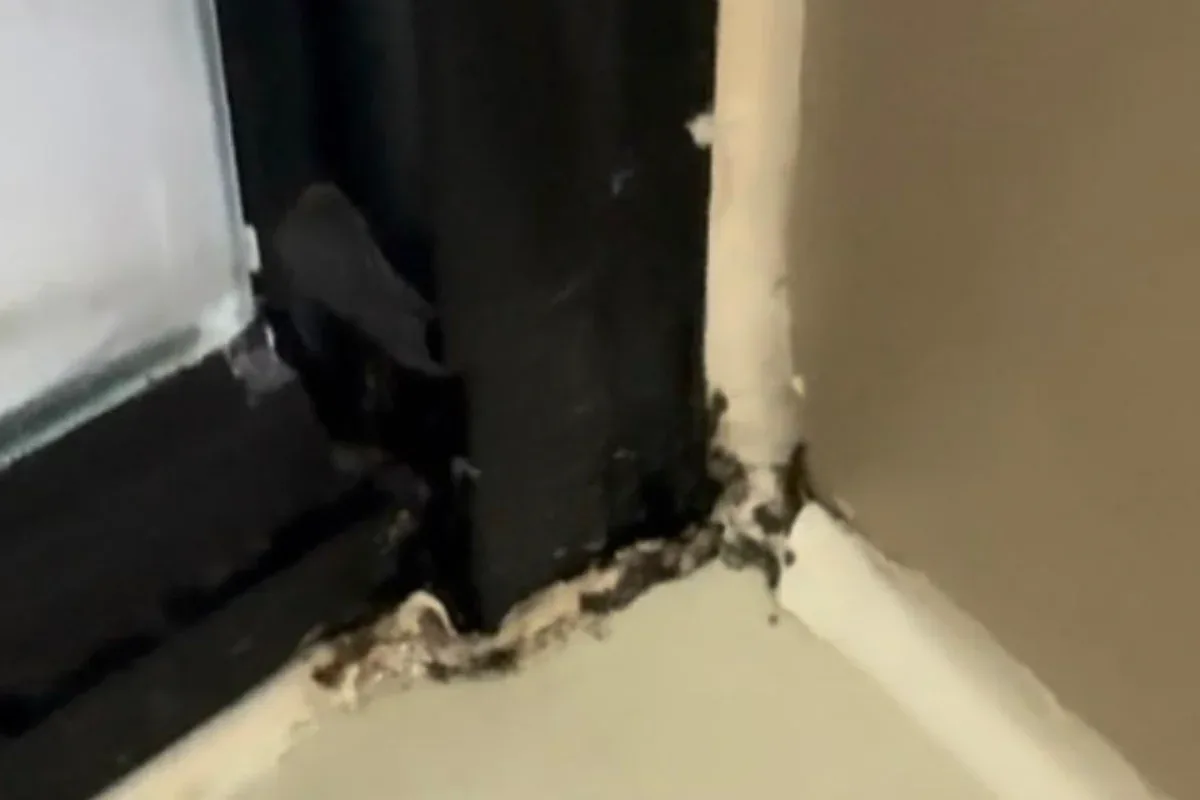
Mould on the surface: wash with a neutral soap and dry. Specks in the mass: cut it out and replace. Chlorine bleaches the stain and wrecks the silicone; the mould comes back sooner and deeper.
Buying through a product link may earn us a commission at no extra cost to you.


Surface dirt or mould inside the bead
A grey film that lifts with a neutral soap and a cloth is dirt. Black specks that will not go, or that return in the same spots the next day, are in the silicone. No spray will rescue that. The colony is in the mass.
Scrubbing with chlorine or aggressive mould killers fades the colour. It also roughens the surface, washes out the fungicides and leaves the joint like a sponge. Mould goes deeper. It looks “clean”. Technically the joint is finished.
Dry-fit the FUGENFUX profiling tool. Choose the edge that meets both sides without scooping out the middle, then tool the bead before a skin forms.
Why chlorine makes it worse
Chlorine attacks the polymer chains. The face stops being smooth and water-shedding. A barrier becomes porous. The fungicides in a decent sanitary silicone are neutralised or rinsed away.
No sealant is “mould-proof” if you leave it standing in water. Fungicides help; still water wins. A hollow bead at the tray, where soap sits, is a nursery. Drying after a shower does more than any label promise.
When to clean and when to replace
Clean if the mould is on top, the joint is still elastic and it has not peeled. Neutral soap, rinse, dry. Ventilation that actually extracts.
Replace if the specks are in the mass, the bead is soft or cracked, or a push opens the flank. Cut back to the substrate. Clean the joint thoroughly — spores in old backer rod count too: replace the rod if it was there. Let it dry. Fresh sanitary silicone, tooled flat or to drain, no gutter.
On glazed ceramic I use OTTOSEAL S100. On acrylic or natural stone, a neutral chemistry made for that substrate: strong acetoxy is not a wild card.
Chemistry by substrate
In a wet tiled zone, an acetoxy system (vinegar smell while it cures) has a natural edge against biology during cure. On acrylic, aluminium or stone, that same acid can mark or craze. An acrylic bath, an aluminium profile and ceramic in one room do not all want the same cartridge.
A “universal” hybrid in the shower often moulds first. Do not run one tube through the whole house.
When preparing a fresh cartridge, use the Stanley knife as instructed. Cut the nozzle away from your fingers. This cartridge tool is not a scraper for glass, fabric or a shower tray.
Before opening the cartridge, try the Presch silicone gun in the tightest corner. Check you can turn your wrist and release pressure at the end of the run.
How not to land in the same place
Dry the joint after you shower. Keep the extract fan clean and running. Do not leave water in a channel. Do not bleach a pitted joint back to life.
Cleaning vinegar on some neutral silicones attacks the bond. If you clean, use a mild sanitary cleaner, not a bathroom cocktail.
Tools and materials for this job
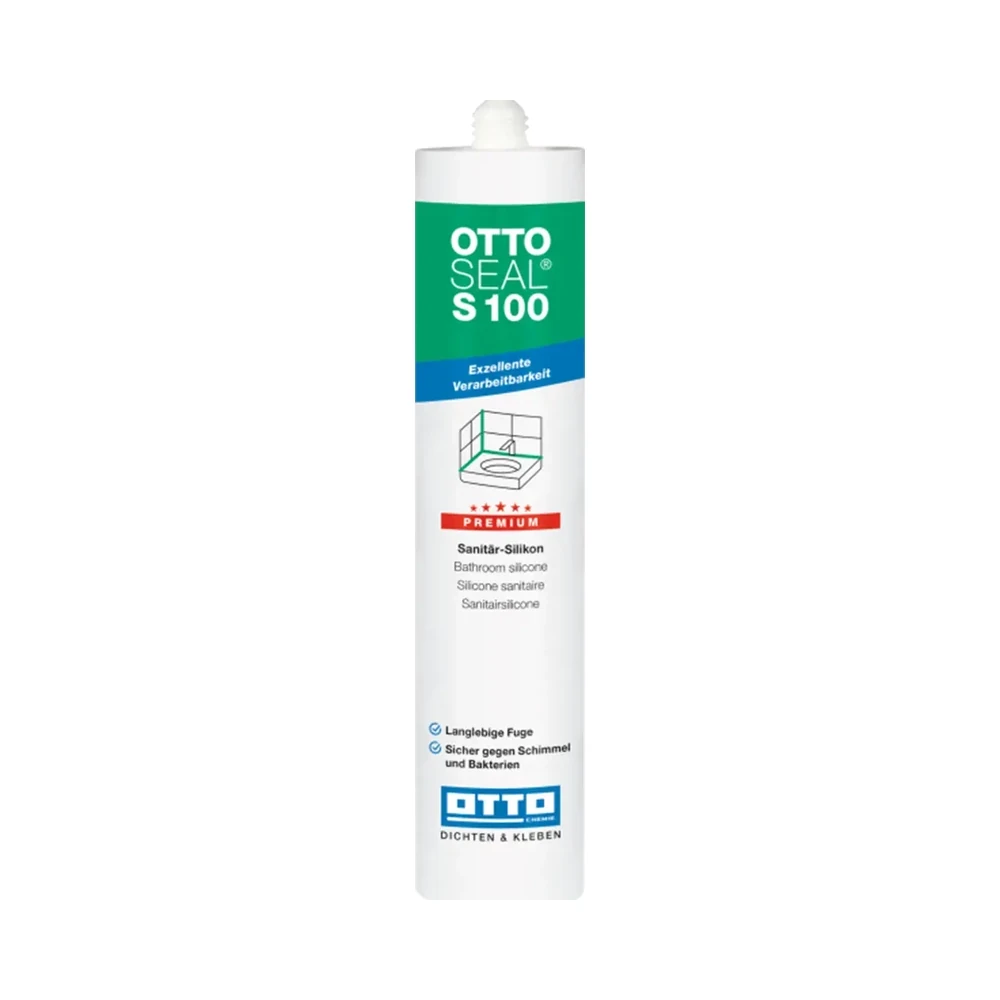
OTTOSEAL S100
Sanitary silicone for compatible surfaces. Check both edges before opening the cartridge.
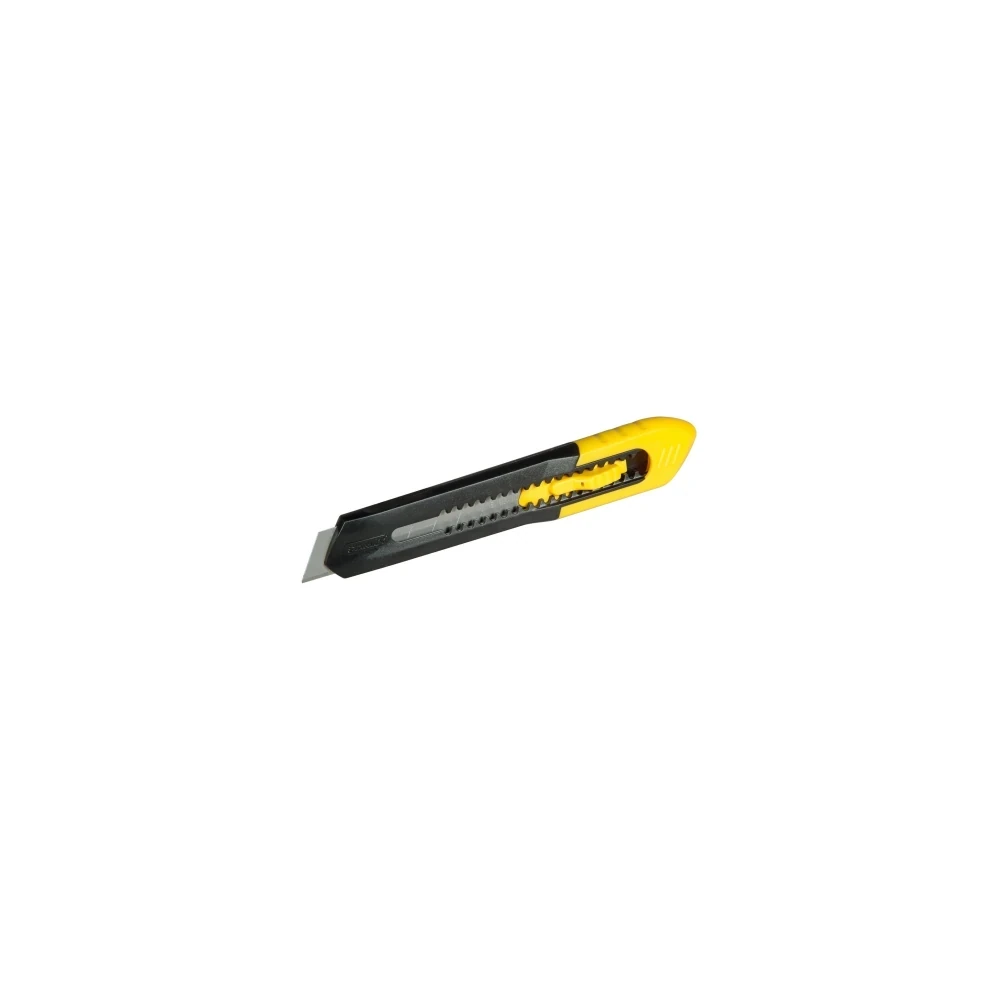
Stanley knife
For opening the cartridge and trimming the nozzle, not scraping delicate surfaces.

Presch silicone gun
Manual cartridge gun. Check you can release pressure in the last centimetre.

FUGENFUX
Profiling tool. Dry-fit the edge that reaches both sides of the joint.
Exceptions
Soap scum is not a colony. A colony in the mass will not bleach into a new joint. If the tray sags and water sits, replace the bead and look at the support — otherwise the mould is back in months.
-
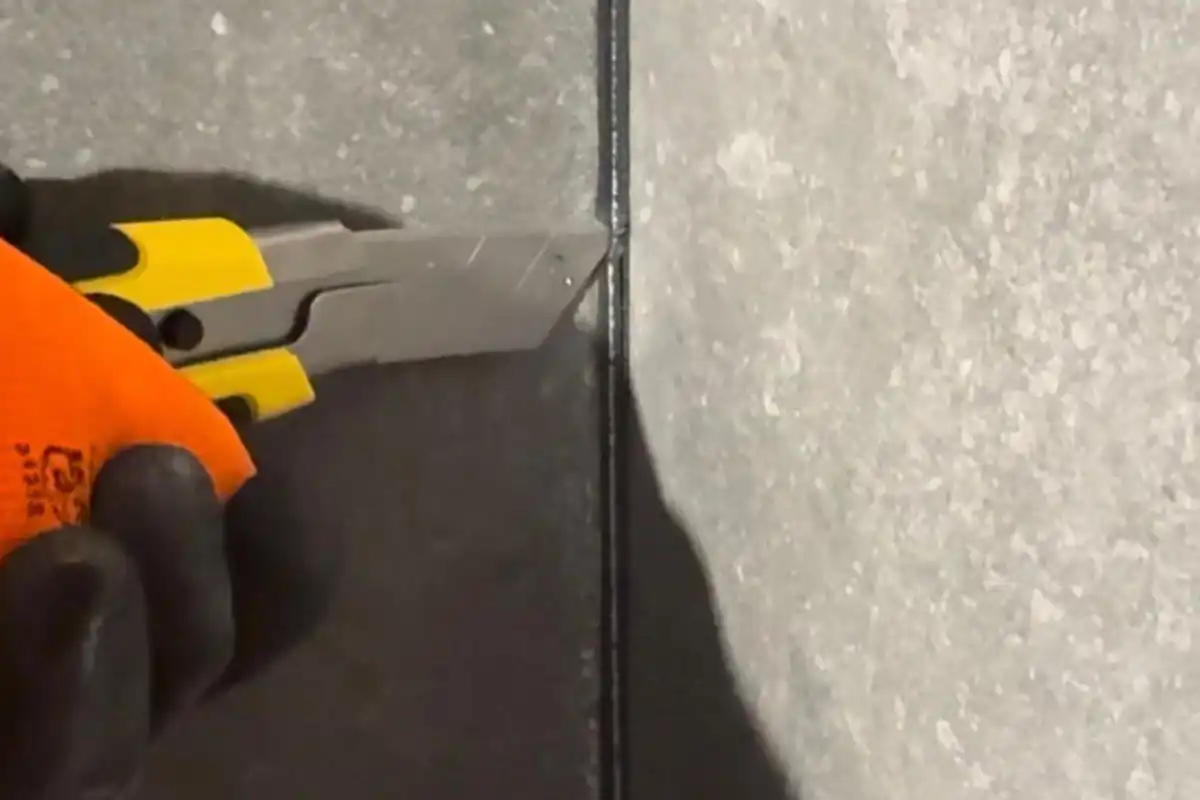
How to remove old silicone without damaging the surface
For a replacement joint, remove the bead and residue from both sides. A smear on glass or fabric calls for a different method.
-
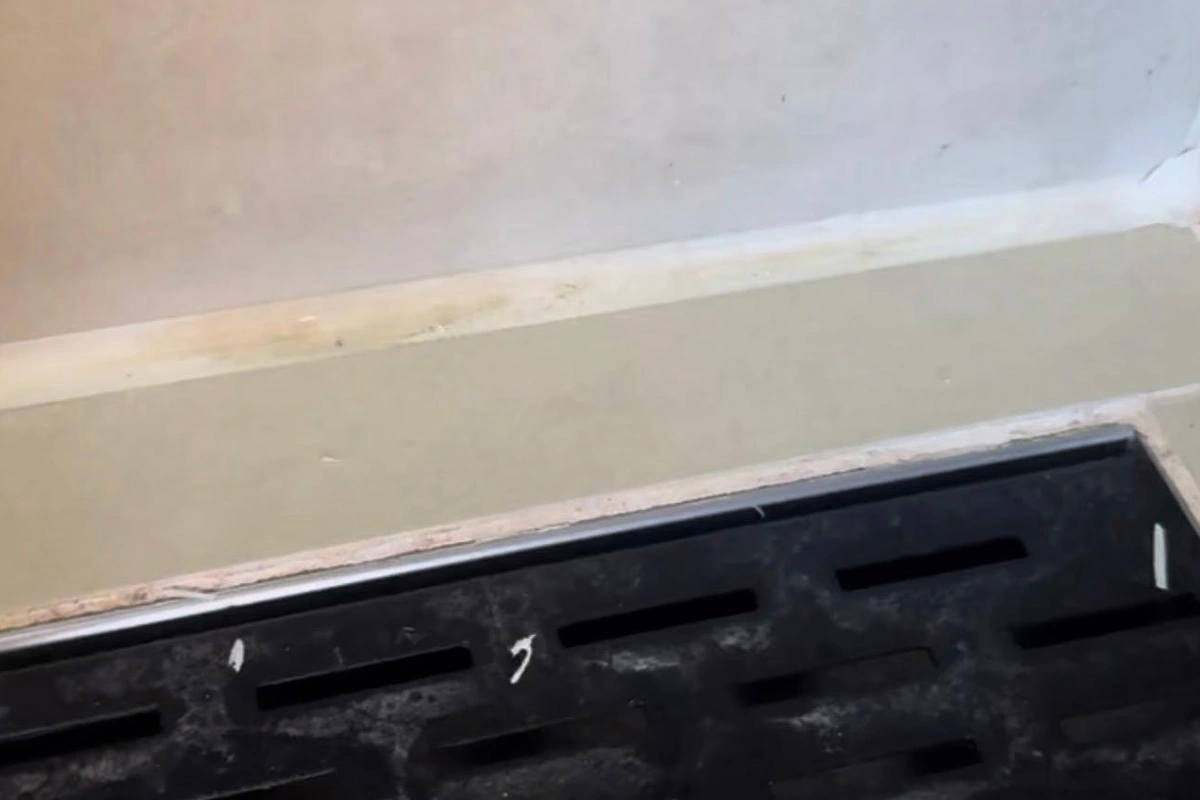
Why white silicone turns yellow
Compare a dry section with one exposed to water. Distinguish a colour change from surface dirt or mould in the bead.
-
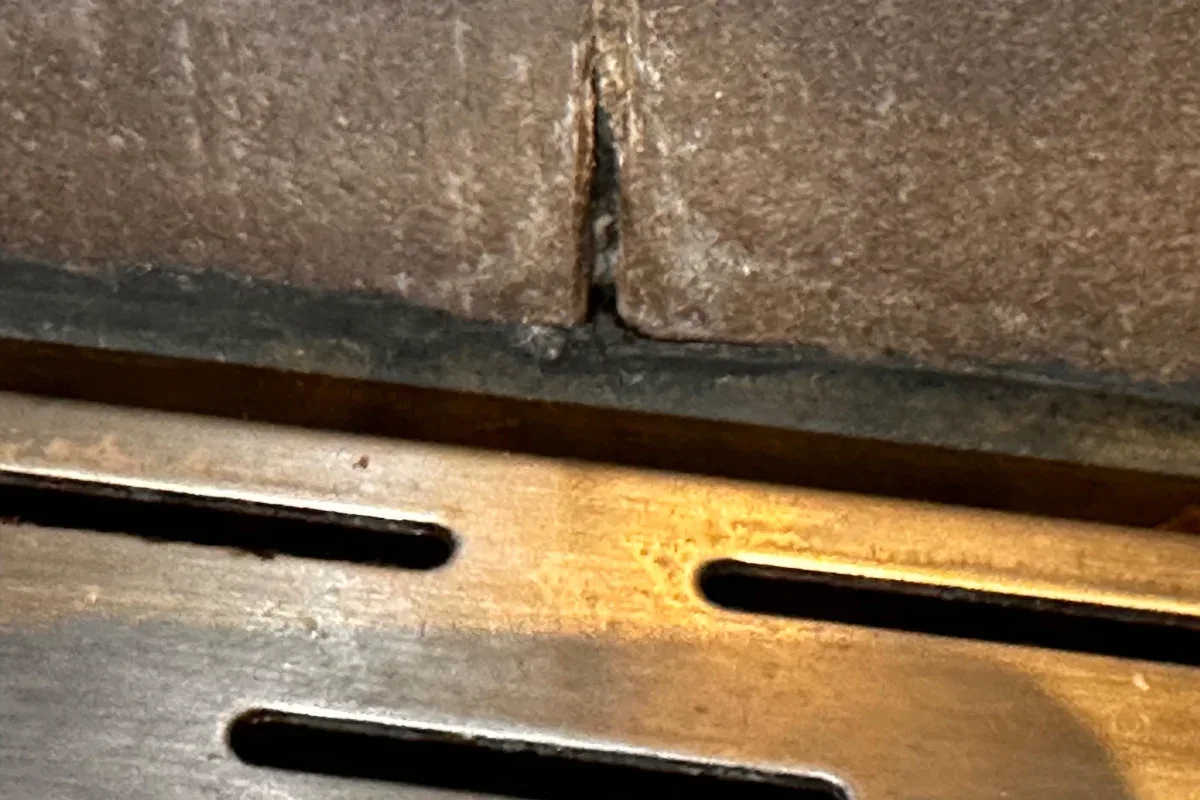
Why is a sealant bead hollow or ragged?
Look along the bead. Voids and torn edges can point to interrupted application or smoothing after a skin formed.