
Why paint cracks over acrylic caulk
Check the painting interval, movement and paint compatibility. Test both products together before finishing the visible joint.
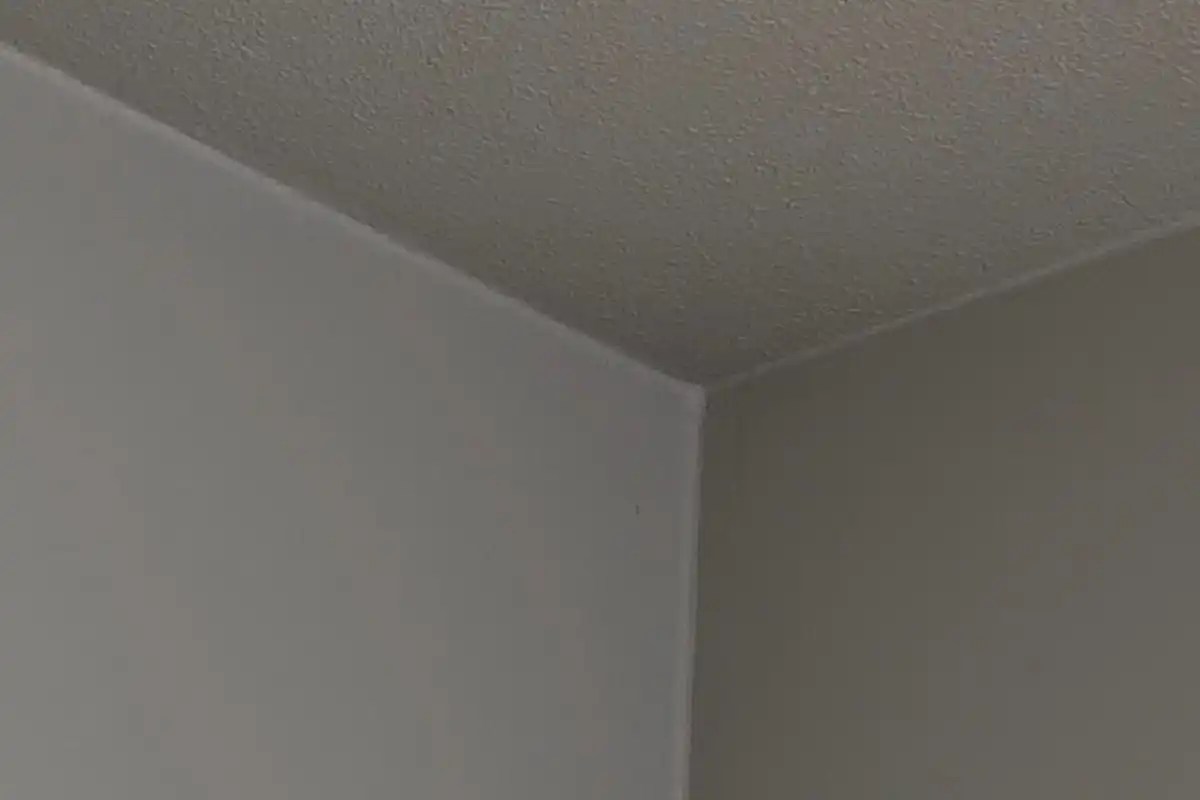
Fast-drying paint on cheap, watery acrylic still shrinking will craze. Use a high-solids paintable acrylic, tool it without washing-up liquid, wait for a firm skin, then paint. Do not paint silicone.
Buying through a product link may earn us a commission at no extra cost to you.
Is the crack in the paint or the caulk?
The living room was plastered and painted. A week later the ceiling line looks like a dry riverbed: hairline cracks in the paint, opening and closing along the bead. People blame the painter — “the paint does not cover”. The film on top is often doing its job. The problem is usually under it: the wrong acrylic, or the wrong drying race between water-based paint and water-based sealant.
Both products lose water to harden. Modern wall paint skins quickly. That skin becomes less elastic. Cheap acrylic is full of water and filler. As it continues to shrink, the paint film is already hard. Tension opens the film. That is craquelure, not a mystery brand of emulsion.
Material, then timing
A high-solids painter’s acrylic (I use OTTOSEAL A205 on smooth plaster, A215 where the wall has grain) shrinks far less because there is less water to leave. It is made to take water-borne paints rather than shock them into crawling. It is still not a licence to roll over a wet sausage.
Cartridges that say “overpaintable immediately” mean you can put paint on a fresh skin. The bead underneath may still be soft. A brush that catches it smears the profile. On a thicker corner I wait until the skin is firm; overnight is ordinary sense, not a laboratory number. “Wet on wet” can work in skilled hands. It is also how DIY craze happens.
Do not tool acrylic with washing-up liquid
The classic DIY move: a finger full of detergent to slick the bead. Detergent is grease. Paint then refuses the surface, or you get fish-eyes in a later varnish. I tool acrylic dry, or with a finisher sold as overpaintable. That is a different liquid from shower tooling soap, and it is not saliva either.
Dry-fit the FUGENFUX profiling tool. Choose the edge that meets both sides without scooping out the middle, then tool the bead before a skin forms.
If it has already cracked
Rolling another coat over the craze usually reprints the same map. Cut out the failed bead, or fill a deep hollow with a proper non-shrinking filler, then reseal with a decent acrylic and paint again. Superficial dirt on a sound, uncracked bead is cleaning, not recutting.
Silicone is a dead end here
You cannot paint sanitary silicone. Paint pearls and flakes. Skirtings, ceilings, interior frames: acrylic. Shower, tray, wet splash: silicone. Mixing them because “a cartridge is a cartridge” is how you get both a leak and a paint disaster.
Skirtings that crack at the wall often have the same shrinkage story, plus a board that moves. Same chemistry, same patience.
Before opening the cartridge, try the Presch silicone gun in the tightest corner. Check you can turn your wrist and release pressure at the end of the run.
Tools and materials for this job
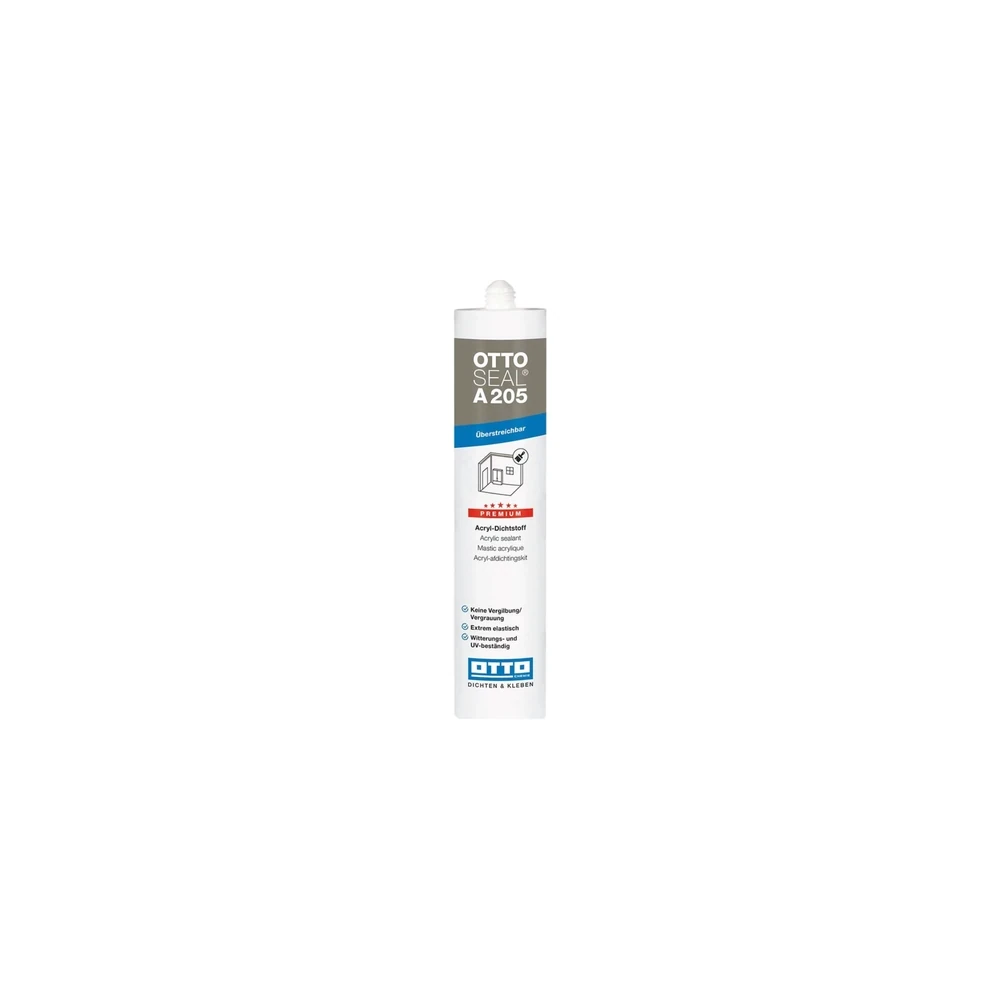
OTTOSEAL A205
For a dry joint that will be painted. Check movement and paint compatibility.

Presch silicone gun
Manual cartridge gun. Check you can release pressure in the last centimetre.

FUGENFUX
Profiling tool. Dry-fit the edge that reaches both sides of the joint.
Exceptions
A hairline in the middle of a wall, away from any bead, is plaster or substrate movement. Recutting the corner will not hide that. A structural split needs a builder, not a fatter tube of acrylic.
-
Seal before or after painting?
Check whether the sealant accepts paint and when it can be coated. A sample lets you spot beading before painting the joint.
-
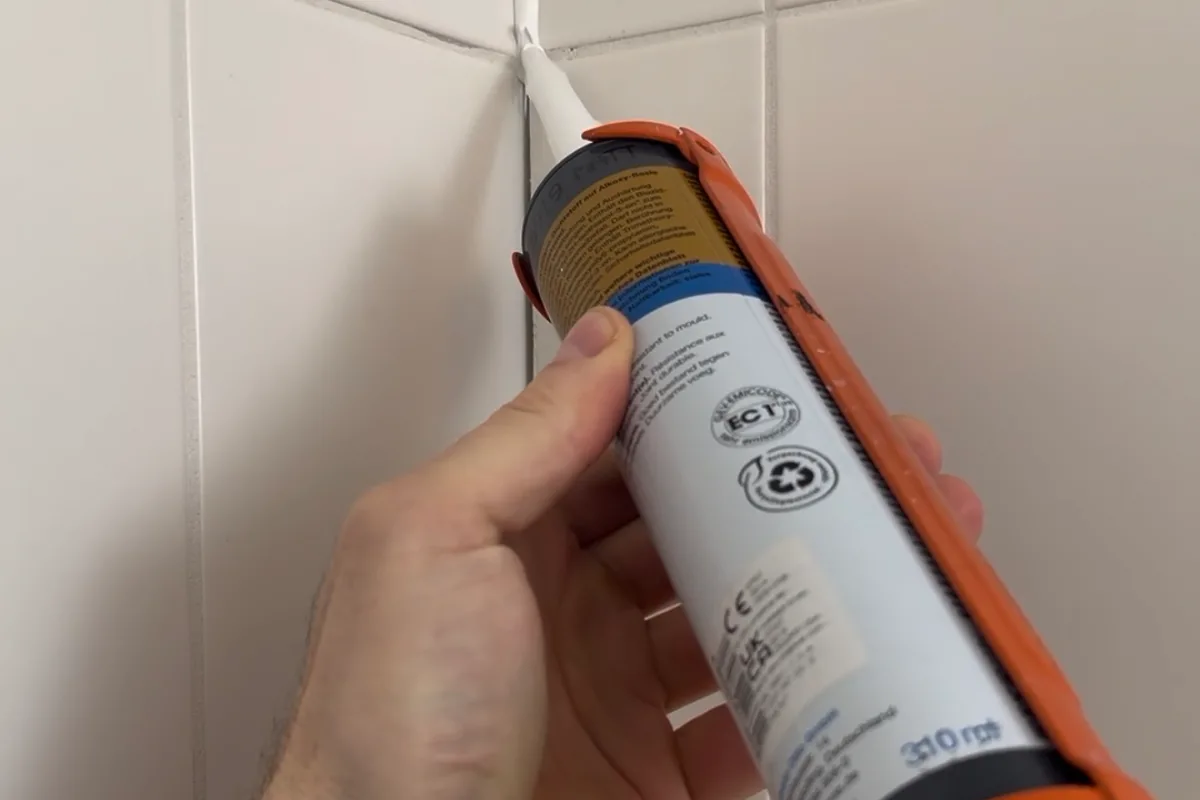
Can you paint silicone sealant?
Check that the specific sealant accepts paint and try the combination on an offcut. For a shower bead, choose the cartridge colour.
-
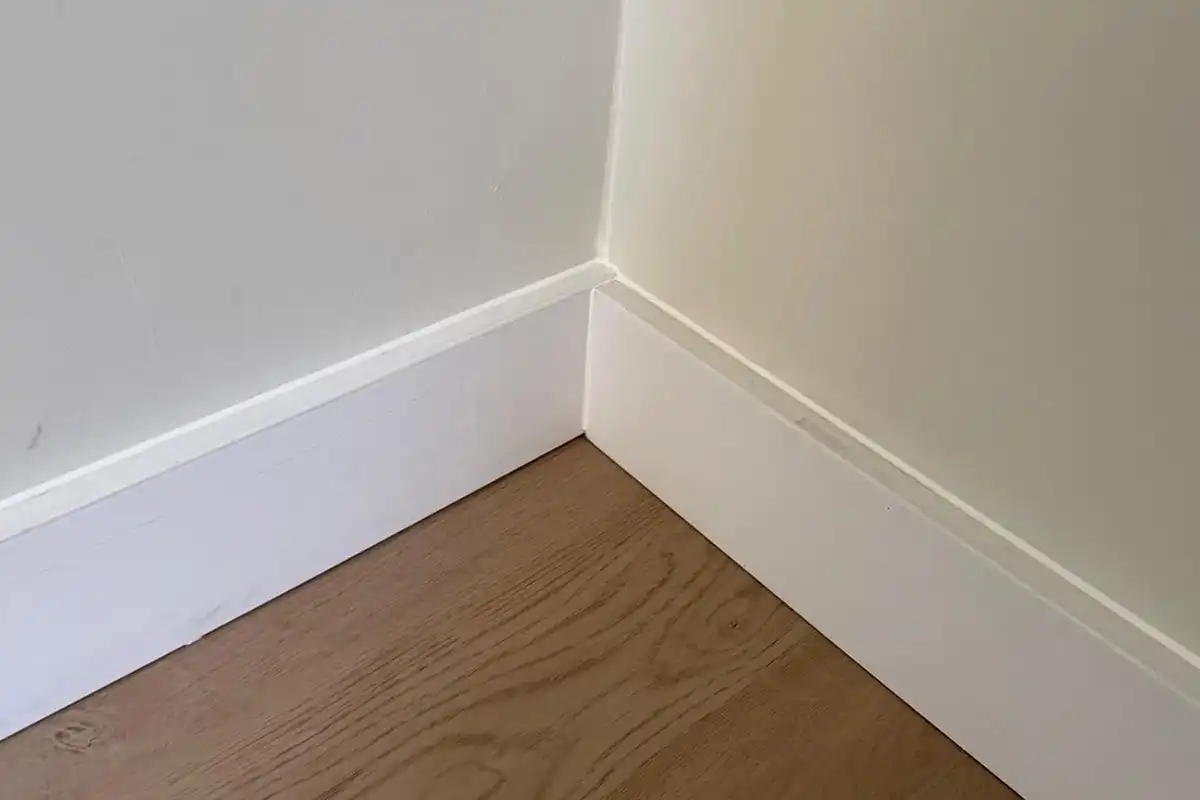
Cracked paint along a skirting board
Look for a split in the paint, the sealant or the board itself. Repainting only addresses the first of those problems.