
Seal a shower screen inside or outside?
Trace the water through the frame. Your model’s installation drawing identifies the side to seal and the outlets to leave open.
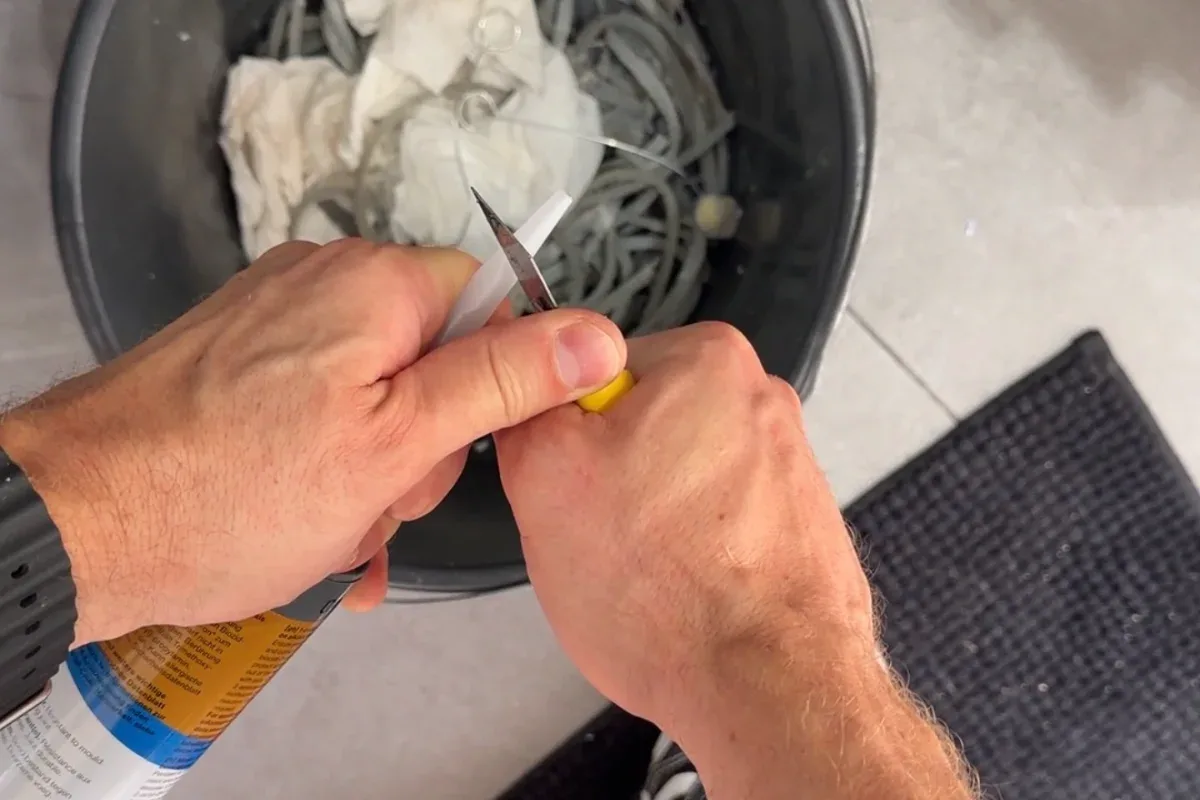
On many systems you seal outside and leave the inside open, unless the maker says otherwise. Sealing both sides can trap water in the profile.
Buying through a product link may earn us a commission at no extra cost to you.
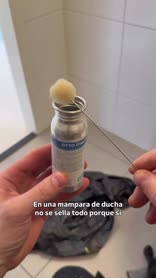
Follow the frame drainage path
“More silicone, more watertight.” On a framed screen, not always. Some shower water or condensate gets into the aluminium. Many systems are designed so that water runs back to the shower side. If you close inside and outside blindly, you block that path. Water sits in the profile, finds another way out, and you get mould, dirt or a leak on the dry side.
Look at the profile, not only the glass. The fitting instructions for that screen decide: sometimes the maker wants inside, outside or both, at specific points. There is no single recipe.
Elastic joints in the tiling — wet-room corners and meetings — are a separate job. Those take sanitary silicone, for example OTTOSEAL S100 where the substrate allows it. That does not replace the profile’s seal drawing.
Before opening the cartridge, try the Presch silicone gun in the tightest corner. Check you can turn your wrist and release pressure at the end of the run.
When to seal — and when not
Yes, the dry side (outside) when the maker asks you to seal profile–wall, profile–tray or profile–tiled floor on the outside.
Not the shower side by habit if the profile drains inward. A bead on the bottom edge, wet side, is the one that most often blocks the return.
Inside only if the manual says so. Some systems have nodes that go inside or on both faces.
No acrylic sealant in the shower zone. Not any silicone on natural stone: that wants a stone silicone (OTTOSEAL S70). Not a new bead over the old one. Not washing-up liquid as a tooling soap: it leaves residue and marks the surface.
An extra bead around the profile does not fix failed waterproofing behind the tiling.
Dry-fit the FUGENFUX profiling tool. Choose the edge that meets both sides without scooping out the middle, then tool the bead before a skin forms.
How I do it
- Read the manual: where the maker wants silicone.
- Check whether someone has already blocked drain holes, and whether there is moisture under or behind the profile.
- Clean tile, tray and aluminium. Dry, dust-free, degreased. Where it fits, OTTO Cleaner T.
- Apply sanitary silicone on the maker’s lines, not “all the way round just in case”.
- Tool it narrow, with proper tools and a professional finisher.
- Do not shower on it at once. About 24 hours is a usual minimum; the product and thickness decide.
If the sealant allows a Smoothing spray, use it sparingly when tooling silicone. Keep it off the bonding faces and check for staining before using it on stone.
If it is already sealed inside
That is not automatically wrong. Find the manual. If the system should stay open on the shower side and it is closed, open that path and reseal where it belongs. If the maker asked for both sides, leave it.
Tools and materials for this job
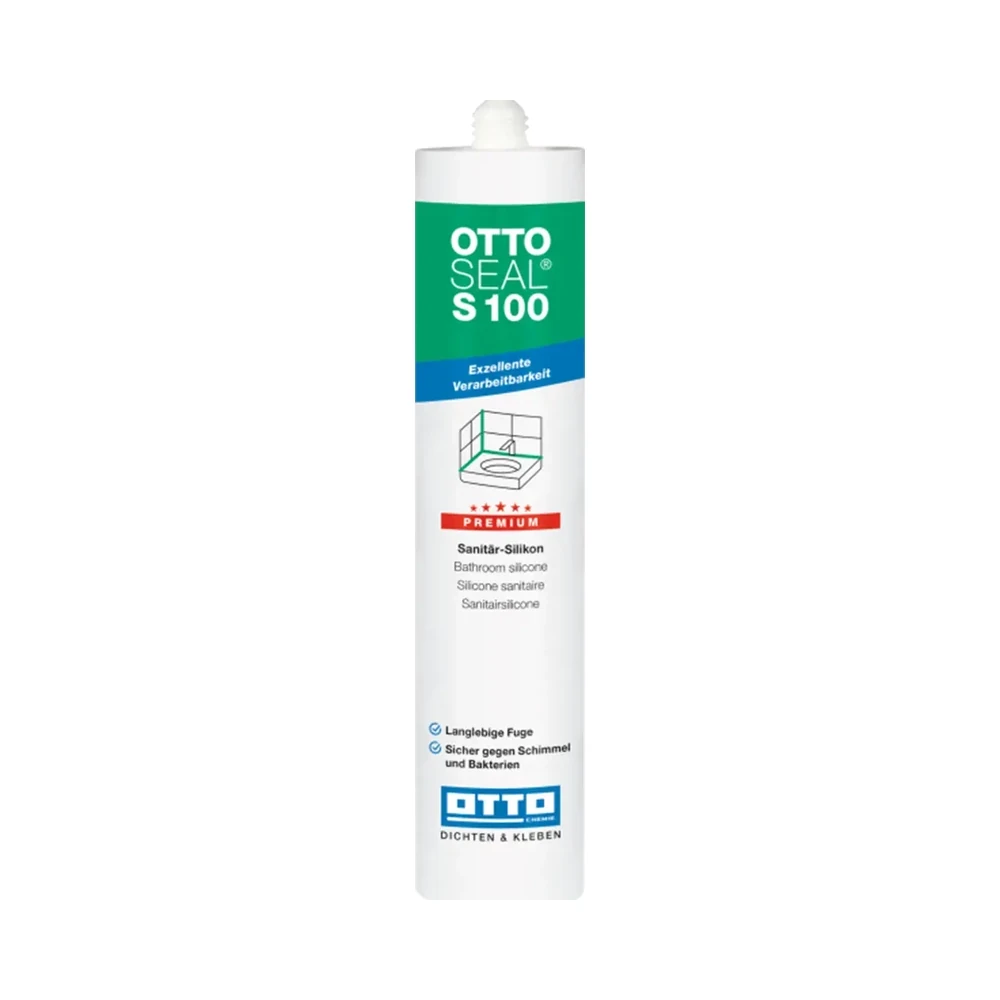
OTTOSEAL S100
Sanitary silicone for compatible surfaces. Check both edges before opening the cartridge.

Presch silicone gun
Manual cartridge gun. Check you can release pressure in the last centimetre.

FUGENFUX
Profiling tool. Dry-fit the edge that reaches both sides of the joint.
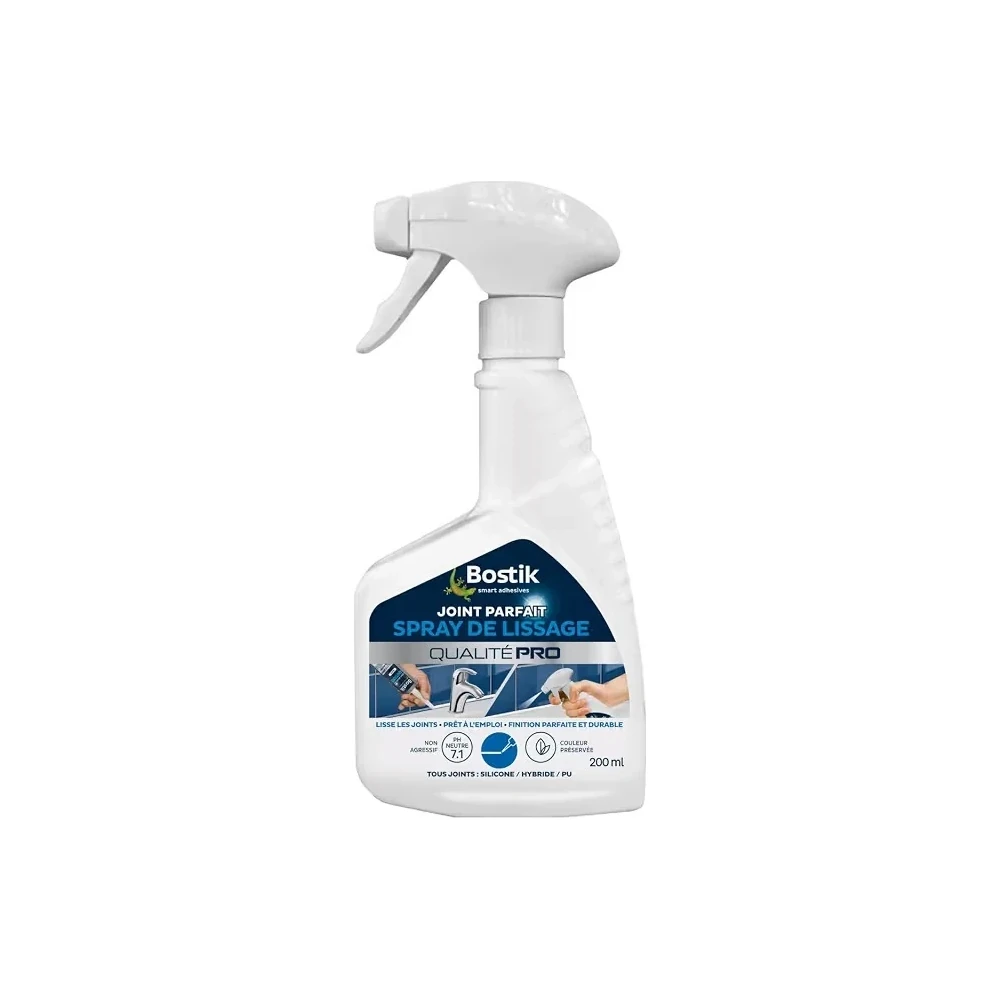
Smoothing spray
For tooling silicone where the manufacturer allows this agent. Keep bonding faces dry.
Exceptions
A frameless screen, or a system with a different drain scheme, is not the catalogue aluminium frame. The tiling behind still needs its elastic joints even if the profile drains well.
-
Water behind a shower profile: which openings stay clear?
Trace the water through the frame and locate the outlets on the installation drawing before applying sealant.
-
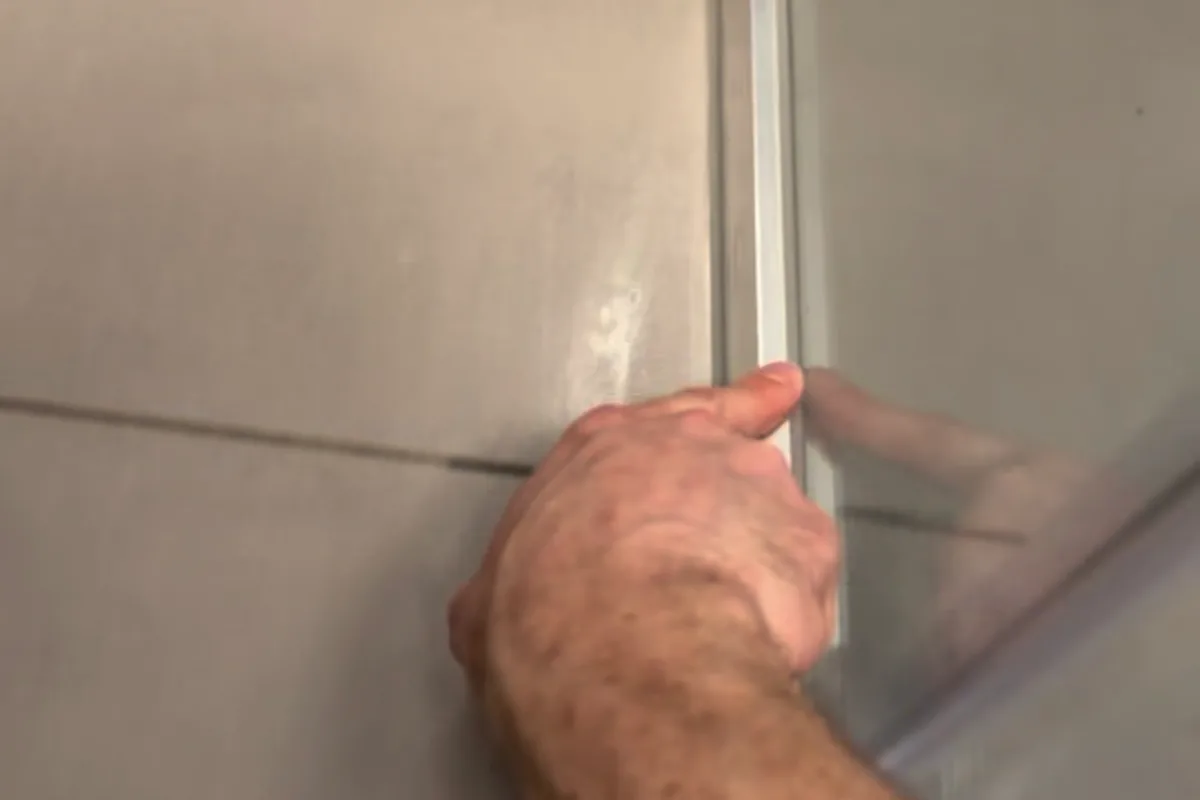
How to seal a level-access shower
Identify the wall-to-floor joint, the drain channel and the waterproofing below the tiles. A visible bead only seals its own junction.
-
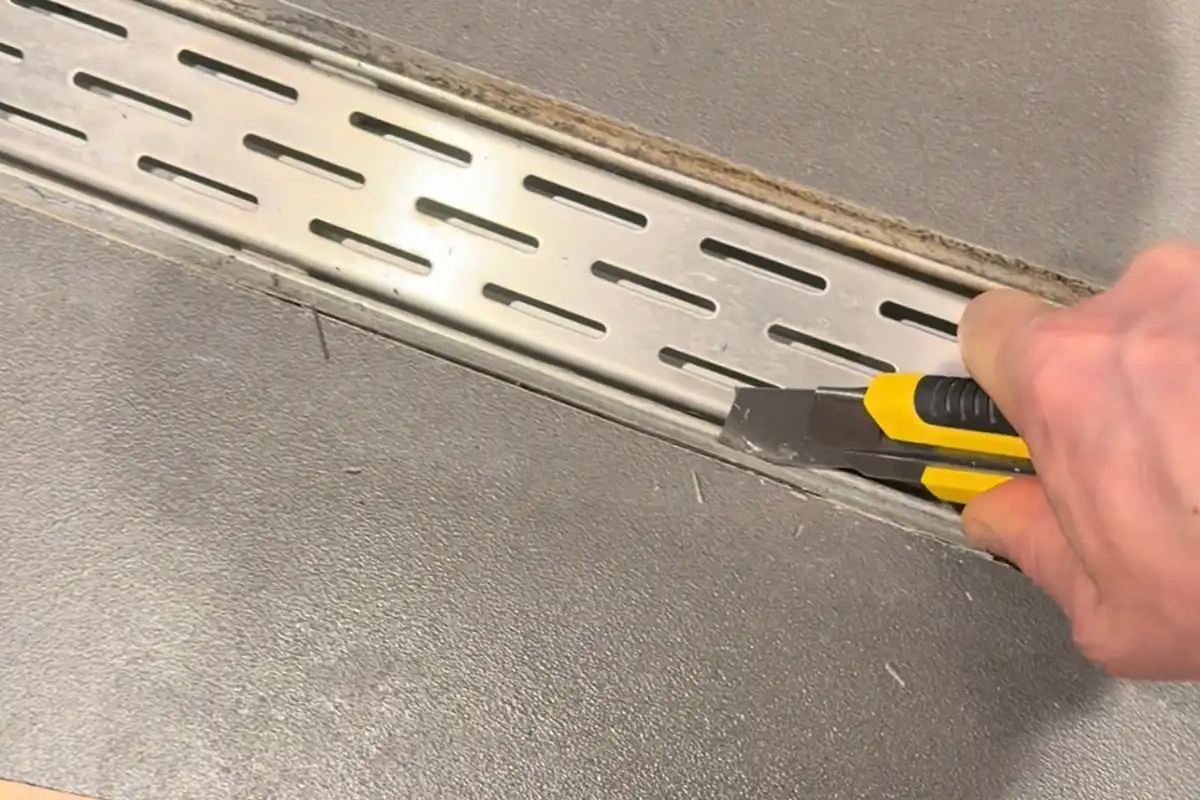
How to seal a shower tray and bathroom joints
Start where the tray meets the wall. The screen has a separate drainage path and its own fitting instructions.