
How to seal around a floor-mounted toilet
Check the fixing and flush for leaks first. Finish the visible edge only when the pan is stable and the waste connection is sound.
Floor-standing pan: a joint around the foot, for hygiene. Wall-hung: sides and crown; 1–2 cm left open at the bottom can flag a leak from the in-wall cistern. A rocking pan is not glued with silicone.
Buying through a product link may earn us a commission at no extra cost to you.
What the bead around the pan does
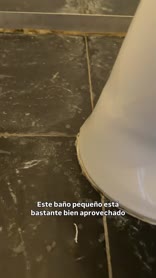
The joint between ceramic and tile stops mop water, urine and dirt creeping under or behind, where you cannot clean. That is where the smell and the mould start. It also follows a little movement between a hard floor and the ware.
That does not make silicone a structural adhesive. A rocking pan is screwed or packed. A fat bead to hide a few millimetres of play fails as soon as someone sits: cohesion (tear through the middle) or adhesion (peel from the flank). A leaking waste collar is not “closed” with paste you can see.
Before opening the cartridge, try the Presch silicone gun in the tightest corner. Check you can turn your wrist and release pressure at the end of the run.
Floor-standing and wall-hung
Floor-standing: yes, around the foot, continuous, so nothing creeps under.
Wall-hung: yes on the sides and top, with neutral sanitary silicone. At the bottom many of us leave 1–2 cm open. If the in-wall cistern drips, the water comes out where you can see it, not into the partition. Seal it all round and you lose that witness.
Not yet if the pan moves. Mechanics first.
Dry-fit the FUGENFUX profiling tool. Choose the edge that meets both sides without scooping out the middle, then tool the bead before a skin forms.
How I do it
- Check it is firm, with no play.
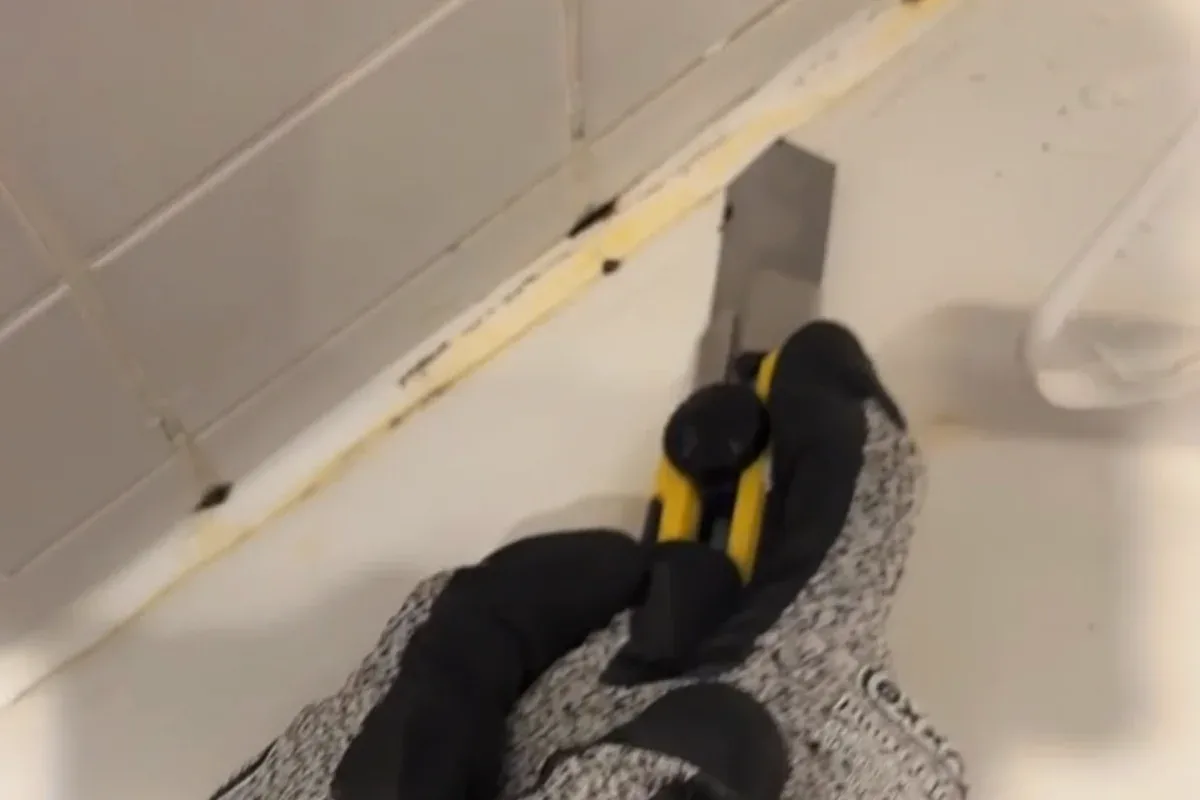
- Strip all the old sealant. Degrease the flanks with a technical cleaner and a lint-free cloth.
- On a wall-hung pan, if there is an acoustic mat behind, trim it to the outline of the ware so you do not bond on three faces.
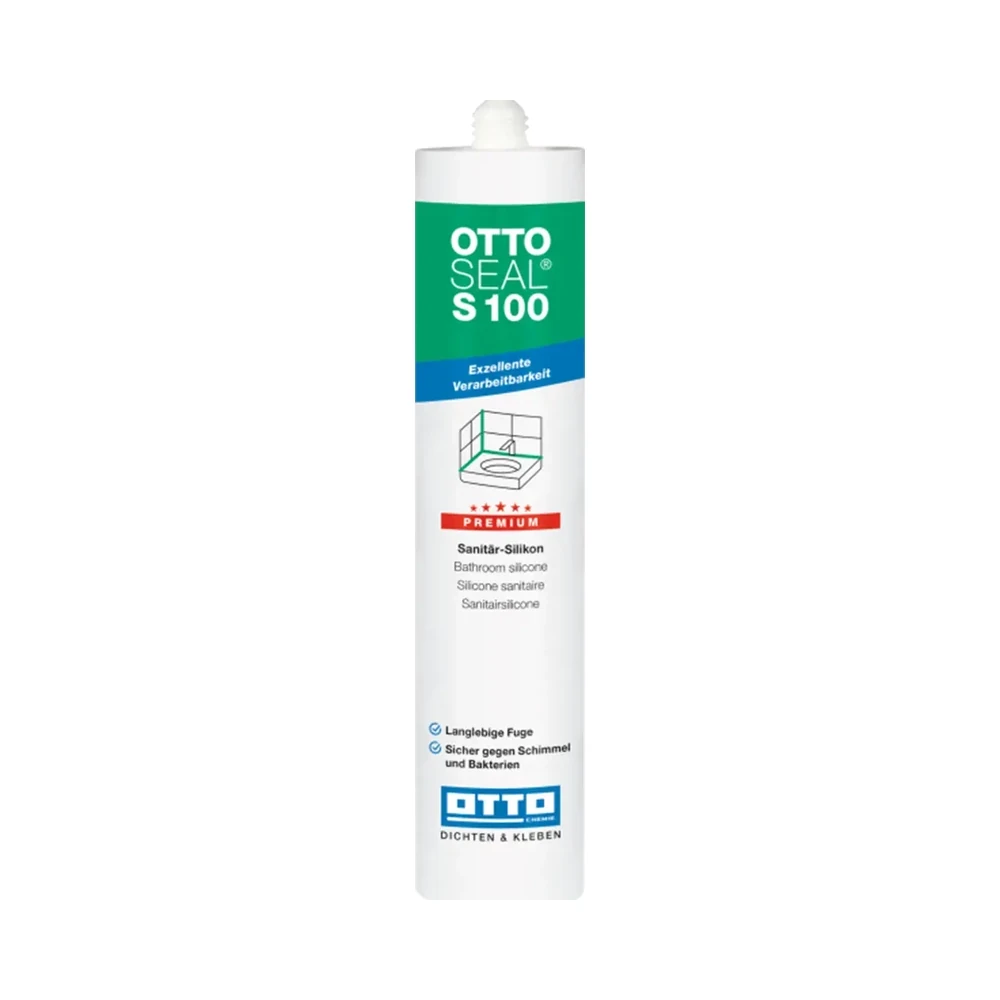
- Apply neutral sanitary silicone (OTTOSEAL S100 here), fill the meeting, tool a soft radius.
- Let it cure. Keep water and weight off for the first day, depending on depth.
Do not use acrylic sealant around a WC: mop water eats it, it yellows and it grows mould. Do not gun fresh silicone over the old.
Mistakes I see
Uneven floor tiles: the bead goes from fat to a smear. The smear fails first. A cracked old joint: under the pan it rots what the cloth cannot reach.
Tools and materials for this job
OTTOSEAL S100
Sanitary silicone for compatible surfaces. Check both edges before opening the cartridge.

Presch silicone gun
Manual cartridge gun. Check you can release pressure in the last centimetre.

FUGENFUX
Profiling tool. Dry-fit the edge that reaches both sides of the joint.
Exceptions
An internal waste leak or a loose pan: plumbing, not more silicone. The witness gap on a wall-hung pan is trade habit, not a factory dogma; if the system wants it closed, close it, but then you have no visual warning.
-
Grout or silicone in shower corners?
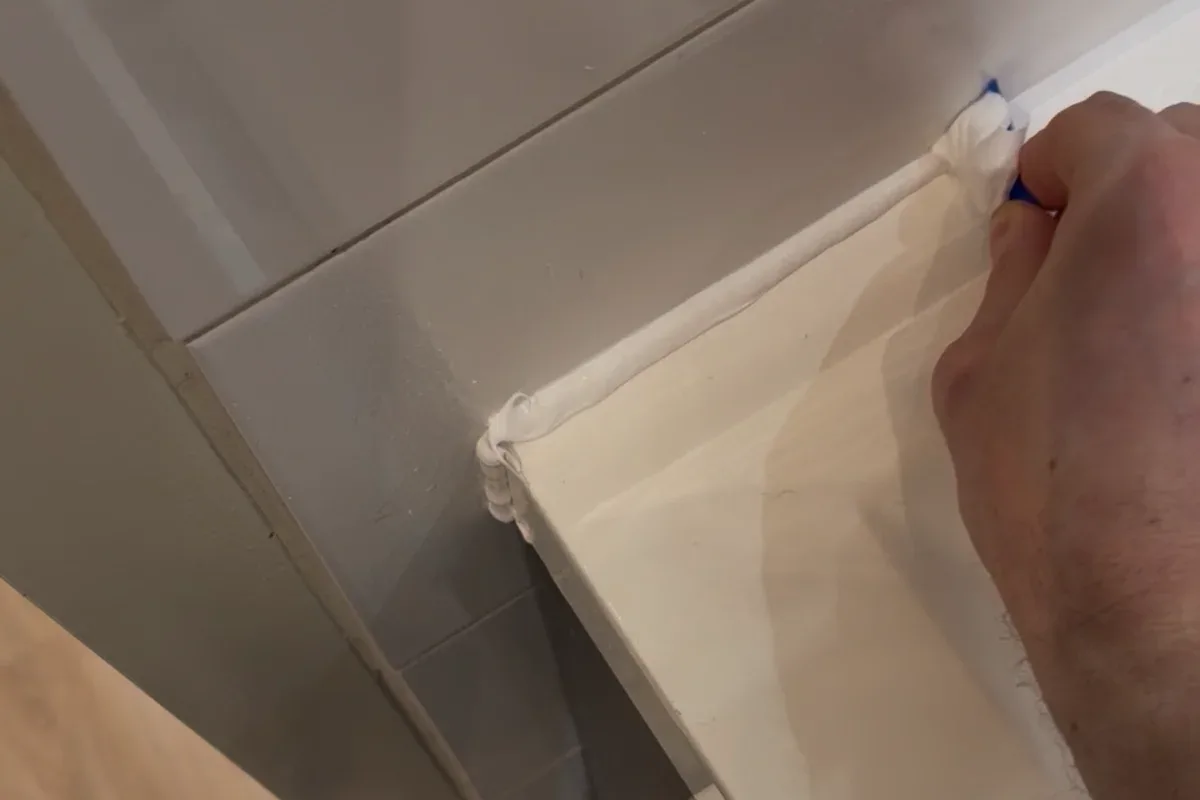
Distinguish joints between tiles from a change of plane between walls. Check how the junction is designed to move.
-
When to leave a joint open
Identify moving parts, drainage openings and water arriving from behind. Each needs a different decision.
-
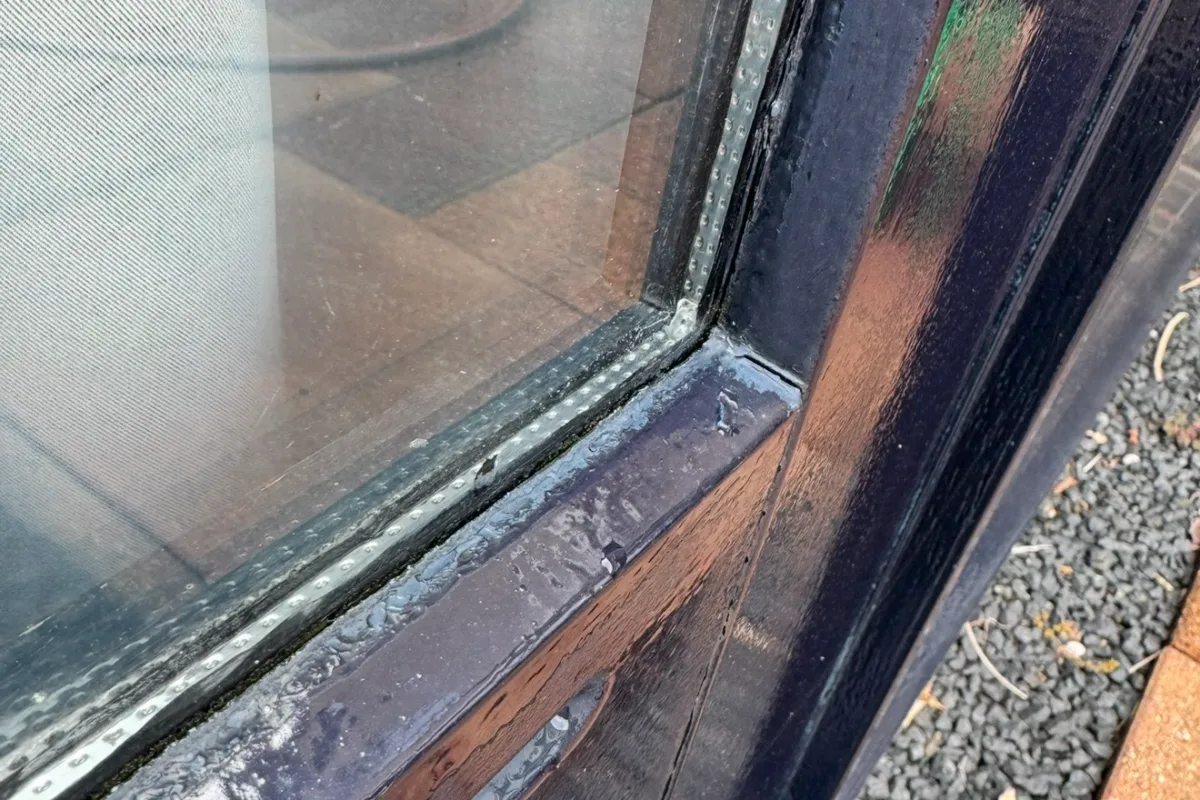
How to spot a poor sealant joint
Inspect the edges, breaks and voids. A wavy line can be cosmetic. A lifting edge can admit water.