
How to spot a poor sealant joint
Inspect the edges, breaks and voids. A wavy line can be cosmetic. A lifting edge can admit water.
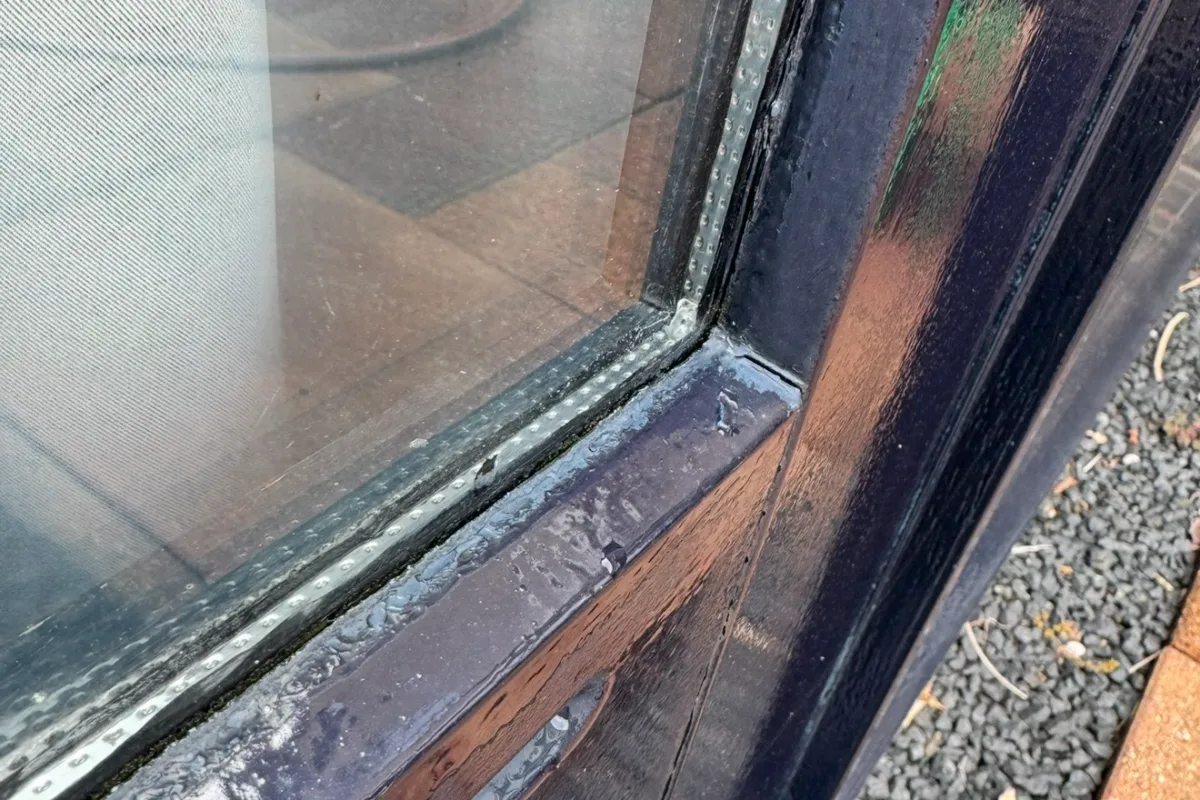
A decent bead is even in width, has real mass, sheds water, and is clearly bonded to both faces. If the joint is hollow, full of pinholes, or you can get a fingernail behind it, it is not a cosmetic niggle: it needs replacing.
Buying through a product link may earn us a commission at no extra cost to you.
What a lifting edge tells you
The bathroom has just been finished, or you are viewing a flat, and the silicone “does not feel right”. Most people look at whether the line is straight. I look at three things: whether there is body, whether it bonds, and what profile the bead has.
An ugly line that is well stuck and has mass can still be watertight. A magazine-perfect line that has let go of the tile is a water path. The second is worse.
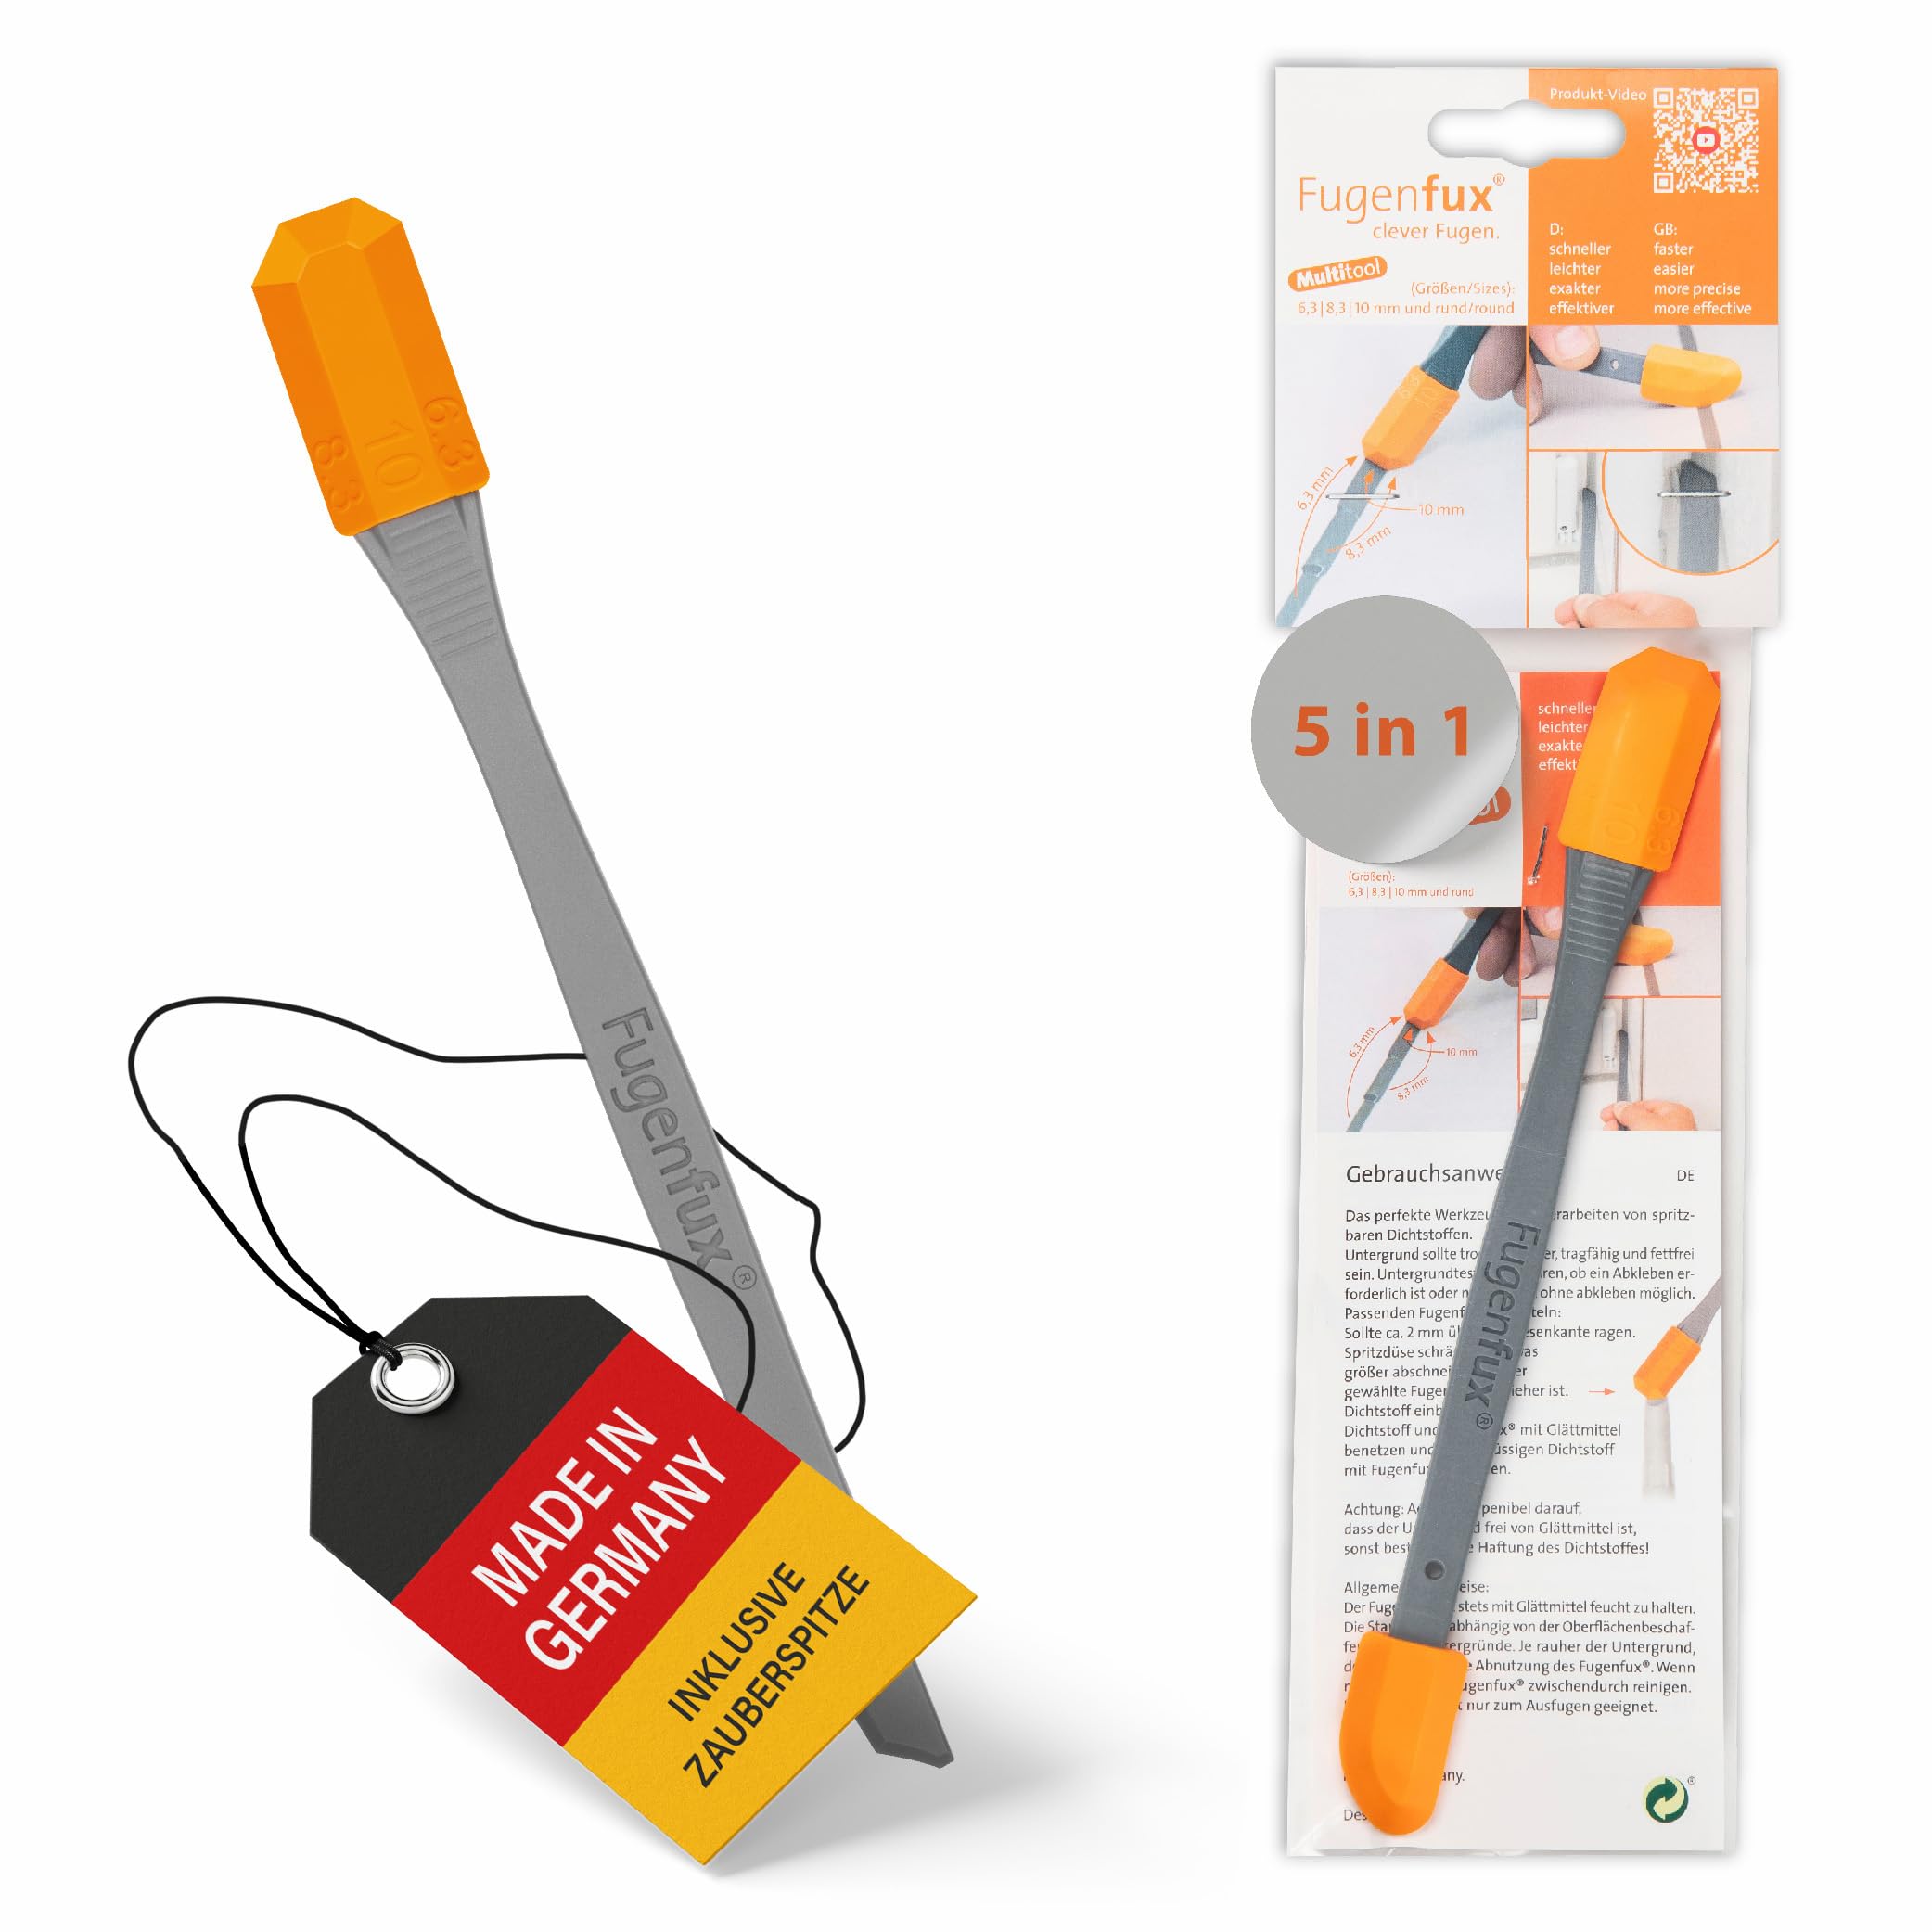
Dry-fit the FUGENFUX profiling tool. Choose the edge that meets both sides without scooping out the middle, then tool the bead before a skin forms.
What proper work looks like
The bead is reasonably even in width. It forms a triangle or a gentle fall, not a gutter, so water runs towards the tray or floor. To the touch it is smooth and rubbery, not like dried putty. On the flanks you can see it actually meets tile and tray (or floor), rather than sitting on top of the grout.
As a rule of thumb on site we want about 4 to 6 mm of bond face on each flank. A millimetre-thin smear will not take the pull when the building or the tray moves a little.
Ugly amateur versus leak risk
Looks rough, sometimes still closed: bubbles, fingerprints, ragged edges, sealant smeared far onto the tiles. Ugly. Not always a leak.
Actually dangerous: you can hook a nail behind the bead (it has let go). There are holes. Or the joint is hollow, like a channel where water sits. That is not a “touch-up”: it comes out and goes back in properly.
The hollow joint, the classic
Plenty of DIY jobs, and more than a few rushed trades, tool the bead too hard with a finger and take most of the silicone with them. What remains is a thin skin in the middle. It looks discreet. At the first bit of movement it splits.
A full joint needs mass so it can stretch and recover. Water and soap also sit in a hollow channel. You can clean every day; mould still arrives early.
In a deep joint with no backer rod, the silicone bonds to the back as well: three-sided adhesion. Then it cannot move and often tears through the middle (cohesive failure). Closed-cell PE backer rod forces a two-face bond.
How to inspect without drama
Wipe off soap and surface dirt. Sometimes “dirty silicone” is just muck.
Use your phone torch along the joint, not straight on. Shadows show lumps, lift and gaps.
Set a fingernail carefully on the flank. If the bead pops off the tile with no fight, there is no adhesion. Press the centre: if it springs back like rubber, good; if the dent stays like Plasticine, either the wrong product went in or the cartridge was past it.
A surface air bubble is a weak spot. Pierce it and water sits there. It is often haste or a cold cartridge.
Before opening the cartridge, try the Presch silicone gun in the tightest corner. Check you can turn your wrist and release pressure at the end of the run.
Mistakes that give the job away
Tooling with spit: a load of bacteria into the bead. A proper tooling fluid or a clean spatula, not Uncle’s trick.
Acrylic sealant in the wet zone: it goes hard, water does not treat it like sanitary silicone, and it often dries matt with crazing. Not in the shower.
A fat, lumpy bead on top of another: someone has almost certainly shot over old mould. Fresh silicone does not bond to cured silicone.
Where the detail calls for sanitary silicone on two compatible surfaces, consider OTTOSEAL S100. Porous stone needs a stone-compatible product.
Tools and materials for this job
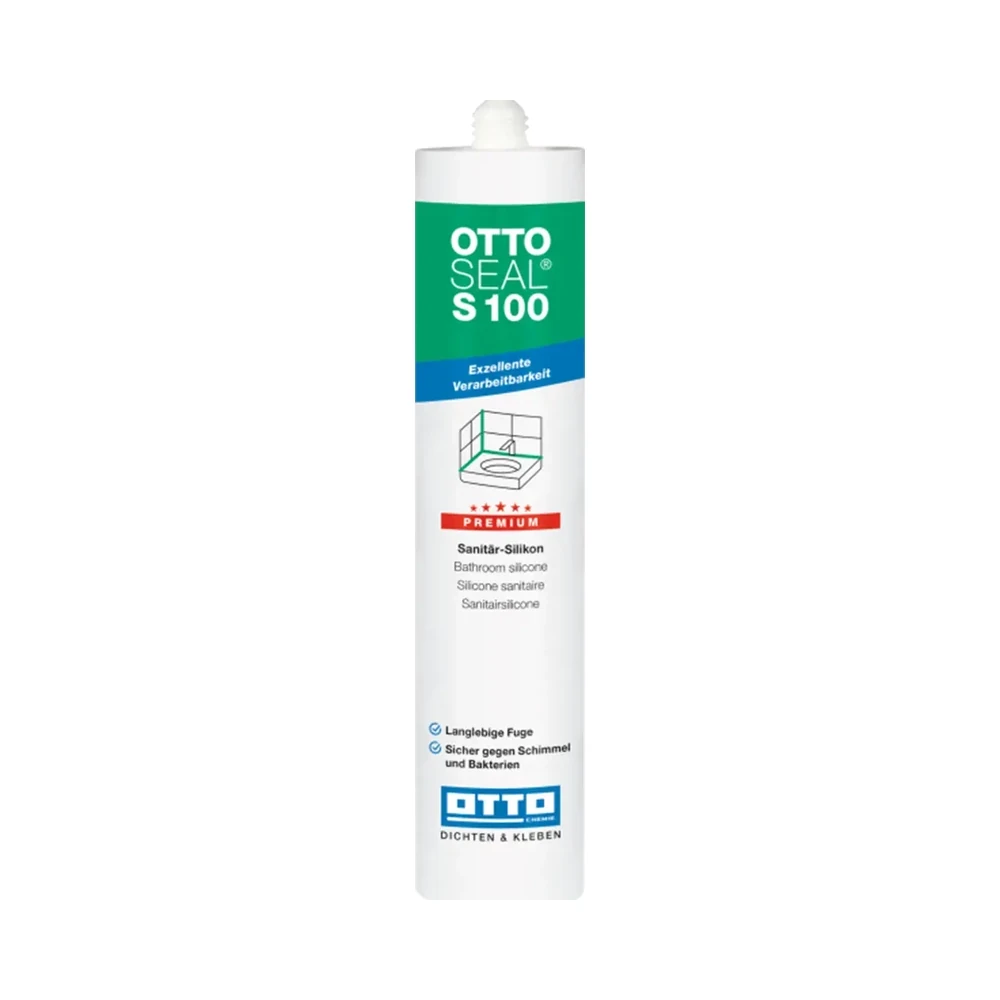
OTTOSEAL S100
Sanitary silicone for compatible surfaces. Check both edges before opening the cartridge.

Presch silicone gun
Manual cartridge gun. Check you can release pressure in the last centimetre.

FUGENFUX
Profiling tool. Dry-fit the edge that reaches both sides of the joint.
When it is fair to complain
The bead is not a steel rule: if the flanks hold and there is mass, it can be watertight even if the line wobbles a millimetre. Loss of adhesion, or acrylic where silicone should have been, is a technical defect, not a colour whim.
-
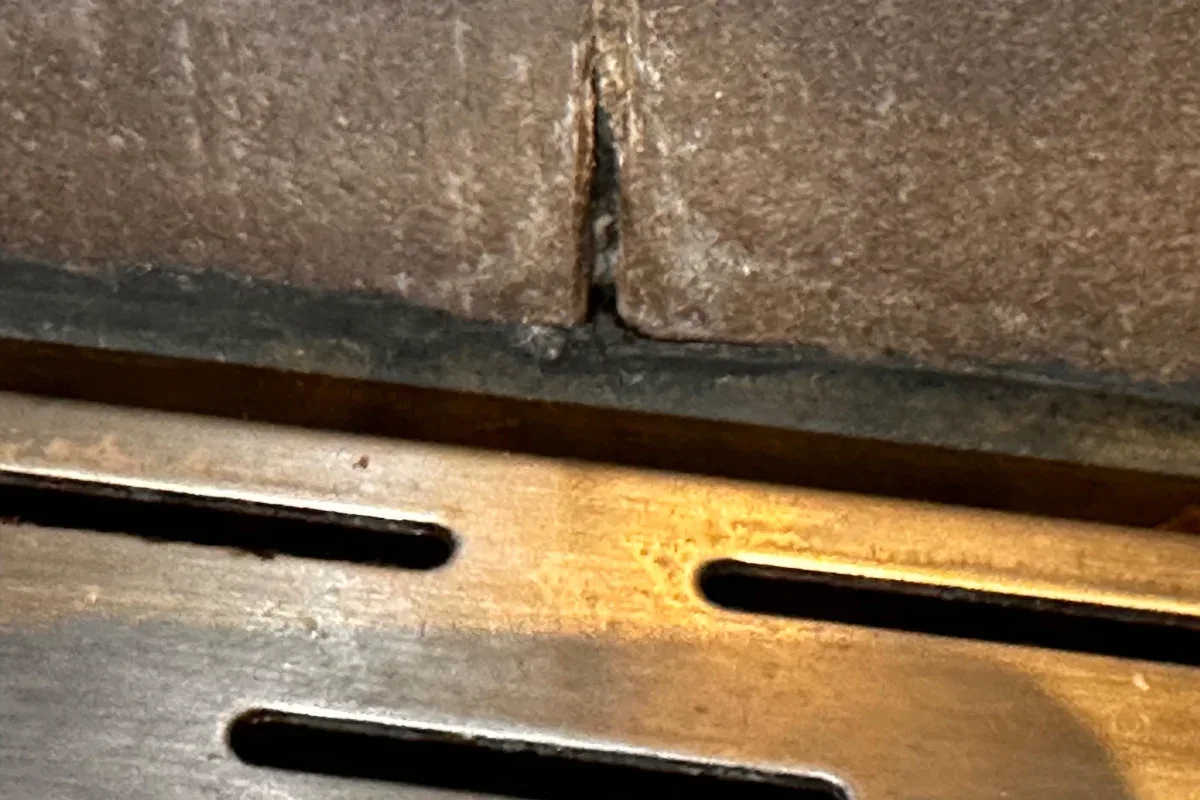
Why is a sealant bead hollow or ragged?
Look along the bead. Voids and torn edges can point to interrupted application or smoothing after a skin formed.
-
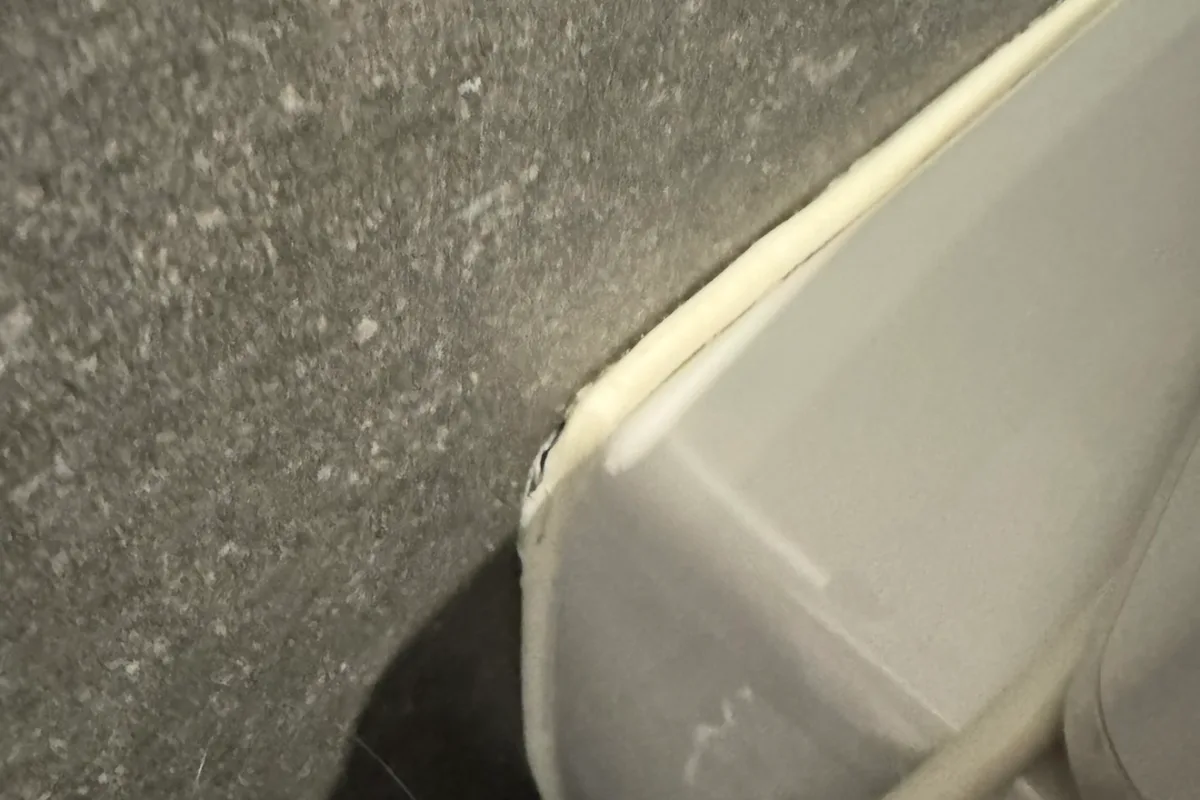
When should you replace a sealant joint?
A discoloured bead and a lifting edge need different checks. Trace water behind a profile before cutting anything out.
-
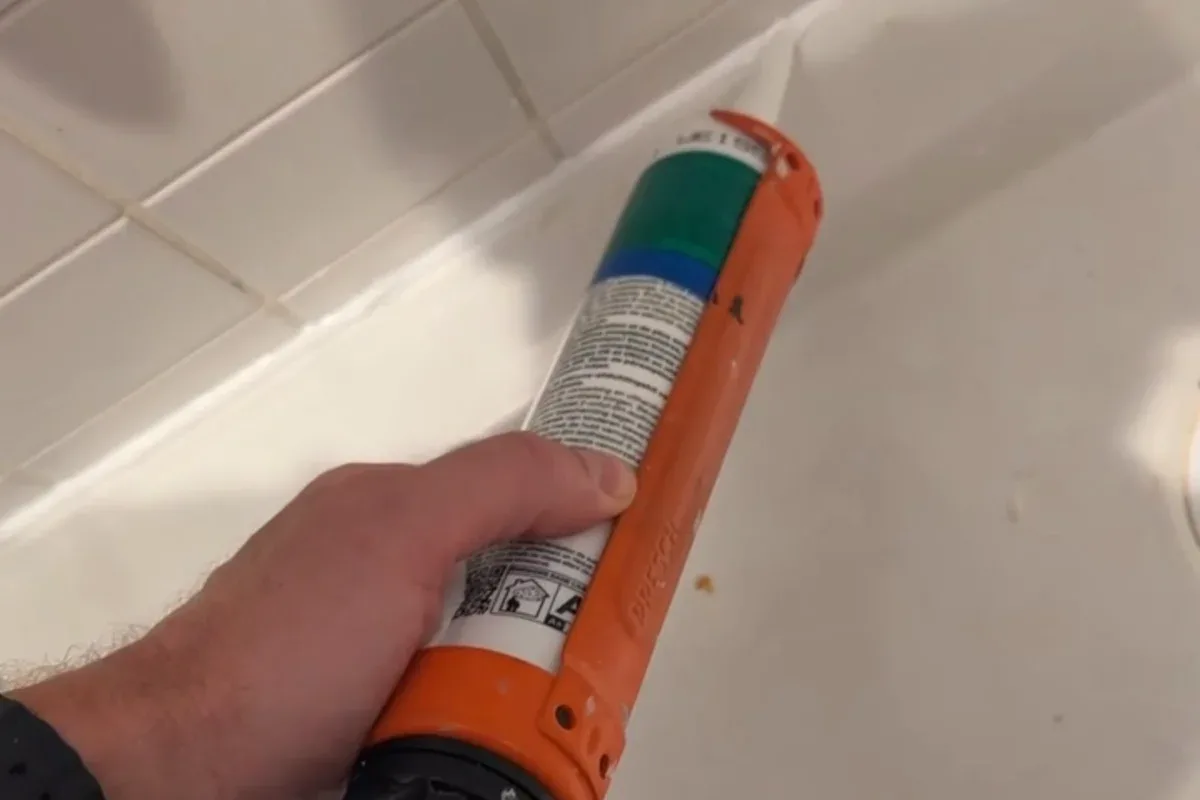
Why sealant needs two-sided adhesion
Look at a cross-section. The sides hold the bead. A third bond at the base restricts the material that can stretch.