
What to check when a shower tray moves
Check the support and movement under load before stripping out sealant. A new bead cannot stabilise the tray.
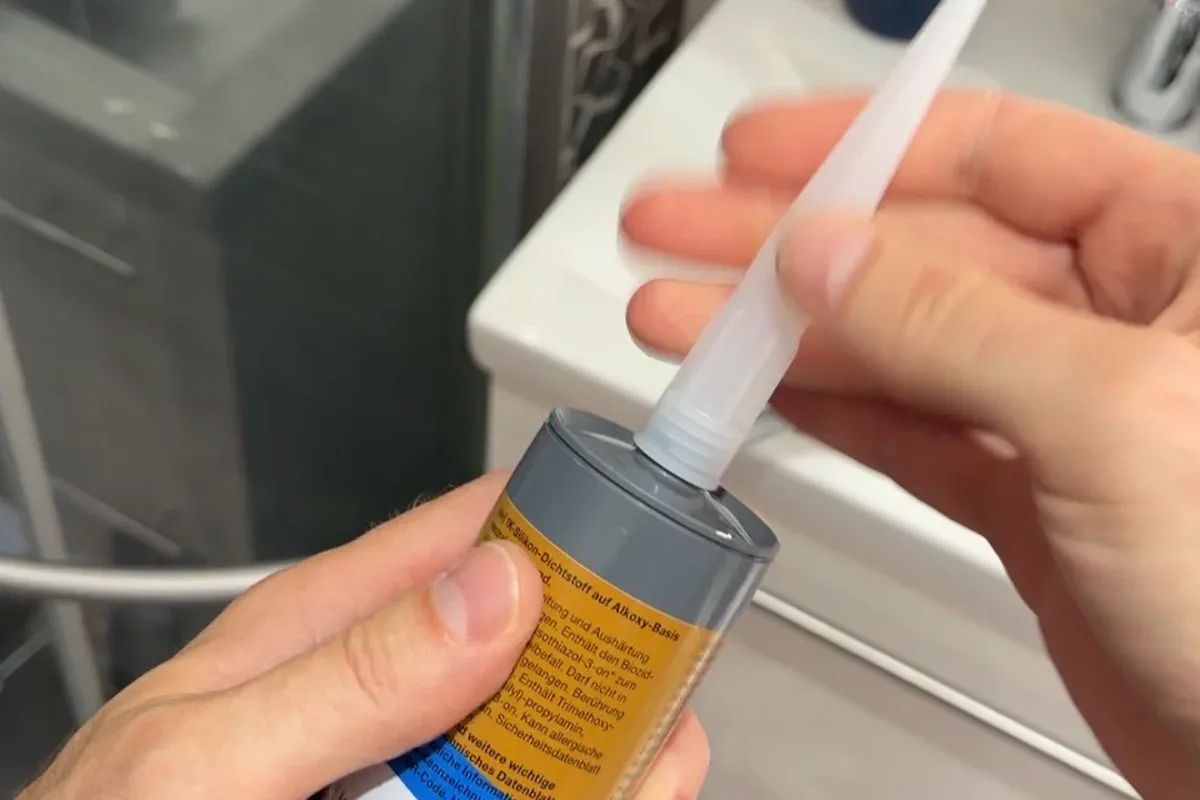
If the tray flexes, creaks or drops when you stand in it, fix the support first. A fatter bead of silicone will still tear. Seal only when the tray is stable.
Buying through a product link may earn us a commission at no extra cost to you.
What movement can the tray joint accommodate?
Sanitary silicone is an elastic seal. It follows small movement between tray and tile. It is not a structural adhesive, not packing for a hollow support, and not a way to lock a rocking tray in place.
A thicker bead does not change that. Elastic sealant has a limited amount of stretch. If the tray lifts and drops by millimetres every time someone stands in it, the joint is overloaded. It then tears through the middle (cohesion) or lets go of the tile or the tray edge (adhesion).
Before opening the cartridge, try the Presch silicone gun in the tightest corner. Check you can turn your wrist and release pressure at the end of the run.
When to reseal — and when not to
Reseal when the tray itself is firm and only the old silicone is tired, stained or mouldy.
Do not reseal yet when the tray springs, creaks or sags as you step in. Repeating the joint while the support still moves is wasted work: the new bead fails the same way.
Dry-fit the FUGENFUX profiling tool. Choose the edge that meets both sides without scooping out the middle, then tool the bead before a skin forms.
How to check
Stand in the empty tray, then with your weight where you normally stand under the shower. Watch the line between tray and wall. If that gap opens and closes, or you feel flex underfoot, the problem is the support — not a missing millimetre of silicone.
How that support is built (adjustable feet, a mortar bed, a board, packing, or something else) depends on that tray’s installation instructions. There is no single method that fits every acrylic, steel or ceramic tray. Follow the maker of the tray, not a universal “fill it with foam” recipe.
Where the detail calls for sanitary silicone on two compatible surfaces, consider OTTOSEAL S100. Porous stone needs a stone-compatible product.
After the tray is stable
Only then treat it as a normal shower joint:
- Cut out the old sealant fully and clean the flanks.
- Degrease with a technical cleaner and let the faces dry.
- Use primer only if that substrate needs it.
- If the joint is deep, set closed-cell PE backer rod so the sealant bonds on two faces, not three.
- Apply sanitary silicone and tool it so water can run off.
Tools and materials for this job
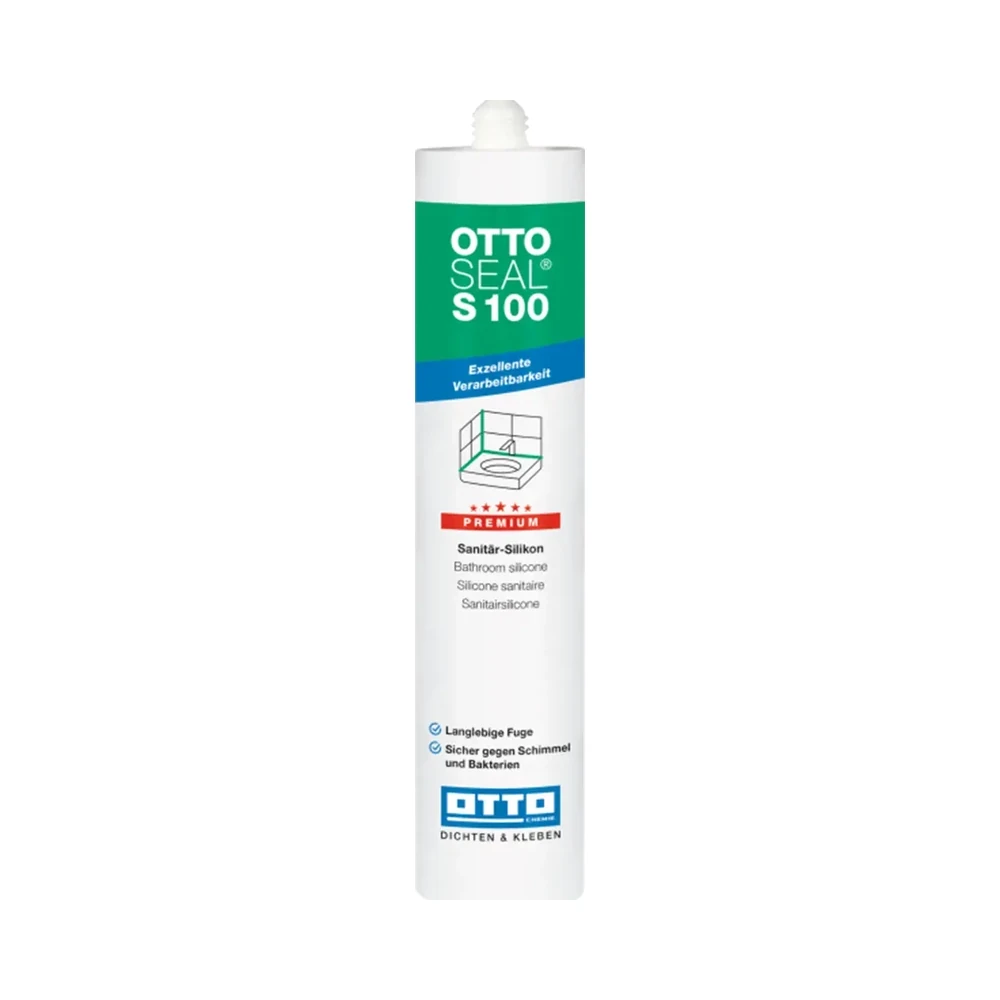
OTTOSEAL S100
Sanitary silicone for compatible surfaces. Check both edges before opening the cartridge.

Presch silicone gun
Manual cartridge gun. Check you can release pressure in the last centimetre.

FUGENFUX
Profiling tool. Dry-fit the edge that reaches both sides of the joint.
Exceptions
Old silicone on a tray that does not move is a joint replacement. A moving tray is a support job first. Do not mix the two.
If water is already behind the tiling, sealing the visible line will not dry that cavity. The leak path has to be understood before you close it again.
-
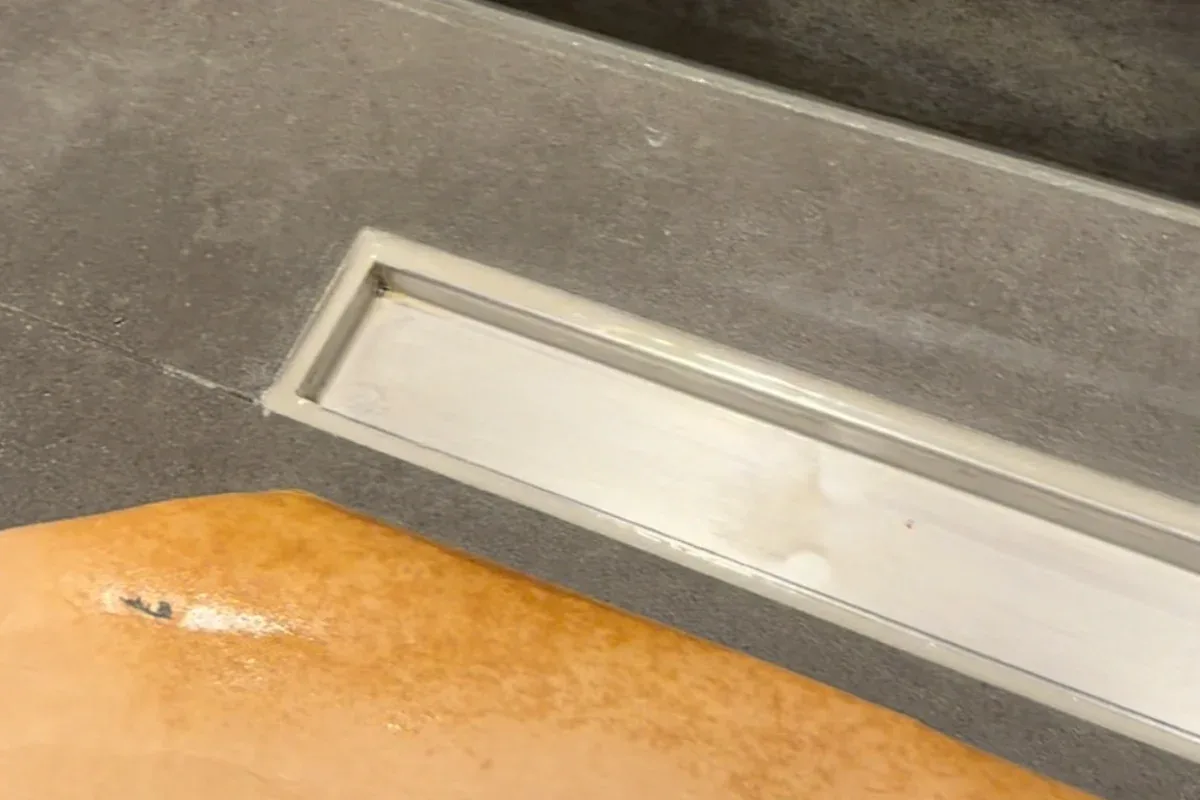
Why silicone peels off a shower tray
Check whether the edge has lost adhesion or the tray itself moves under load. A moving tray needs its support checked.
-
Should you fill a bath before sealing it?
Check the bath supports and the fitting instructions for sealing under load. Fix any rocking before starting the joint.
-
When to leave a joint open
Identify moving parts, drainage openings and water arriving from behind. Each needs a different decision.