
How long does sealing a bathroom take?
Allow time to strip the old bead, prepare and apply the new one, then wait before wetting it. The last interval depends on the sealant.
Someone who does this daily can gun the bead in a standard bathroom in about 2 to 3 hours of active work. If you do it yourself, count more like a weekend (about 8 to 14 hours, learning curve included). If old silicone has to come out, add that time again.
Buying through a product link may earn us a commission at no extra cost to you.
Allowing time for preparation
The myth is “fill a hole”. Real time goes into chemical prep and giving the bead a geometry it can work with. Someone with the motion in their hands pulls the line. Someone without it loses hours correcting and swimming in finisher.
A trade hand, standard bathroom, new bead on faces already clean: 2 to 3 hours of active work is a realistic figure, not a race. You: 8 to 14 hours if you have decent materials and the patience to degrease. Without a proper remover, you also mark tile or acrylic.
When preparing a fresh cartridge, use the Stanley knife as instructed. Cut the nozzle away from your fingers. This cartridge tool is not a scraper for glass, fabric or a shower tray.
Before opening the cartridge, try the Presch silicone gun in the tightest corner. Check you can turn your wrist and release pressure at the end of the run.
Where the clock goes
Roughly, on a job done properly:
- Prep and cleaning (about 40 %): mechanical residue, technical degreaser. White spirit leaves a film; it is not a shortcut.
- Primer and tape, if needed (about 20 %): porous faces; primer wants a wait.
- Apply (about 15 %): the short motion. Here I often use OTTOSEAL S100 or, if the substrate wants neutral, S140.
- Tooling (about 25 %): a profile that sheds water, not a channel.
Backer rod eats minutes too. It stops three-sided adhesion and a split after a couple of years. Worth it.
Too much finisher: the bead floats and will not bond. A little, placed well.
Use Cleanprimer 1101 only where the manufacturer’s primer table specifies it for that sealant and non-porous substrate. Observe the flash-off time. It is not a household cleaner or stain remover.
If the sealant allows a Smoothing spray, use it sparingly when tooling silicone. Keep it off the bonding faces and check for staining before using it on stone.
The doubling rule
Old layer still in? Count the same time again, trade or amateur. Shooting over it is not a saving: fresh silicone does not bond to cured silicone and in a few weeks you have a water path. You have to reach the substrate.
Lay out FUGENFUX beside the run before applying. Time spent looking for a tool matters when the silicone is already starting to skin.
After the line
A skin in an hour is not a seal. At four hours, shower water still distorts a 3–5 mm bead. 24 hours dry is the honest minimum for that size. Do not wind the clock forward because “it no longer sticks to a finger”.
Where the detail calls for sanitary silicone on two compatible surfaces, consider OTTOSEAL S100. Porous stone needs a stone-compatible product.
Tools and materials for this job
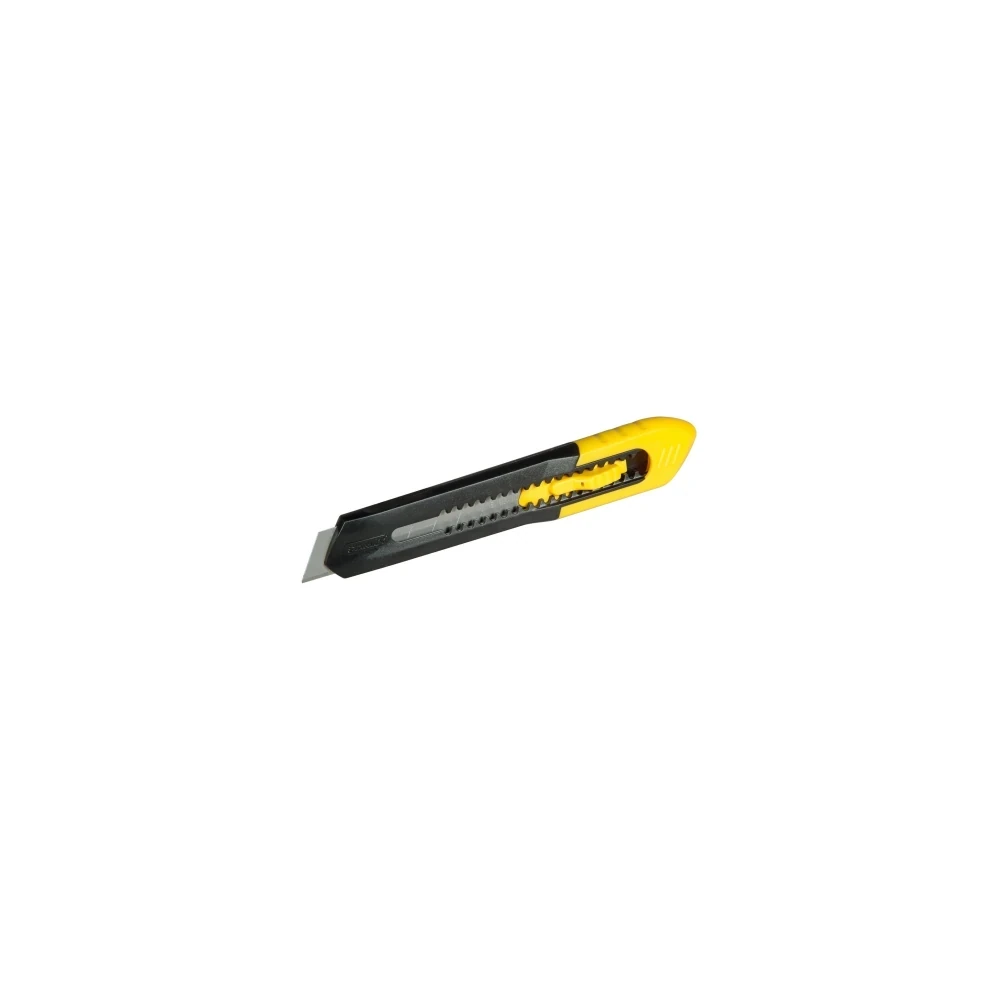
Stanley knife
For opening the cartridge and trimming the nozzle, not scraping delicate surfaces.
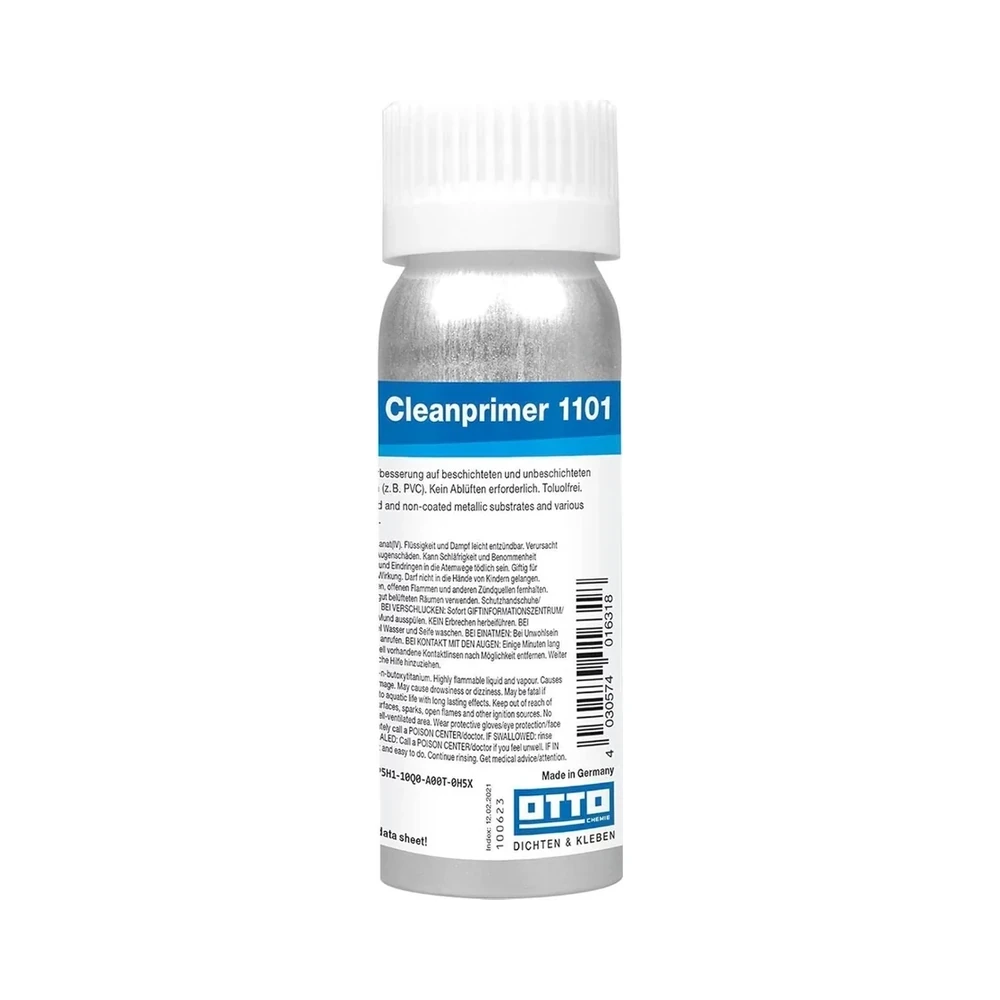
Cleanprimer 1101
Pretreatment for specified non-porous substrates; consult the primer table.
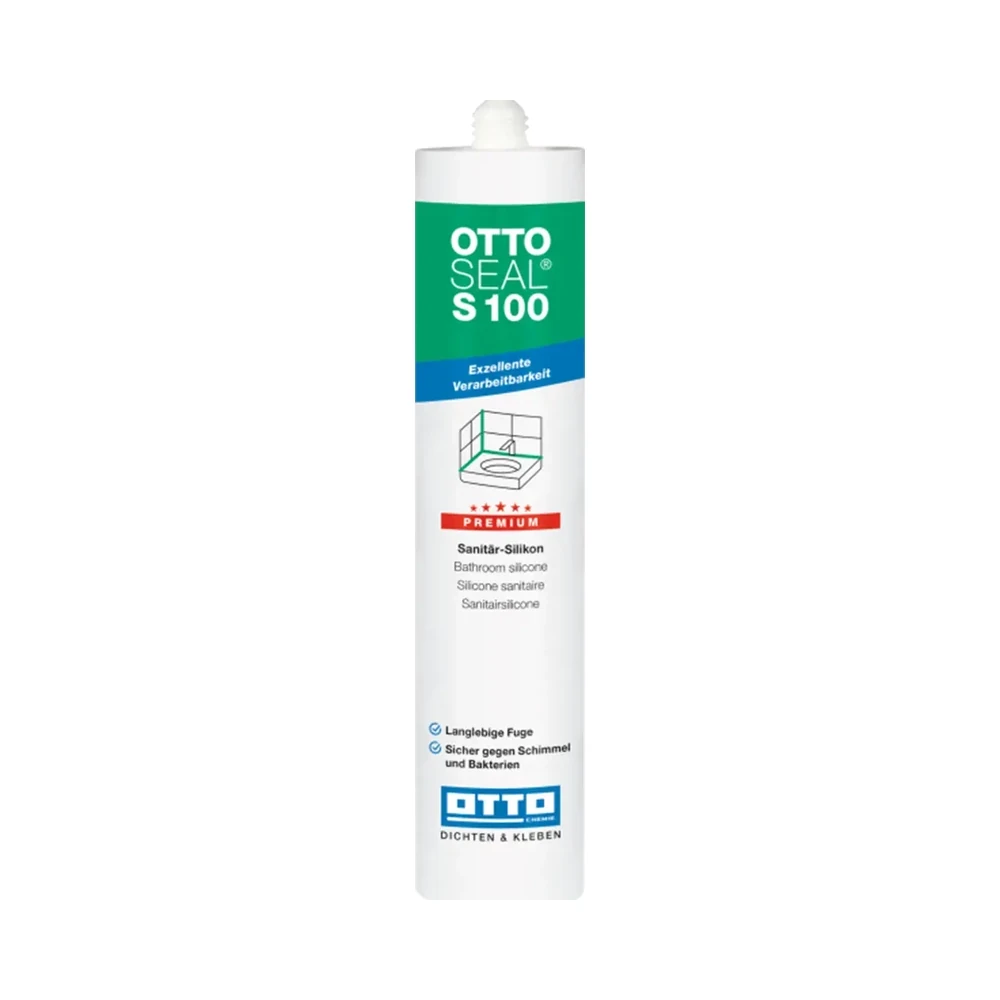
OTTOSEAL S100
Sanitary silicone for compatible surfaces. Check both edges before opening the cartridge.

Presch silicone gun
Manual cartridge gun. Check you can release pressure in the last centimetre.

FUGENFUX
Profiling tool. Dry-fit the edge that reaches both sides of the joint.
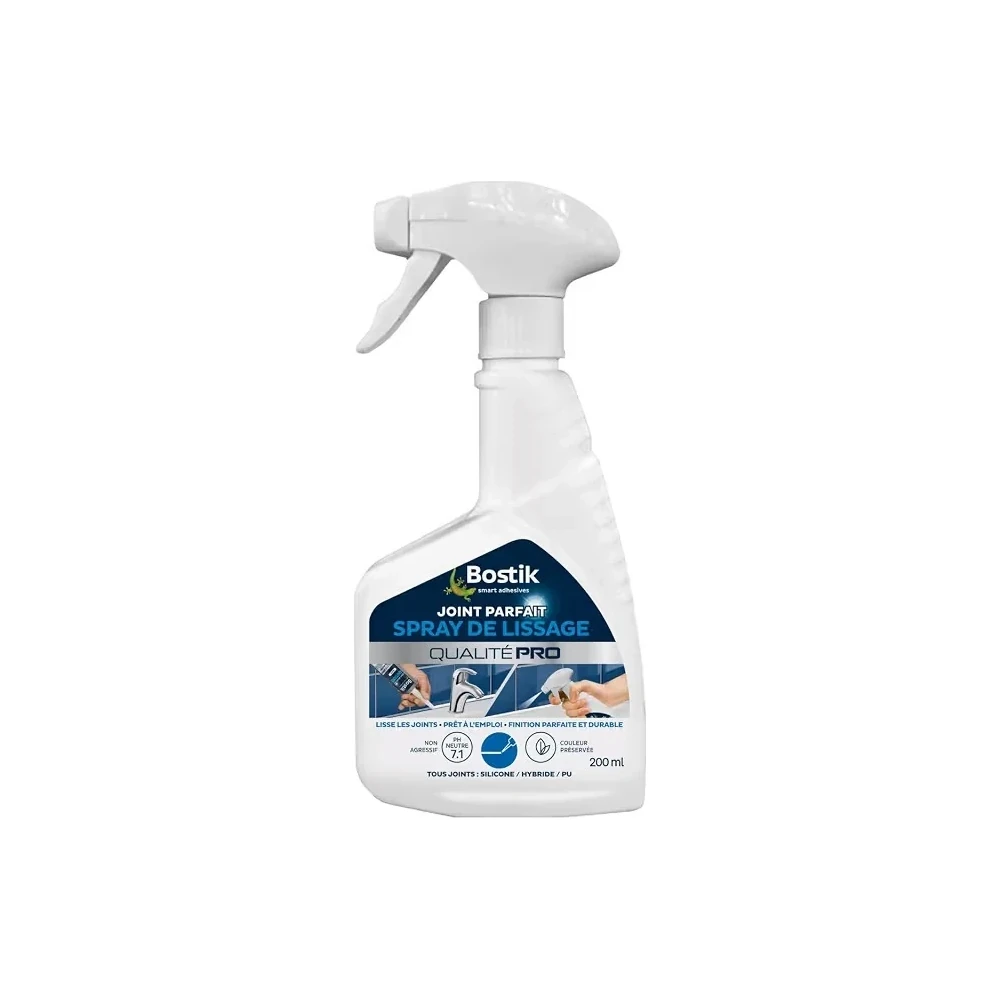
Smoothing spray
For tooling silicone where the manufacturer allows this agent. Keep bonding faces dry.
When not to start yourself
If the old stuff will not come and you have neither tools nor chemistry that will spare the sanitary ware, stop. Time “saved” goes into a marked bath or a joint that does not close.
-
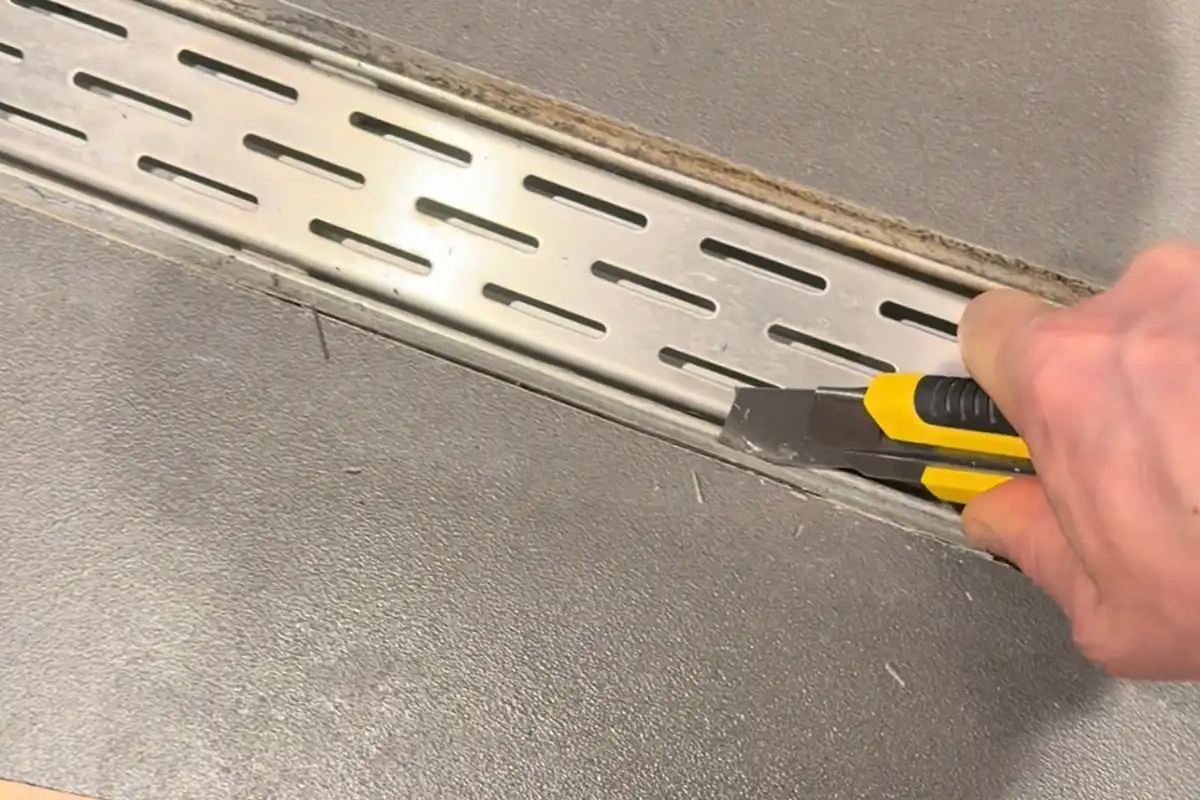
How to seal a shower tray and bathroom joints
Start where the tray meets the wall. The screen has a separate drainage path and its own fitting instructions.
-
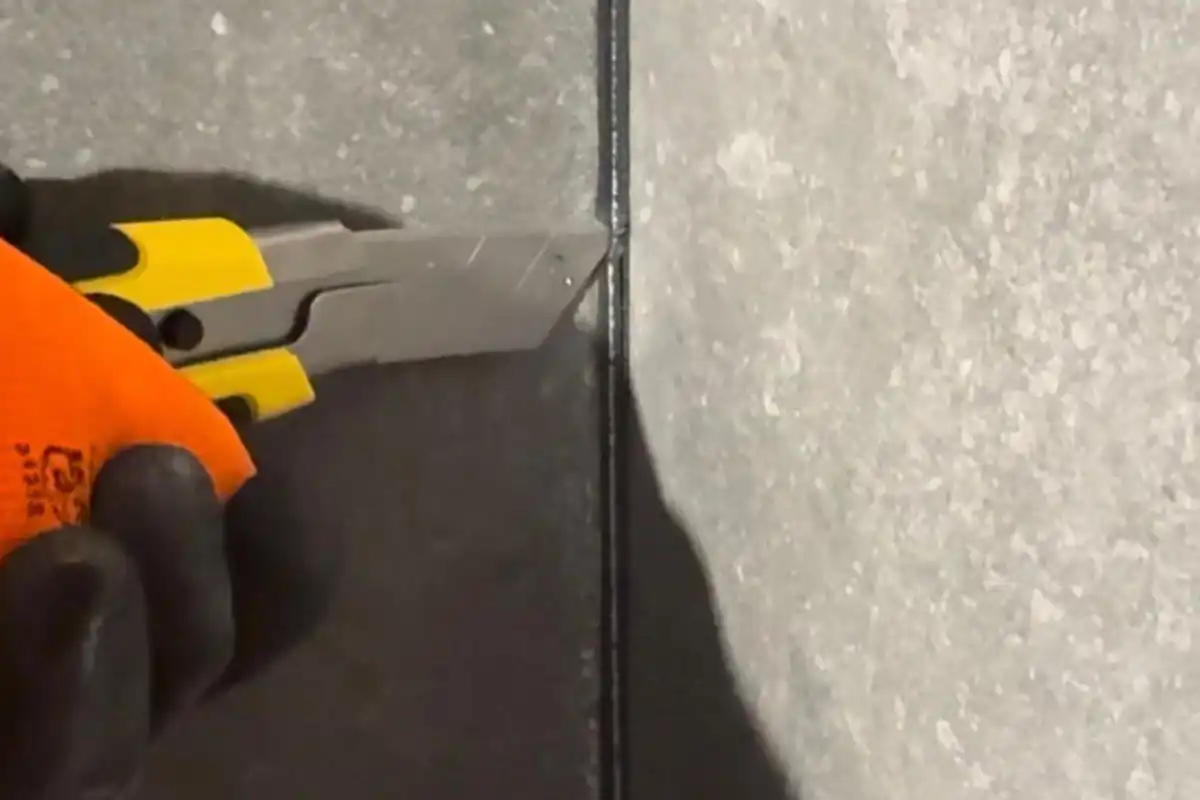
How to remove old silicone without damaging the surface
For a replacement joint, remove the bead and residue from both sides. A smear on glass or fabric calls for a different method.
-
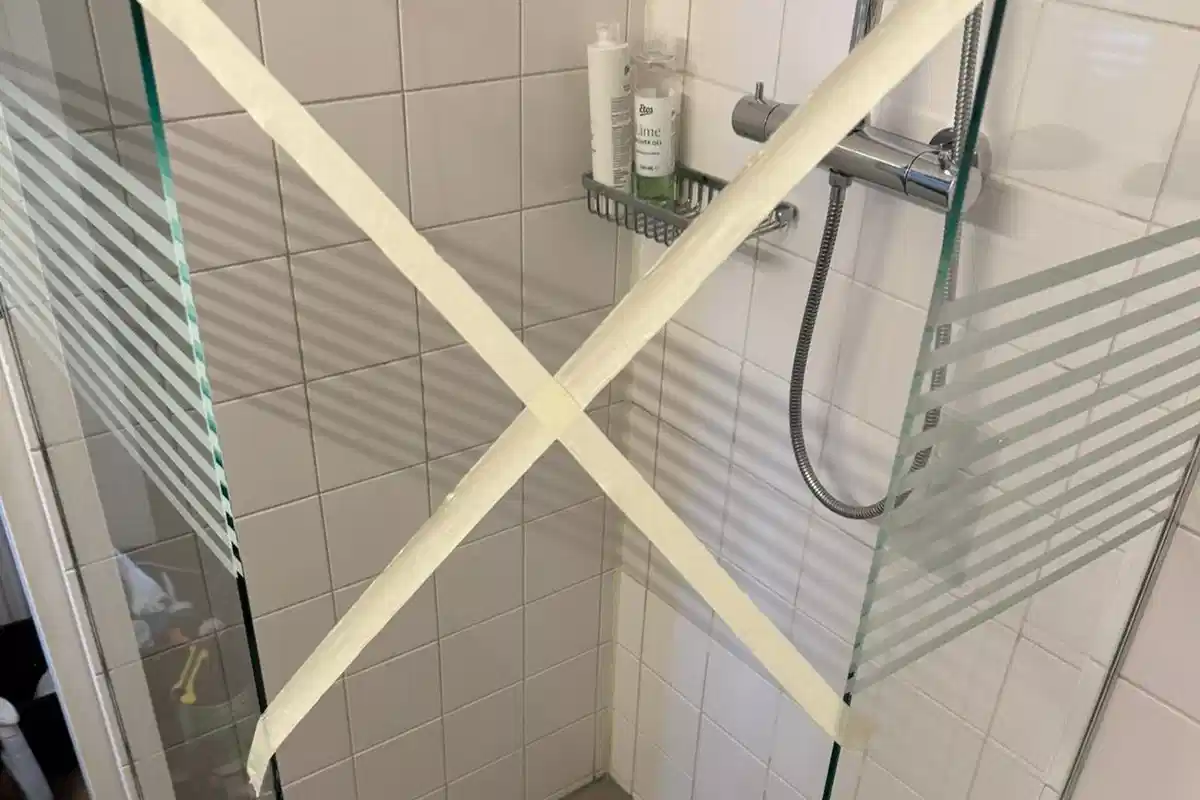
When can you shower after sealing?
A skin may form while the centre is still soft. Check the cartridge instructions for the wait before water exposure.