
How wide should a sealant joint be?
Measure the narrowest and widest points. Compare both with the limits for those surfaces and the expected movement.
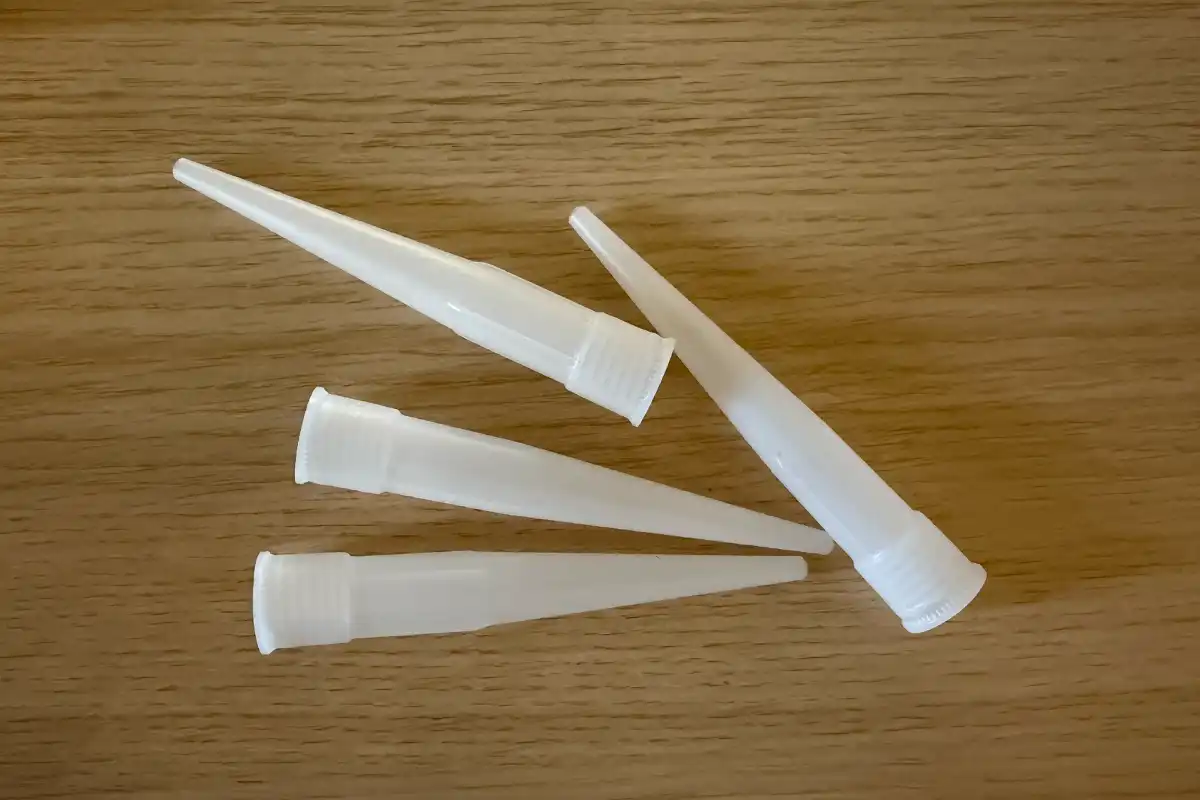
Between 5 and 12 mm the joint works comfortably. From 12 to 20 mm you need backer rod. Under 5 mm it tears. Over about 25 mm is a building detail, not more paste.
Buying through a product link may earn us a commission at no extra cost to you.
Measure the narrowest section
An elastic bathroom or kitchen joint usually lives well between 5 and 15 mm wide. Under 5 mm there is almost no body: the first movement of the building peels it. Between 12 and 20 mm it is still possible if you limit depth with closed-cell PE backer rod. Beyond about 20–25 mm the mass sags and no longer recovers. A gap of 25 mm or more I do not close with silicone: a cover strip, plaster, carpentry adjustment or whatever the build needs, then a closing joint.
Flooding a hole with more paste does not make it stronger. The opposite: the deeper you gun blindly, the sooner it fails. That is three-sided adhesion: the sealant sticks to both flanks and the back, and cannot stretch.
For an exposed façade joint, check OTTOSEAL S110 against both surfaces and choose the finished bead colour before applying.
Width and depth
Depth has to follow width. As a workshop habit, not a promise for every cartridge:
- about 5 mm wide wants on the order of 6 mm of silicone;
- about 10 mm, around 8 mm deep;
- about 15 mm, around 10 mm.
On wider joints, a common rule is depth close to half the width, with a minimum of about 6 mm. If the void is deeper than that section, backer rod goes in: it frees the third face, gives something to tool against, and stops the bead sinking.
PE rod is usually 20–30 % fatter than the gap so it wedges. Do not pierce it: gas opens bubbles in the fresh silicone.
Where the detail calls for sanitary silicone on two compatible surfaces, consider OTTOSEAL S100. Porous stone needs a stone-compatible product.
How I do it
- Measure width and depth. Over 25 mm: reduce the gap first.
- Push the Backer rod in.
- Degrease the flanks. Primer if the substrate is critical or absorbent.
- Cut the nozzle to the width. Fill from the back, without voids.
- Tool with a spatula a millimetre wider than the joint.
In a bathroom, sanitary silicone. On floor or building joints, often an elastic hybrid with decent movement capacity — typical classes sit around 20–25 %, which is a product class, not a guarantee for that joint.
Before opening the cartridge, try the Presch silicone gun in the tightest corner. Check you can turn your wrist and release pressure at the end of the run.
Common mistakes
Without backer rod the bead slumps, you burn a cartridge, and it tears. A 2–3 mm hairline is not an elastic joint. A 30 mm hole is not “filled” with silicone.
Dry-fit the FUGENFUX profiling tool. Choose the edge that meets both sides without scooping out the middle, then tool the bead before a skin forms.
Tools and materials for this job
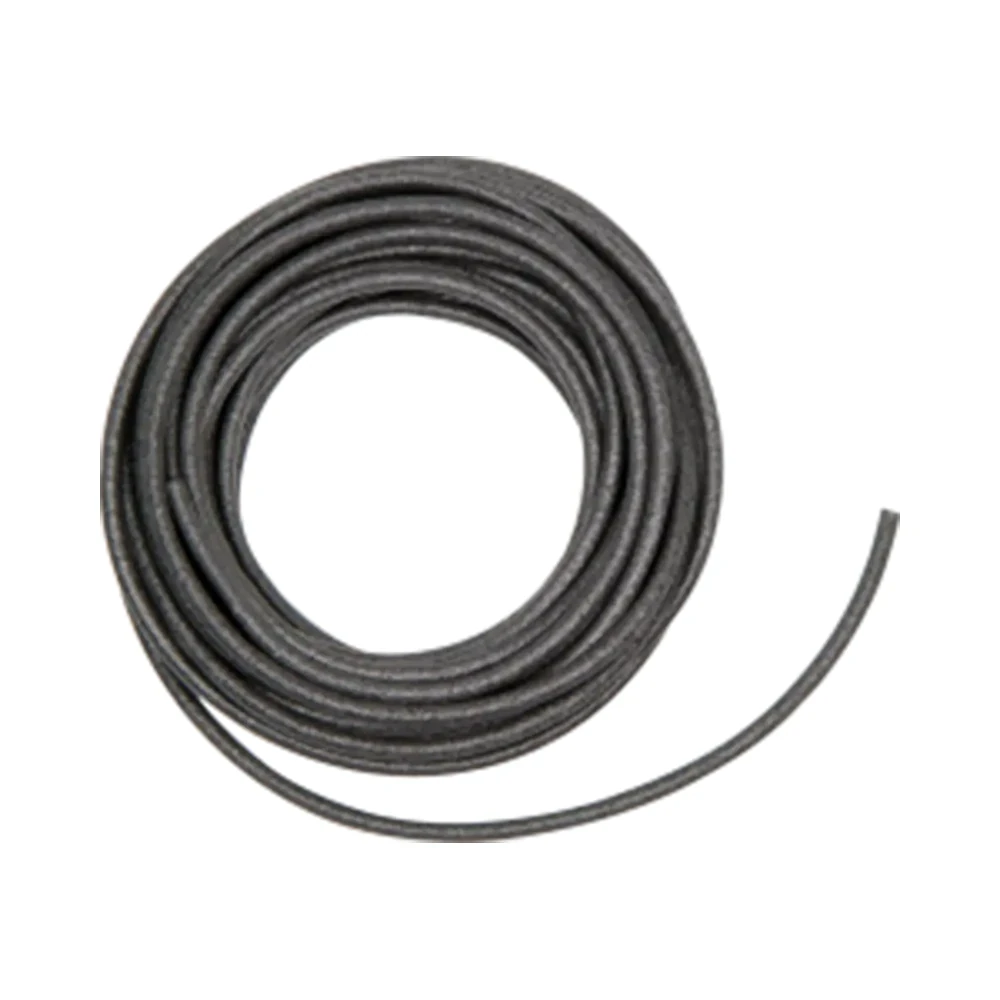
Backer rod
For depth control where specified. Choose the diameter to suit the measured width.
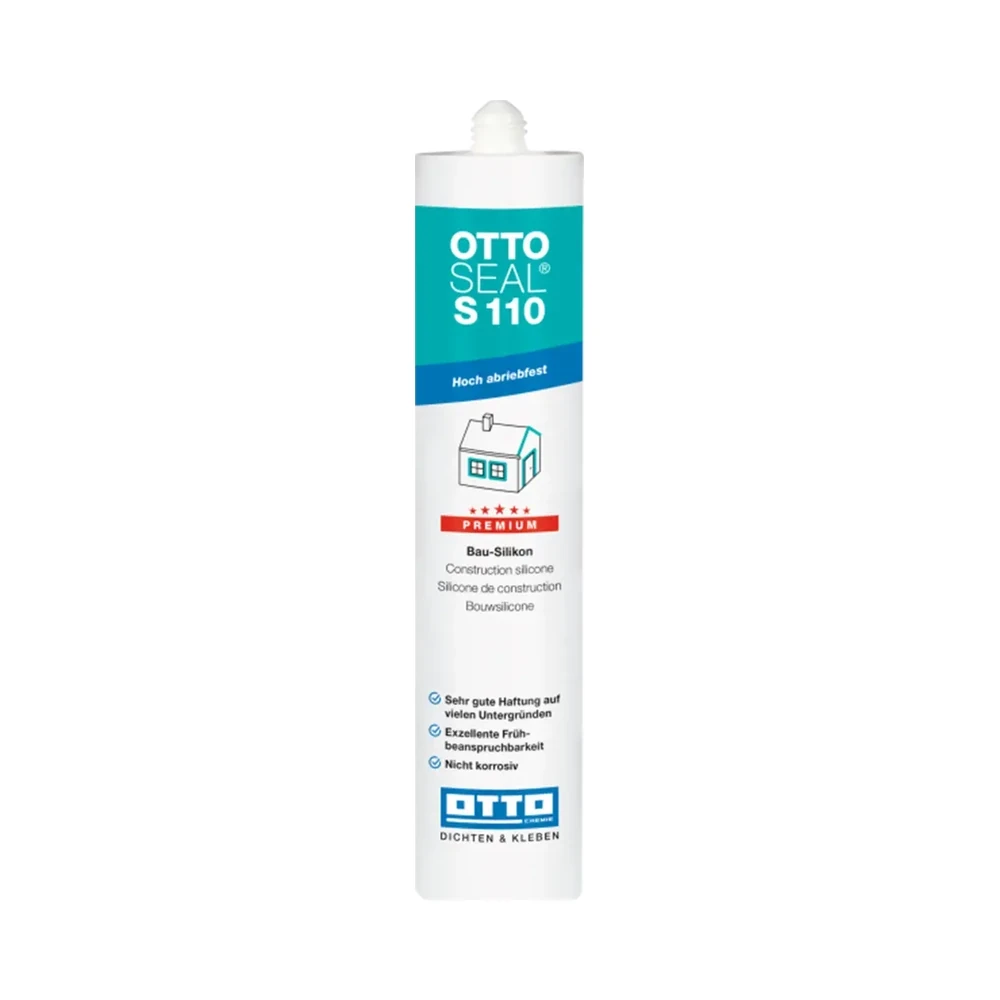
OTTOSEAL S110
Neutral construction silicone. Check both substrates on the data sheet.
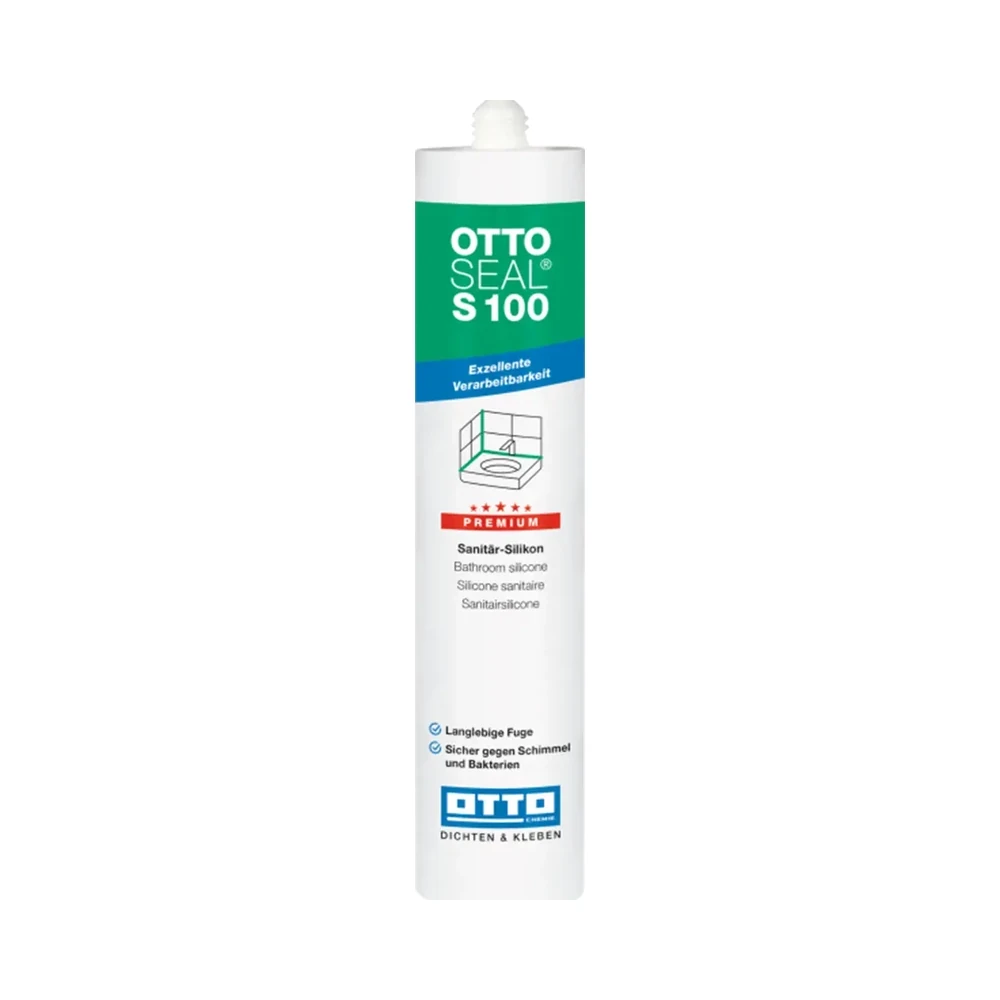
OTTOSEAL S100
Sanitary silicone for compatible surfaces. Check both edges before opening the cartridge.

Presch silicone gun
Manual cartridge gun. Check you can release pressure in the last centimetre.

FUGENFUX
Profiling tool. Dry-fit the edge that reaches both sides of the joint.
Exceptions
A junction that moves more than the sealant can take wants a movement profile, not more depth of paste. Backer rod does not turn a structural hole into a bathroom joint.
-
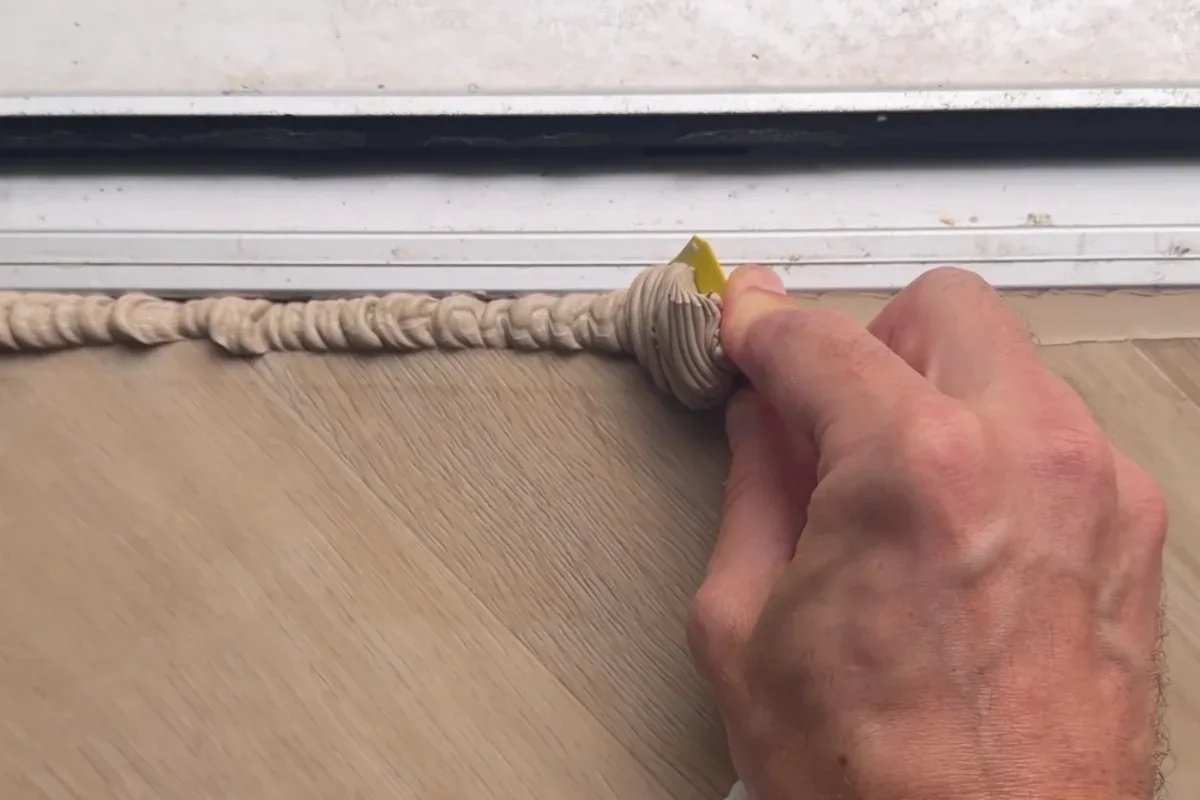
How deep should a sealant joint be?
Measure the section before cutting the nozzle. Where appropriate, control depth so the bead works on both sides.
-
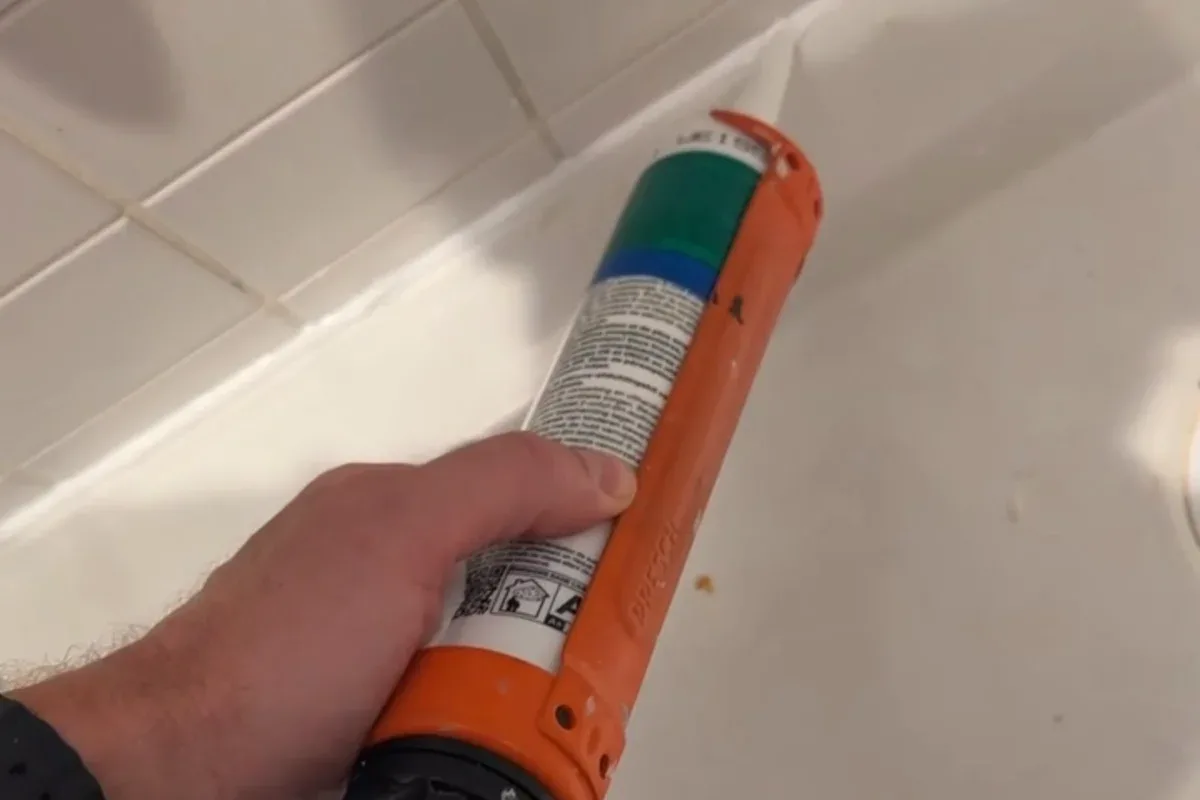
Why sealant needs two-sided adhesion
Look at a cross-section. The sides hold the bead. A third bond at the base restricts the material that can stretch.
-
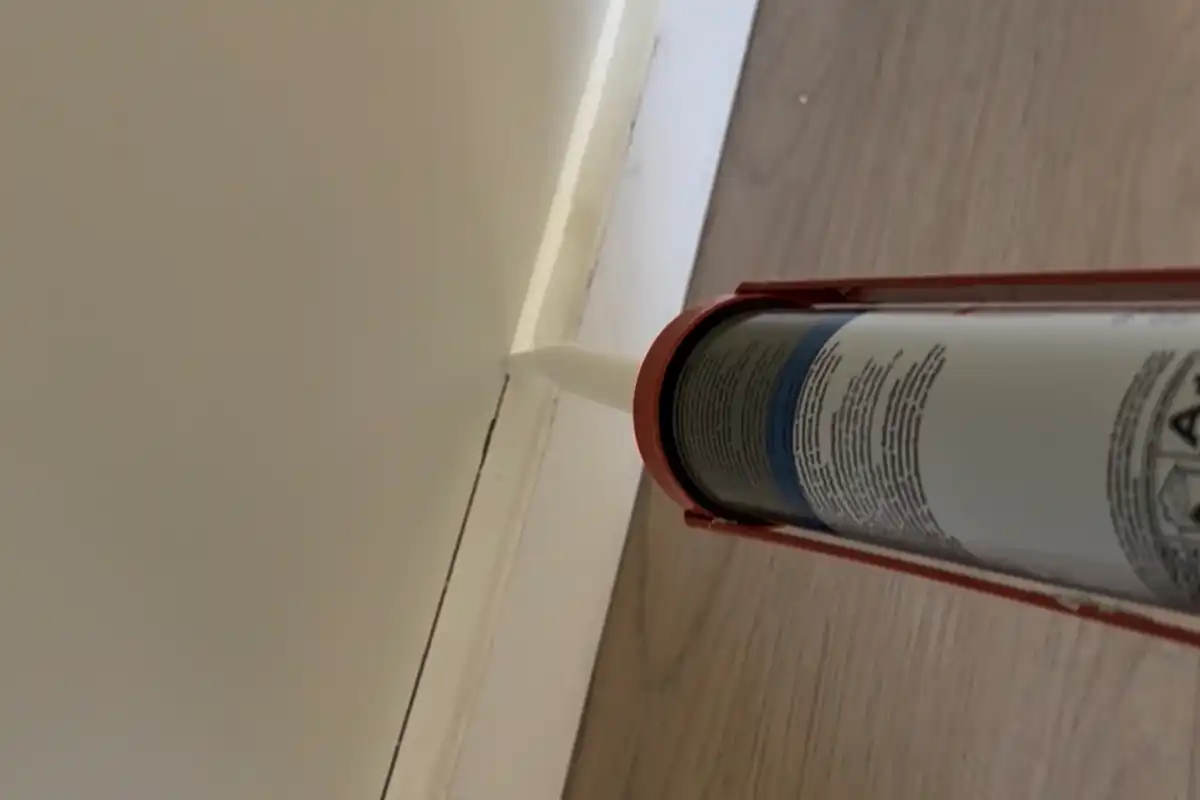
How far will one cartridge of sealant go?
Measure width and depth in several places. A deep joint uses more material than a narrow bead of the same length.