
How deep should a sealant joint be?
Measure the section before cutting the nozzle. Where appropriate, control depth so the bead works on both sides.
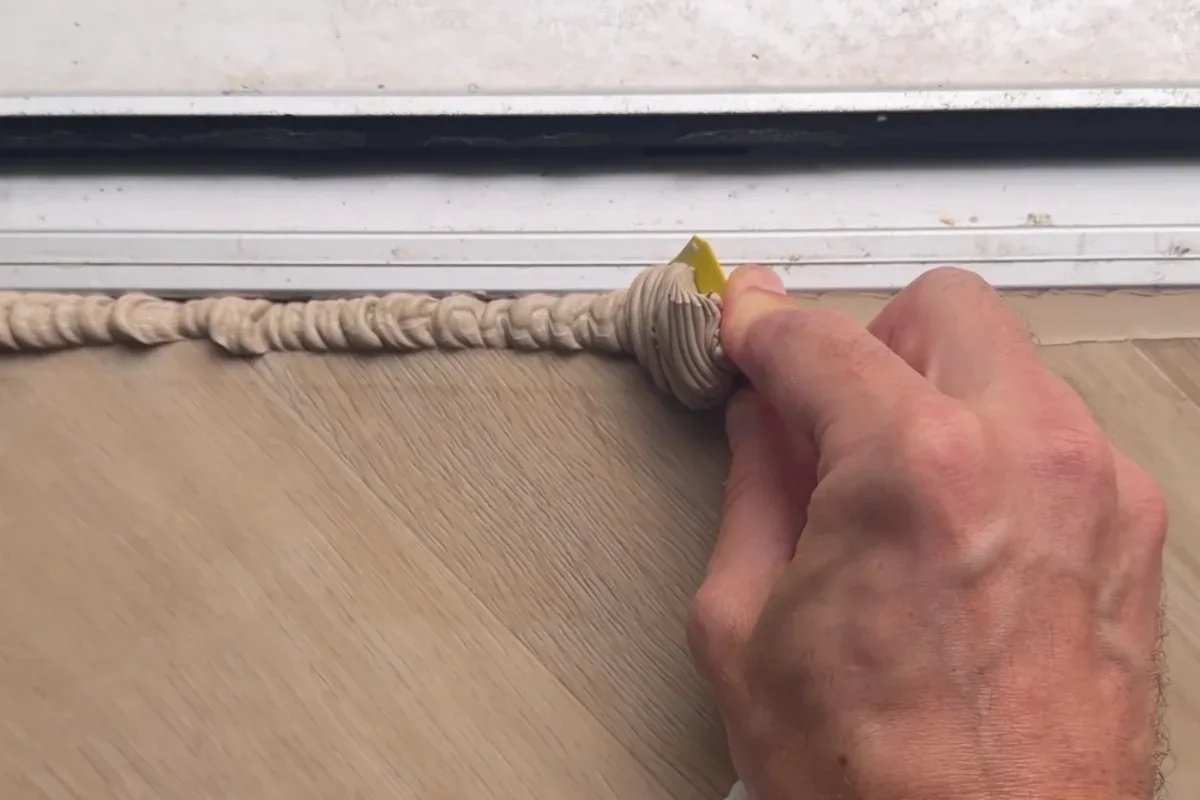
Narrow joint: depth close to width, not a smear. Wide joint: about 8–10 mm of silicone, the rest backer rod. A packed well pulls the flanks.
Buying through a product link may earn us a commission at no extra cost to you.
Why a deeper bead is not always stronger
Depth is not a guess: it follows width and how an elastic mass deforms. Up to about 10 mm wide we use, as a trade rule, depth close to the width, with a minimum of about 5 mm of mass. Thinner than that and there is too little material to take even a small movement.
Between 10 and 15 mm wide, the silicone stays around 8–10 mm deep. The rest is backer rod, not a block. A deeper well looks “more solid”; in fact there is more mass to stretch, and that force goes into the flanks: adhesion (peel from the tile) or cohesion (tear down the middle).
Where the joint design specifies backing, size the Backer rod to the measured width and install it without puncturing it. Its job is to control depth.
When to change the depth
Narrower than 10 mm: depth ≈ width, never a hairline.
10–15 mm wide: cap the depth at about 8–10 mm.
Void deeper than it is wide: do not fill it solid. Closed-cell PE to the right height.
Gap under about 5 mm: do not force a bead. Widen or rout it; a 2 mm film splits quickly.
Before opening the cartridge, try the Presch silicone gun in the tightest corner. Check you can turn your wrist and release pressure at the end of the run.
Hourglass, not three faces
If the mass also sticks to the back (adhesive, cement), you have three-sided adhesion. A round PE rod hides the back and forces the hourglass: flanks filled, a thinner belly, real movement. The rod is usually 20–30 % wider than the gap, so it sits under compression. If the meeting is too skinny for a rod, PE tape on the back does the same job as a bond breaker.
Dry-fit the FUGENFUX profiling tool. Choose the edge that meets both sides without scooping out the middle, then tool the bead before a skin forms.
How I do it
- Measure the width between flanks; that sets depth and rod diameter.
- Cut out the old. Clean, degrease, dry.
- Push the PE to height.
- Check the back is covered.
- Fill and tool. In a bathroom, OTTOSEAL S100.
Watch the knife when you strip the old: do not take the tanking with it.
Tools and materials for this job
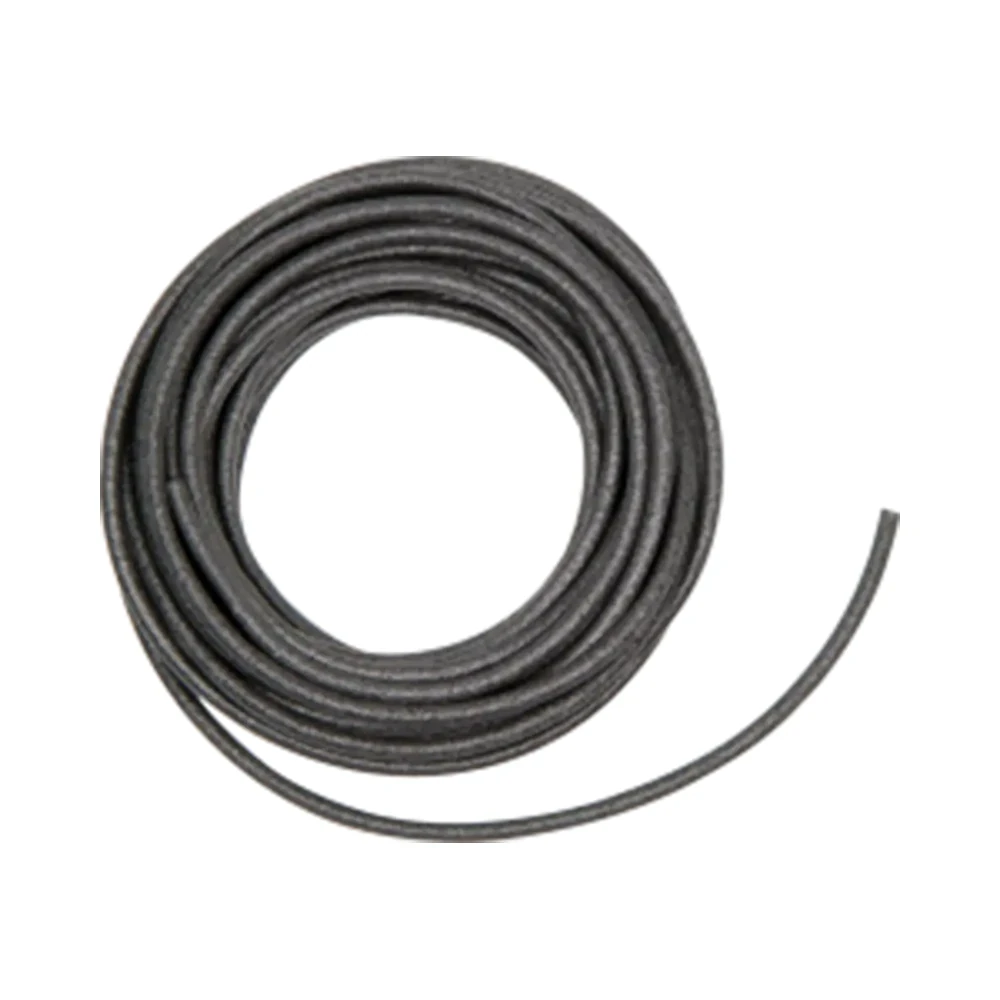
Backer rod
For depth control where specified. Choose the diameter to suit the measured width.
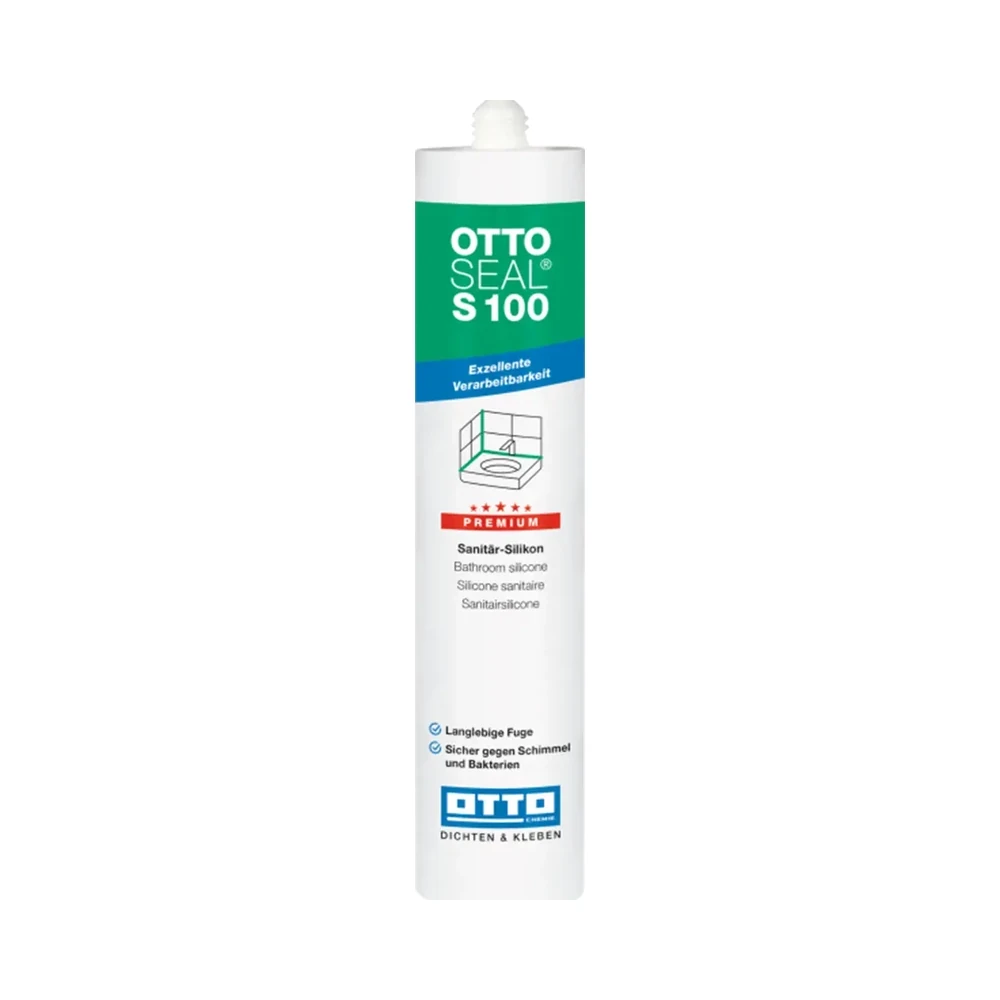
OTTOSEAL S100
Sanitary silicone for compatible surfaces. Check both edges before opening the cartridge.

Presch silicone gun
Manual cartridge gun. Check you can release pressure in the last centimetre.

FUGENFUX
Profiling tool. Dry-fit the edge that reaches both sides of the joint.
Exceptions
A crack from a sinking substrate or a loose tile is not “filled”. Sealant is not glue or a prop. Width that changes along the run: look at the worst spot, not the average.
-
How wide should a sealant joint be?
Measure the narrowest and widest points. Compare both with the limits for those surfaces and the expected movement.
-
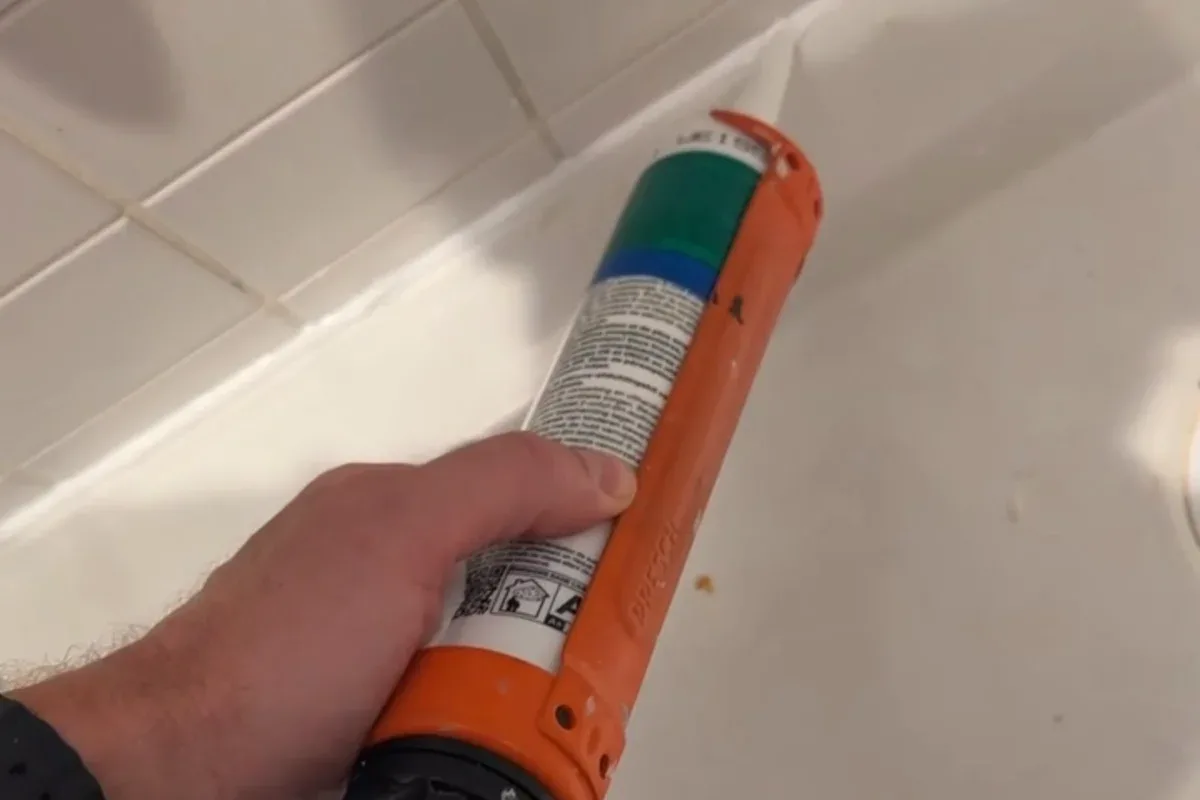
Why sealant needs two-sided adhesion
Look at a cross-section. The sides hold the bead. A third bond at the base restricts the material that can stretch.
-
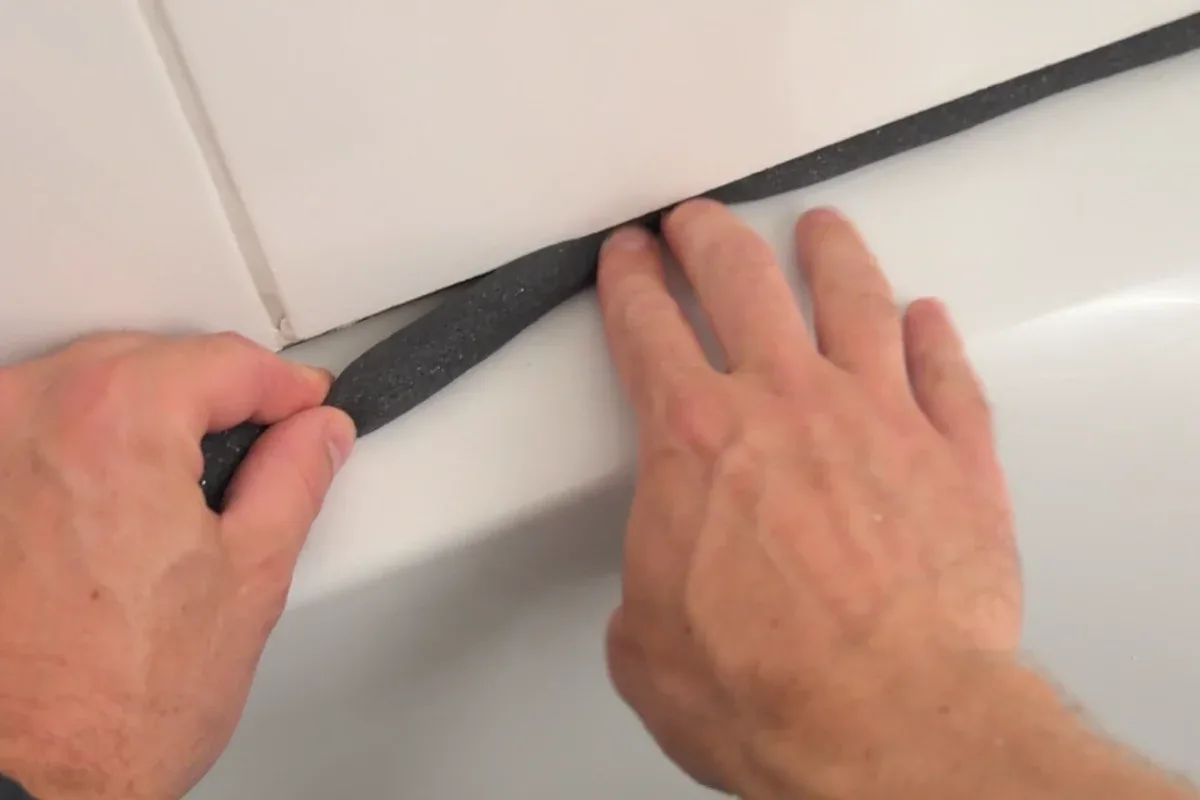
When to use backer rod
A PE backing rod controls bead depth and separates the sealant from the base. Measure the joint before choosing its diameter.