
Can you paint silicone sealant?
Check that the specific sealant accepts paint and try the combination on an offcut. For a shower bead, choose the cartridge colour.
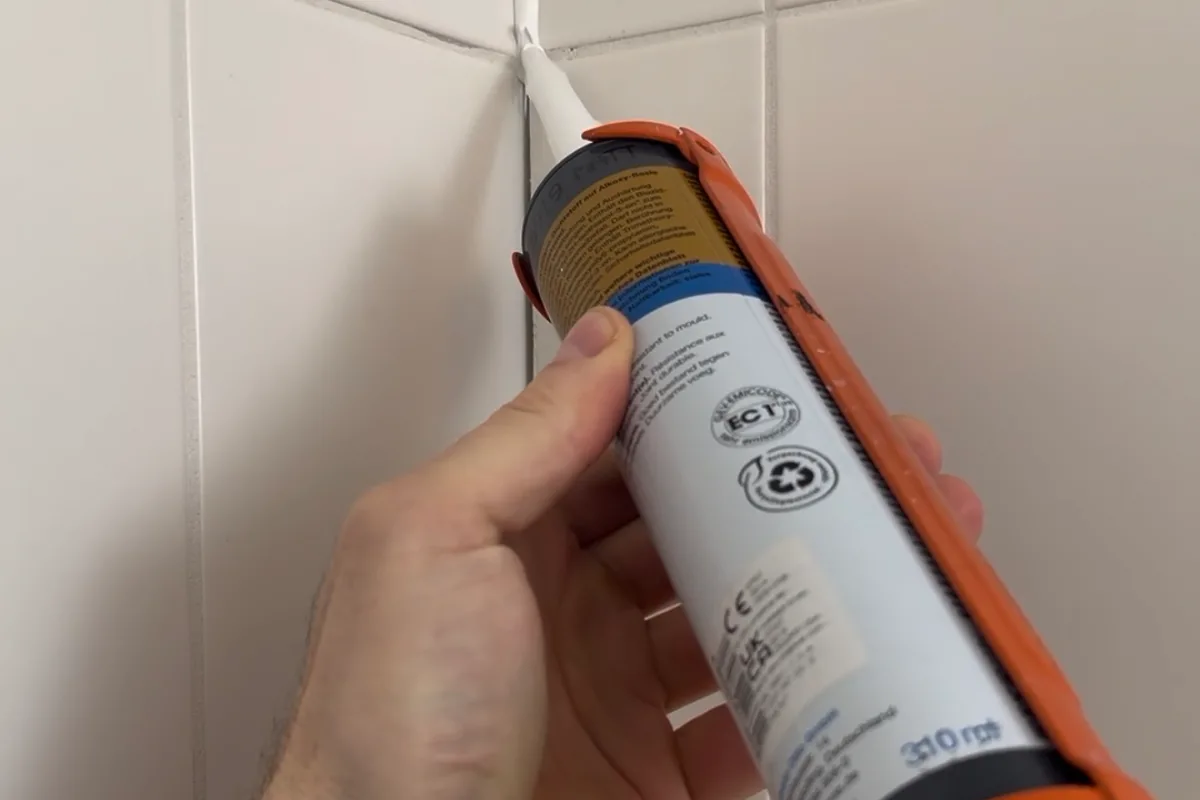
You do not paint silicone: the film beads and will not key. Cured acrylic sealant will take paint. A hybrid can sometimes be painted, and the film may craze when the bead keeps moving.
Buying through a product link may earn us a commission at no extra cost to you.
How paint behaves on silicone
Low surface tension. Water sits in beads; so does paint. Fish-eyes, islands, a film that lifts after a month. No household primer turns a silicone bead into a paint substrate.
Smearing acrylic over silicone “so it will key” does not work either. Within a month the whole sandwich lets go.
If silicone sits where paint must go, replace it with acrylic. Full stop.
For a dry interior joint that will be painted, check the expected movement against the data sheet for OTTOSEAL A205. Try the finish with your actual paint.
Acrylic: yes, after it has cured
Skirting, ceiling, interior frame: a low-shrink acrylic such as OTTOSEAL A205, and paint when the bead is stable. Count 24 hours as a minimum; fat joints or cold, 48.
“Paint immediately” sounds good on the tube. On site it often gives more adhesion trouble. I would rather wait until the acrylic is firm.
Before opening the cartridge, try the Presch silicone gun in the tightest corner. Check you can turn your wrist and release pressure at the end of the run.
Hybrids and the “paintable” trap
Some MS polymers can take paint. The label does not promise the result stays pretty. Paint is stiff; the bead is elastic. As the house moves, it crazes.
“Non-crack” does not save shrink if you skip the wait.
How I tool if someone will paint afterwards
The painter’s first enemy is soapy tooling. Residue walks into the flanks and the paint lets go right there. A dry spatula, or a finisher meant not to spoil enamel. A little water, not a bucket of washing-up liquid.
Substrate degreased and dust-free, for the sealant and for the paint.
Dry-fit the FUGENFUX profiling tool. Choose the edge that meets both sides without scooping out the middle, then tool the bead before a skin forms.
Tools and materials for this job
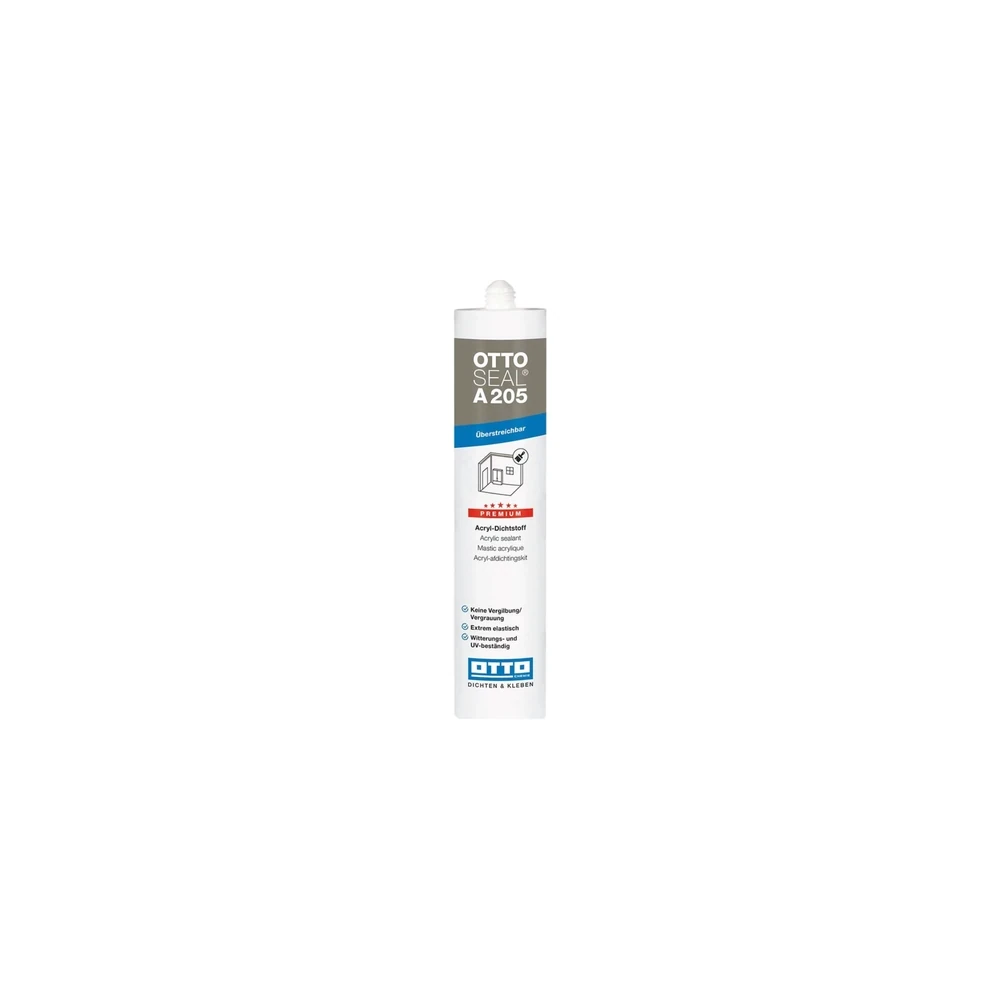
OTTOSEAL A205
For a dry joint that will be painted. Check movement and paint compatibility.

Presch silicone gun
Manual cartridge gun. Check you can release pressure in the last centimetre.

FUGENFUX
Profiling tool. Dry-fit the edge that reaches both sides of the joint.
In the shower you do not paint the joint
Acrylic in the wet zone is not a lasting seal: it soaks and goes. If you want colour in the shower, you pick OTTOSEAL S100 (or another sanitary silicone) in the tile colour. There are plenty. The brush is not a plan B.
-
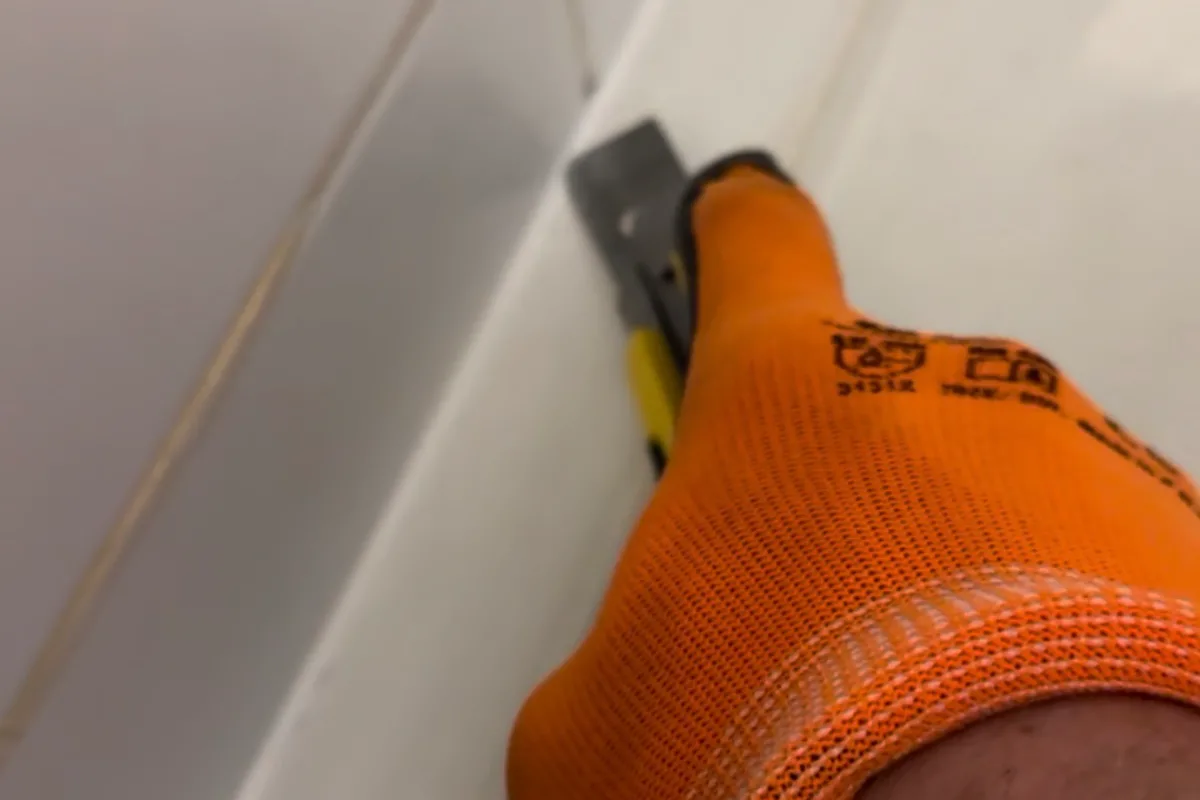
Silicone or acrylic: which fits the joint?
Decide whether the joint must accept paint, water or movement. Those answers narrow the choice before you open the cartridge.
-

Why paint cracks over acrylic caulk
Check the painting interval, movement and paint compatibility. Test both products together before finishing the visible joint.
-
Seal before or after painting?
Check whether the sealant accepts paint and when it can be coated. A sample lets you spot beading before painting the joint.