
What to check when silicone will not cure
Compare the skin with the centre of a test bead. Check depth, curing conditions and shelf life before covering it.
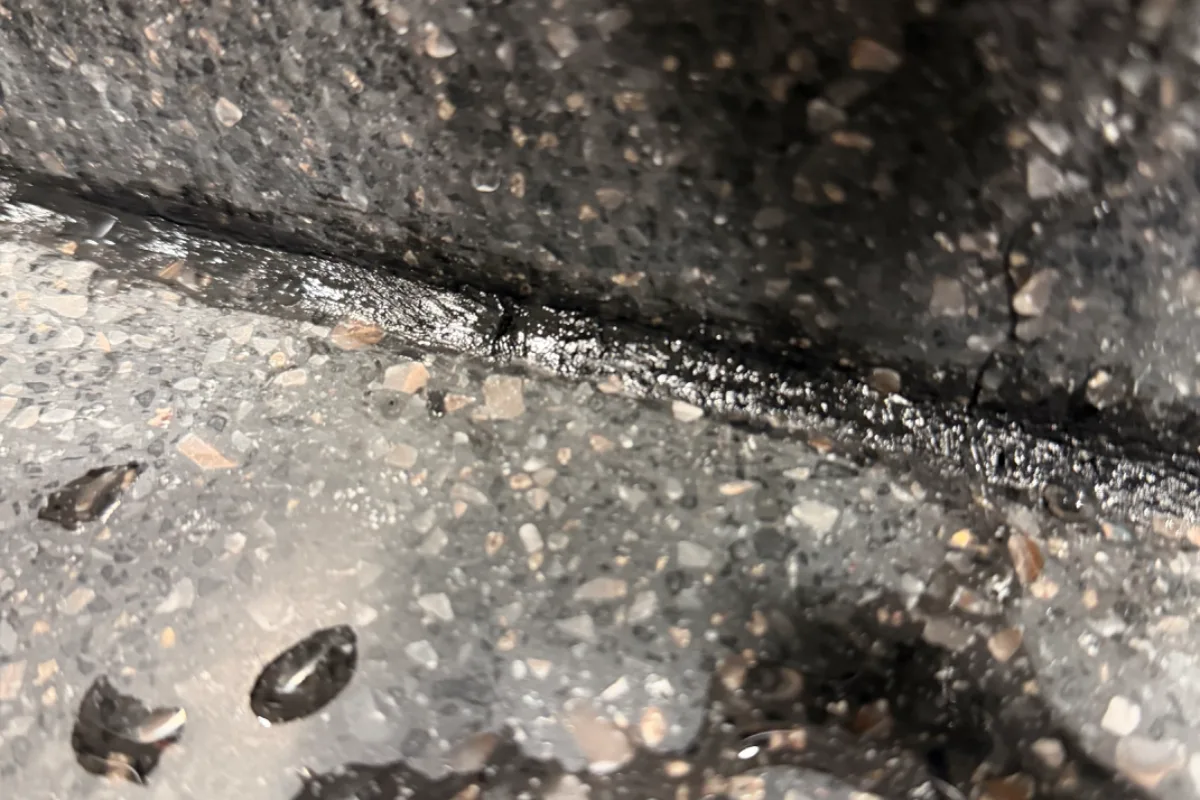
Silicone is not paint: it reacts with moisture from the air. If it is still paste or very tacky at 48–72 hours, it almost never “finishes curing”: it has to come out and go back in with a fresh cartridge and proper geometry.
Buying through a product link may earn us a commission at no extra cost to you.
Checking the centre of the bead
Acrylic loses water and goes hard. Silicone reacts with air moisture, from the outside in. If humidity is missing, it is too cold, the cartridge is dead, or the bead is a 15 mm sausage with no backer, the core stays paste.
As a rule of thumb, in typical lab conditions (about 23 °C and 50 % relative humidity) you hear 2 to 3 mm per 24 hours. A normal bathroom joint can often take light wetting after a day; full cure takes longer. That is not a promise for every cartridge.
Where the detail calls for sanitary silicone on two compatible surfaces, consider OTTOSEAL S100. Porous stone needs a stone-compatible product.
When to wait and when to rip it out
Wait at 10–15 °C: it simply goes slower. Raise the humidity a little if you are in a new build with dehumidifiers roaring: silicone needs water vapour. Warm the room towards 18–20 °C if you sealed near 5 °C.
Do not wait if it is still liquid or extremely tacky at 72 hours. At four days, it comes out. Do not use a hairdryer: heat does not cure it properly and can spoil adhesion.
Poke with a cocktail stick. Hard skin and a liquid core in a fat bead: sometimes only geometry and patience. The whole mass soft: cartridge or climate.
Dry-fit the FUGENFUX profiling tool. Choose the edge that meets both sides without scooping out the middle, then tool the bead before a skin forms.
The cartridge and the depth
Check the date, often on the skirt or the nozzle. At 12–18 months, even unopened, the cross-linkers tire. Paste comes out, but the molecules will not join. If oil appears before the mass, it is dead.
With no backer rod, a deep meeting never sees air at the core. Months of paste in the middle, and three-sided adhesion as well.
Before opening the cartridge, try the Presch silicone gun in the tightest corner. Check you can turn your wrist and release pressure at the end of the run.
How to do it again
Take it all out. A scraper and a silicone remover for the greasy film; leftover residue makes the new bead fail too. Do not shoot over the tacky layer: a useless sandwich.
Fresh cartridge — I go back to OTTOSEAL S100 or S110 depending on the substrate — PE backer, clean faces. Keep cartridges at room temperature in winter; an ice-cold tube in a cold bathroom reacts poorly.
Tools and materials for this job
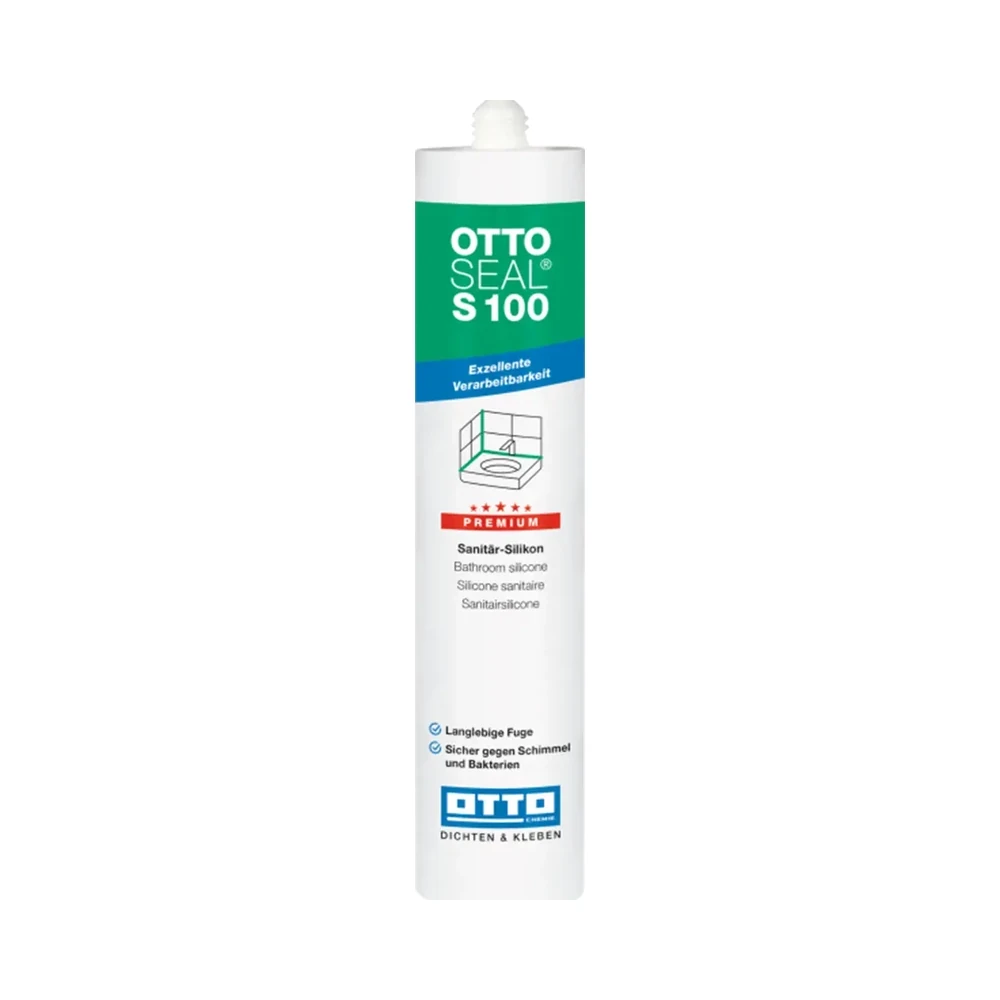
OTTOSEAL S100
Sanitary silicone for compatible surfaces. Check both edges before opening the cartridge.

Presch silicone gun
Manual cartridge gun. Check you can release pressure in the last centimetre.

FUGENFUX
Profiling tool. Dry-fit the edge that reaches both sides of the joint.
Mistakes
Washing-up liquid by the cupful when tooling: acids and dyes that leave the skin tacky and dirty. Neutral finisher.
Harsh bleach on silicone already in: sometimes it breaks the surface and leaves it soft. That is not a “clean”: it is a replacement.
-
When to leave a joint open
Identify moving parts, drainage openings and water arriving from behind. Each needs a different decision.
-
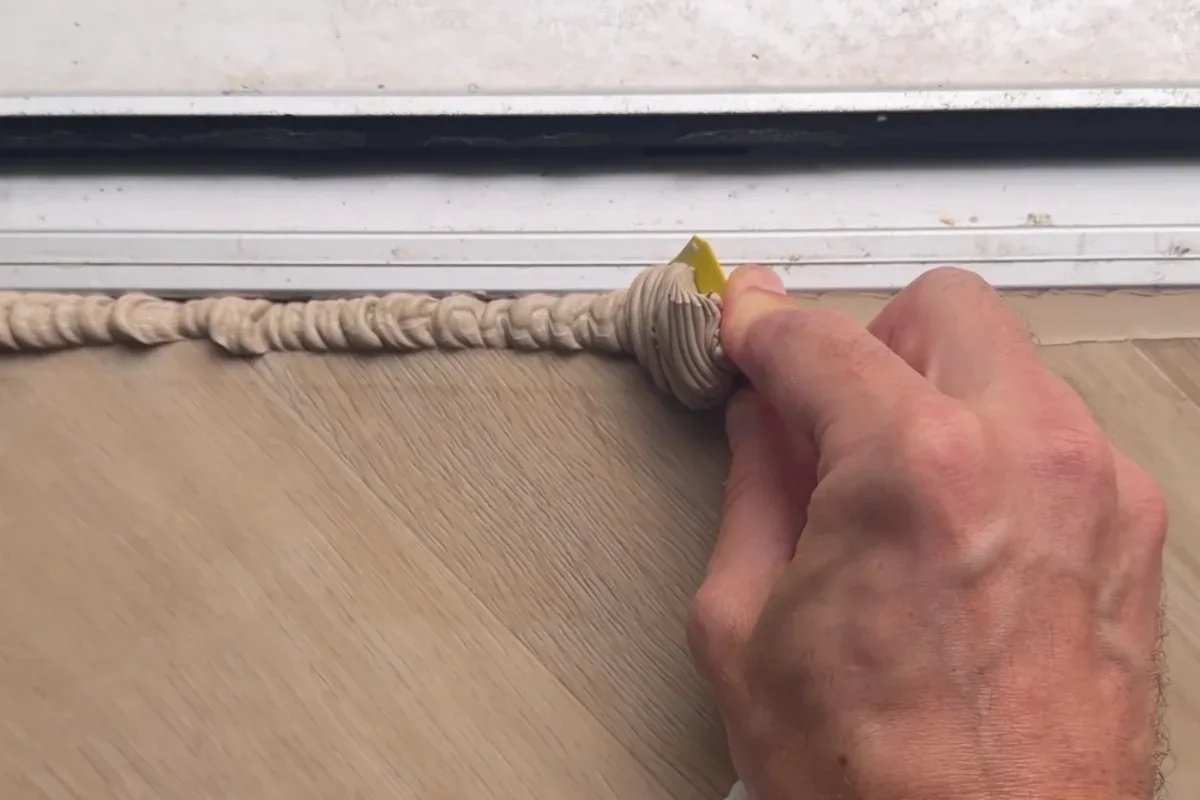
How deep should a sealant joint be?
Measure the section before cutting the nozzle. Where appropriate, control depth so the bead works on both sides.
-
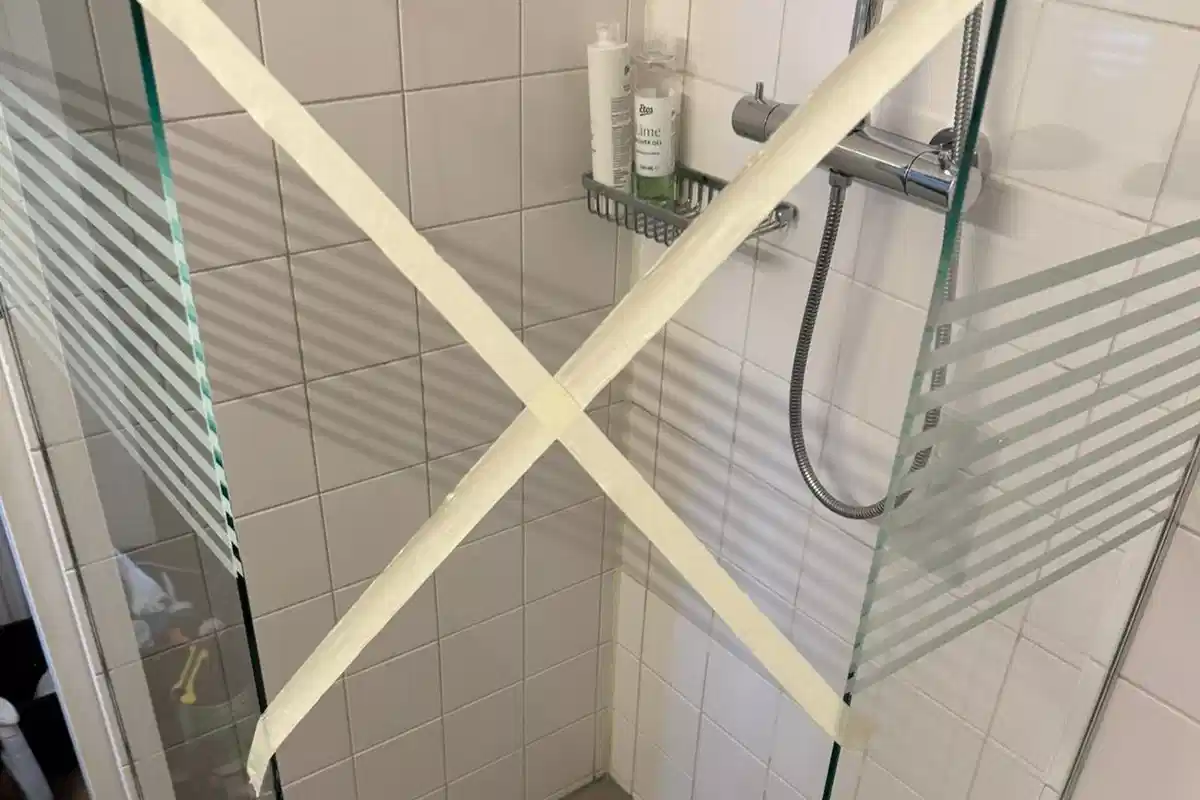
When can you shower after sealing?
A skin may form while the centre is still soft. Check the cartridge instructions for the wait before water exposure.