
Cracked paint along a skirting board
Look for a split in the paint, the sealant or the board itself. Repainting only addresses the first of those problems.
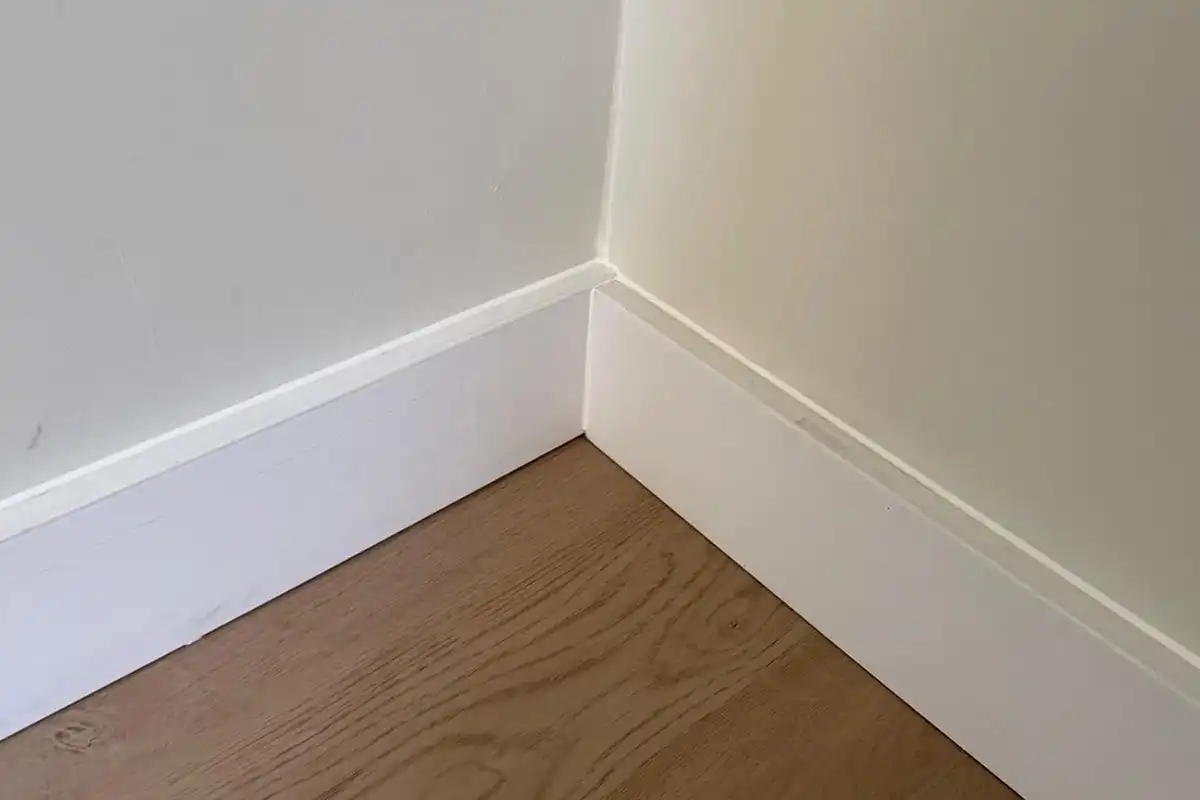
On a skirting you will paint, use a low-shrink acrylic sealant, wait until it has actually cured, then paint. Silicone does not belong here: paint will not wet the bead and pulls into fish-eyes.
Buying through a product link may earn us a commission at no extra cost to you.
Where the paint crack starts
You paint the skirting, it looks tight, and three months later hairline cracks sit right on the joint. The craquelure is not born in the tin of enamel. It is born because the acrylic sealant underneath is still shrinking or still moving, and the paint is stiffer.
Cheap acrylic carries a lot of water. As it evaporates, the bead shrinks. If you have already locked that shrink under paint, it pulls the film apart. “Fast dry” is not always the answer either: those products are often less elastic, and at the first winter the timber moves and the joint still opens.
Here I use a low-shrink interior acrylic, something like OTTOSEAL A205, elastic enough for the skirting-to-wall meeting. It is not magic: if the board rocks when you walk, no chemistry will hold. Fix it first.
For a dry interior joint that will be painted, check the expected movement against the data sheet for OTTOSEAL A205. Try the finish with your actual paint.
When acrylic, and when not
Yes acrylic: gaps to be painted at skirting, door linings, ceilings.
No silicone (not S100, not the bathroom tube) if you will paint over it. Paint pulls off.
Wait: at least 24 hours on a normal joint; in the cold or damp, 48 is more honest. Painting wet-on-wet seals the water in: the acrylic stays soft underneath and the paint wrinkles or splits when the bead finally tries to dry.
If the gap between board and wall is more than about 5–8 mm, do not pack it with a fat sausage. Pack first, then a thin bead.
Before opening the cartridge, try the Presch silicone gun in the tightest corner. Check you can turn your wrist and release pressure at the end of the run.
How I do it
- Get dust and grease out between board and wall.
- Gun the acrylic in a continuous bead into the gap.
- Tool with a nearly dry spatula. A little water, never soapy water: soap later ruins the paint.
- Wait until it has actually cured.
- Finish with a decent enamel. A205 gets on with most common paint systems.
Dry-fit the FUGENFUX profiling tool. Choose the edge that meets both sides without scooping out the middle, then tool the bead before a skin forms.
The first winter
Heating dries the timber. The board shrinks; the wall barely does. A stiff acrylic lets go of the plaster. That is not fixed with “another coat” over the crack.
The board-to-floor meeting: often left unsealed. If you want it closed, it is usually a silicone in the floor colour, not paintable acrylic, because the floor is not painted.
Tools and materials for this job
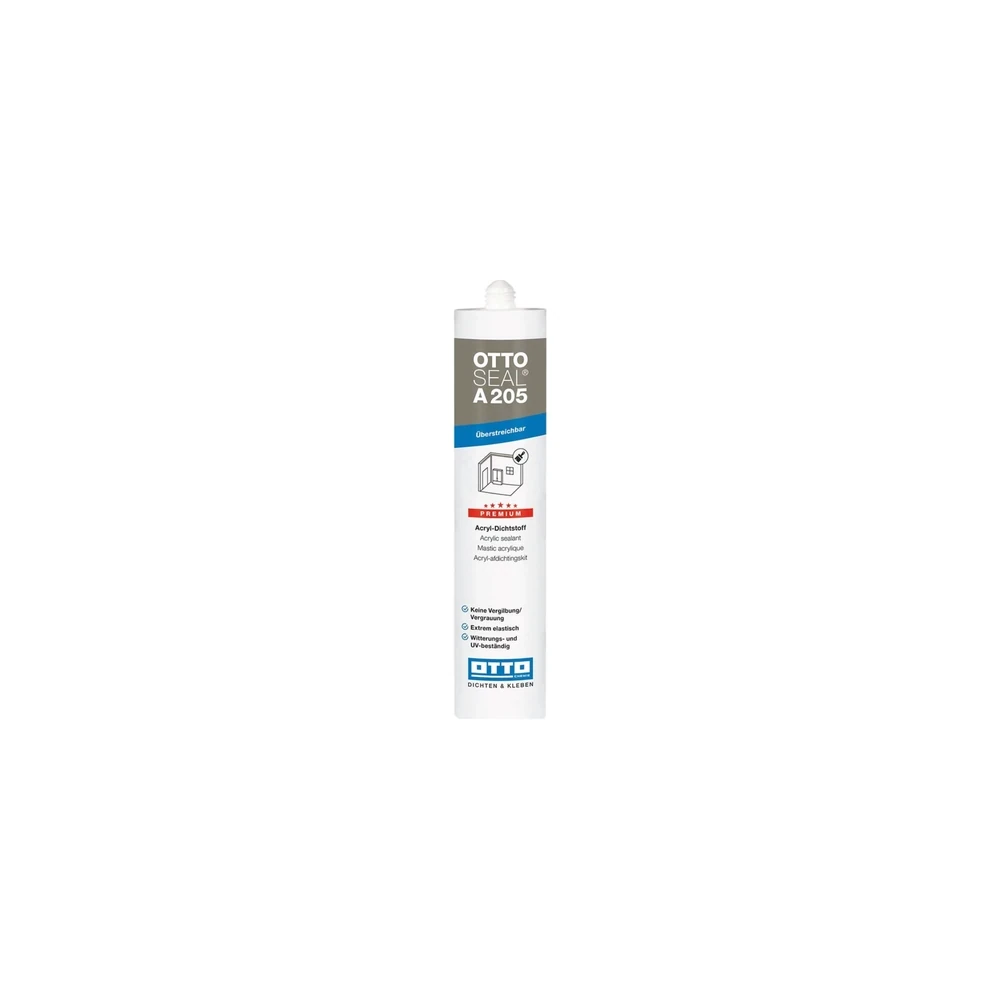
OTTOSEAL A205
For a dry joint that will be painted. Check movement and paint compatibility.

Presch silicone gun
Manual cartridge gun. Check you can release pressure in the last centimetre.

FUGENFUX
Profiling tool. Dry-fit the edge that reaches both sides of the joint.
Exception
Sensible order: fit the skirting, seal with acrylic, wait, then the last coat on the board. If the board is loose, sort the mechanical fix before you argue about the cartridge.
-
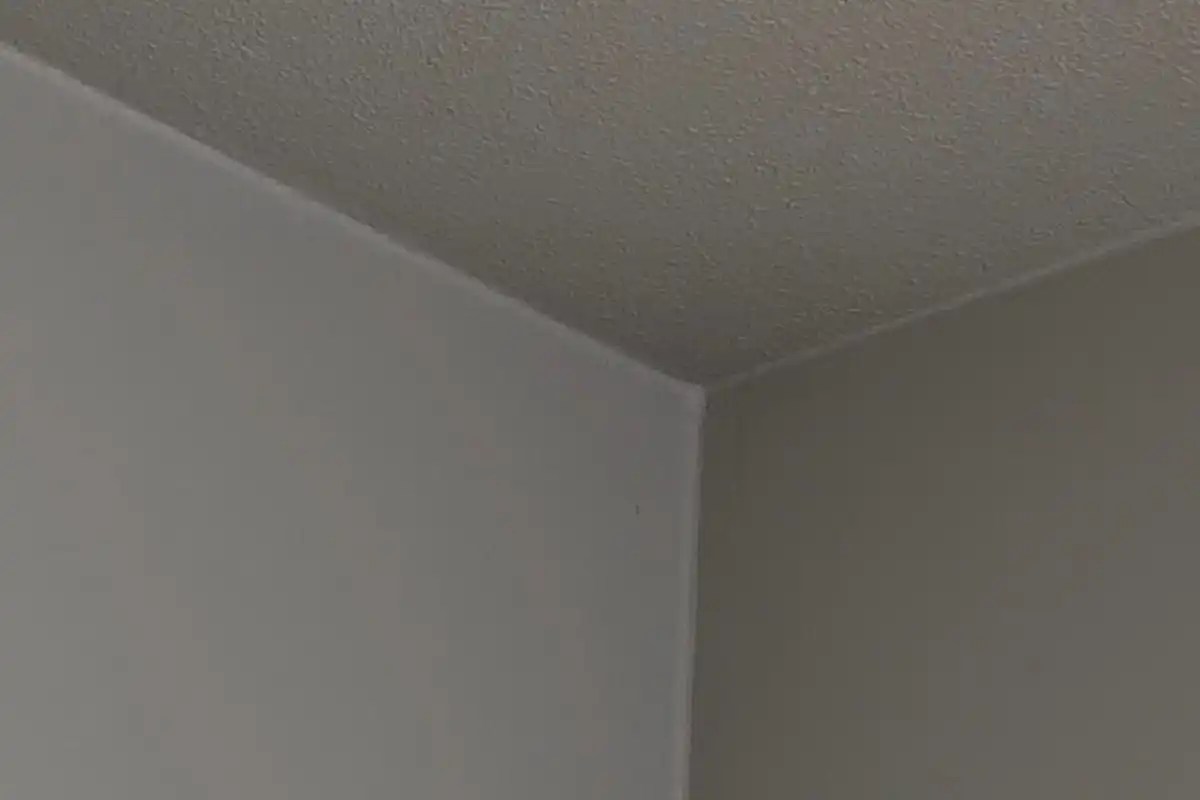
Why paint cracks over acrylic caulk
Check the painting interval, movement and paint compatibility. Test both products together before finishing the visible joint.
-
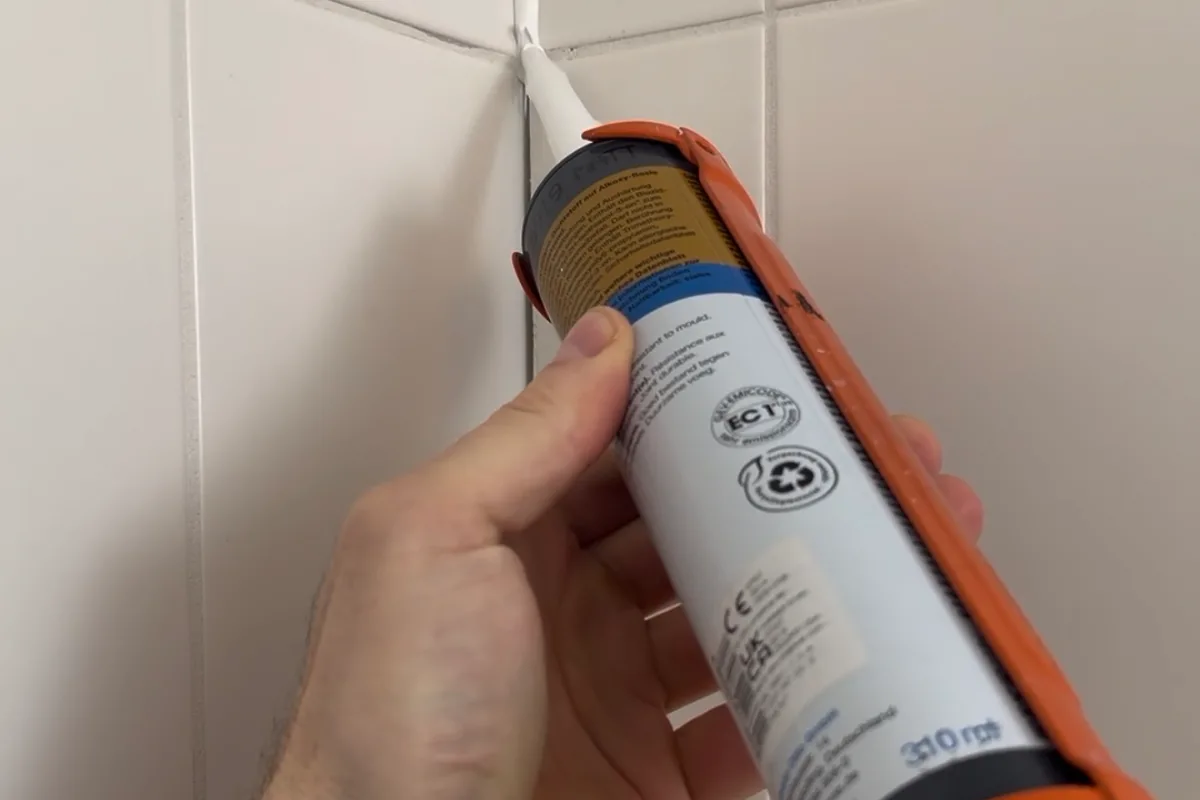
Can you paint silicone sealant?
Check that the specific sealant accepts paint and try the combination on an offcut. For a shower bead, choose the cartridge colour.
-
A gap between the skirting board and floor: should you fill it?
First decide whether it is a fixed trim joint or an expansion space for a floating floor. The two need different treatment.