
Choosing matt sealant for a concrete finish
Compare a cured sample against the floor in daylight. A glossy bead can stand out more than a slight difference in shade.
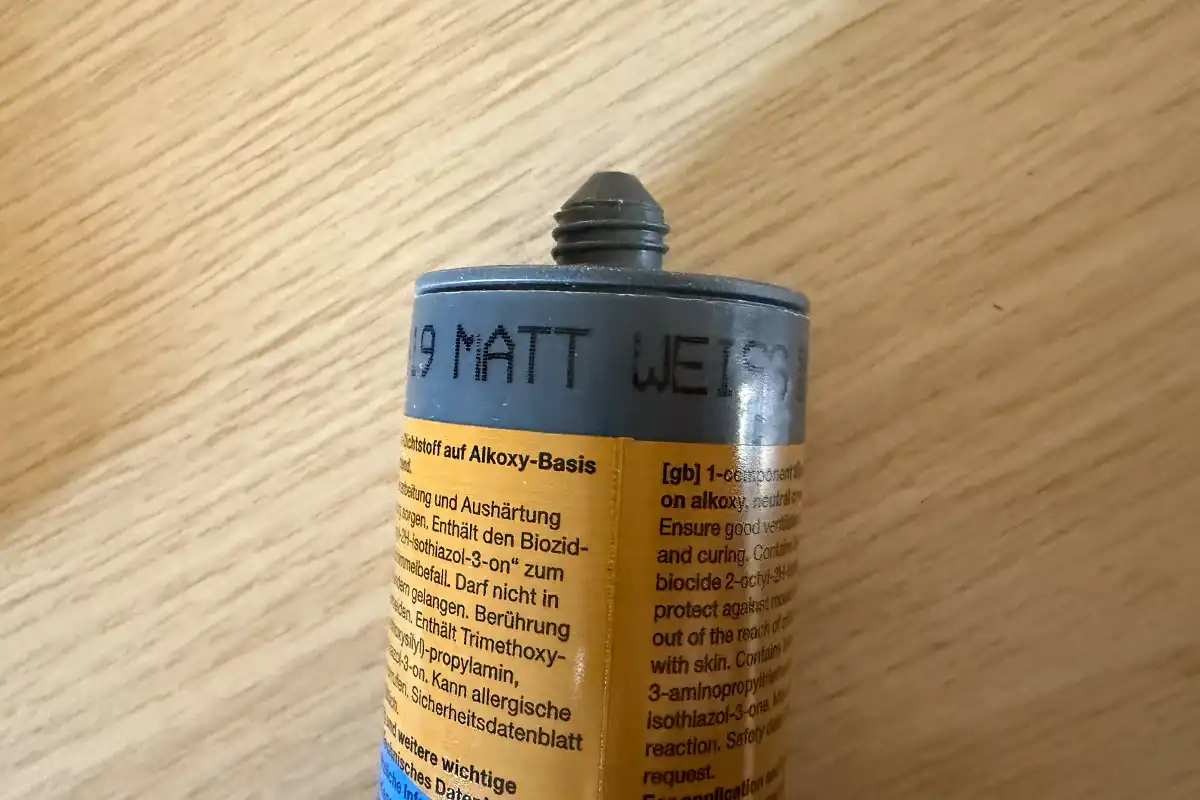
Matt surfaces want matt sanitary silicone and one clean tooling pass. Extra strokes polish the texture off and you get patchy gloss. High-gloss white tile is the exception: a matt bead can look dusty there.
Buying through a product link may earn us a commission at no extra cost to you.
Why a glossy bead stands out
Concrete-look tile, microcement, natural stone, matt-black taps: the room is quiet until someone runs a glossy sanitary bead around it. Standard silicone skins like a mirror. It throws light. Next to a matt face it reads as a wet plastic ribbon — liquorice next to steel, not a grout line.
Matt silicone (I use OTTOSEAL S105 when the design is matt) has a micro-texture after cure. Light scatters instead of bouncing. The joint sits closer to cement grout while still doing a wet-room job. The chemistry of elasticity and mould resistance is in the same family as a gloss sanitary silicone. The face is what changed.
If one edge is marble or natural stone, trial OTTOSEAL S70 on an offcut and check the tooling agent before touching the visible surface.
When matt, when gloss
Matt tile, microcement, poured floors, honed stone: matt silicone, colour matched to grout or a step darker than the quietest tone in the wall.
Matt-black taps and profiles: matt black, not gloss black. Gloss black shouts.
Traditional high-gloss white ceramic: ordinary gloss sanitary. Matt on a mirror tile looks like dust in the line.
Hold the fan in the bathroom light. “Black” on a screen is not the cartridge in your hand.
Where the detail calls for sanitary silicone on two compatible surfaces, consider OTTOSEAL S100. Porous stone needs a stone-compatible product.
One pass. Then hands off.
The trap is tooling. On gloss silicone you can fuss with the spatula. On matt, each extra stroke polishes the micro-texture. You burn gloss patches into a matt bead. Raking light shows a blotchy joint. I call it one-touch: gun a continuous ribbon, tool once with a clean profile, do not finger it again. A fingerprint on fresh matt is a shiny island.
Degrease properly. Uneven dirt under matt shows as uneven sheen. Use a decent gun so the flow does not stop and start. Tooling liquid without gloss additives; a soapy mix that leaves a film can flatten the matt.
Before opening the cartridge, try the Presch silicone gun in the tightest corner. Check you can turn your wrist and release pressure at the end of the run.
Living with it
The same micro-texture holds a little more limescale and soap than a glass-smooth bead. Mild soap, soft cloth, no scourer. Abrasive pads ruin the matt the way over-tooling did on day one. Limescale can show sooner on matt; aggressive descalers can attack the finish. Neutral cleaner, rinse, dry.
You cannot put matt over gloss residue. Strip fully, then start.
Dry-fit the FUGENFUX profiling tool. Choose the edge that meets both sides without scooping out the middle, then tool the bead before a skin forms.
Tools and materials for this job
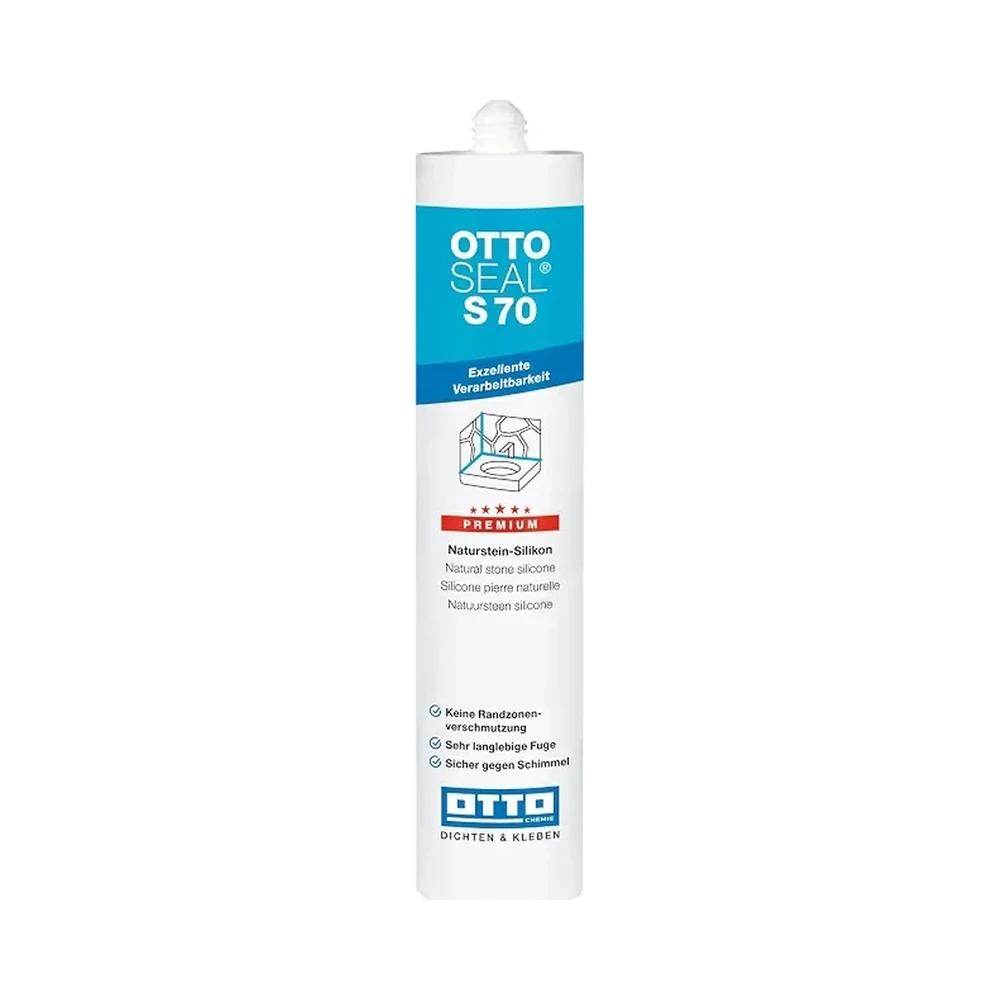
OTTOSEAL S70
For compatible natural stone. Test colour and finish on an offcut.
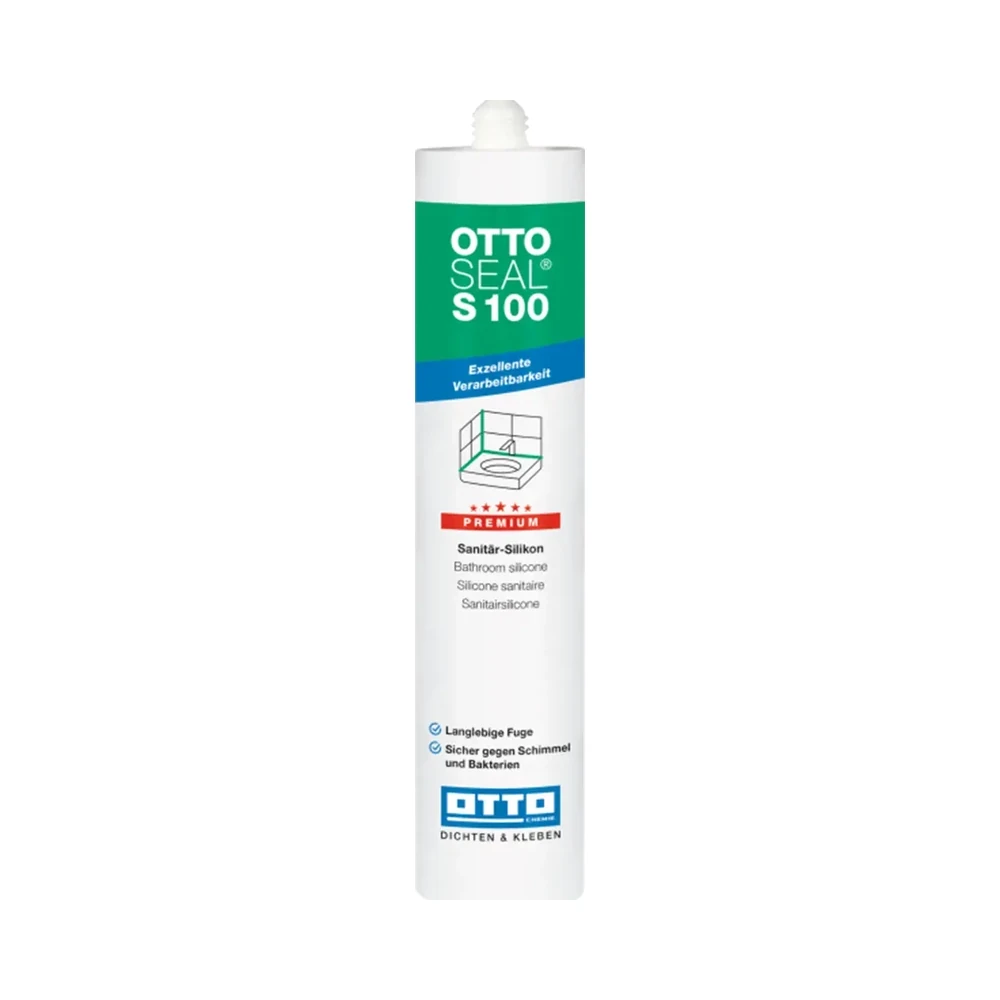
OTTOSEAL S100
Sanitary silicone for compatible surfaces. Check both edges before opening the cartridge.

Presch silicone gun
Manual cartridge gun. Check you can release pressure in the last centimetre.

FUGENFUX
Profiling tool. Dry-fit the edge that reaches both sides of the joint.
Exceptions
If you have never tooled a joint, matt is unforgiving. Practise on an offcut, or accept gloss on a gloss tile. Active leaks and moving trays are still support and water-path jobs; a matt colour will not save them.
-
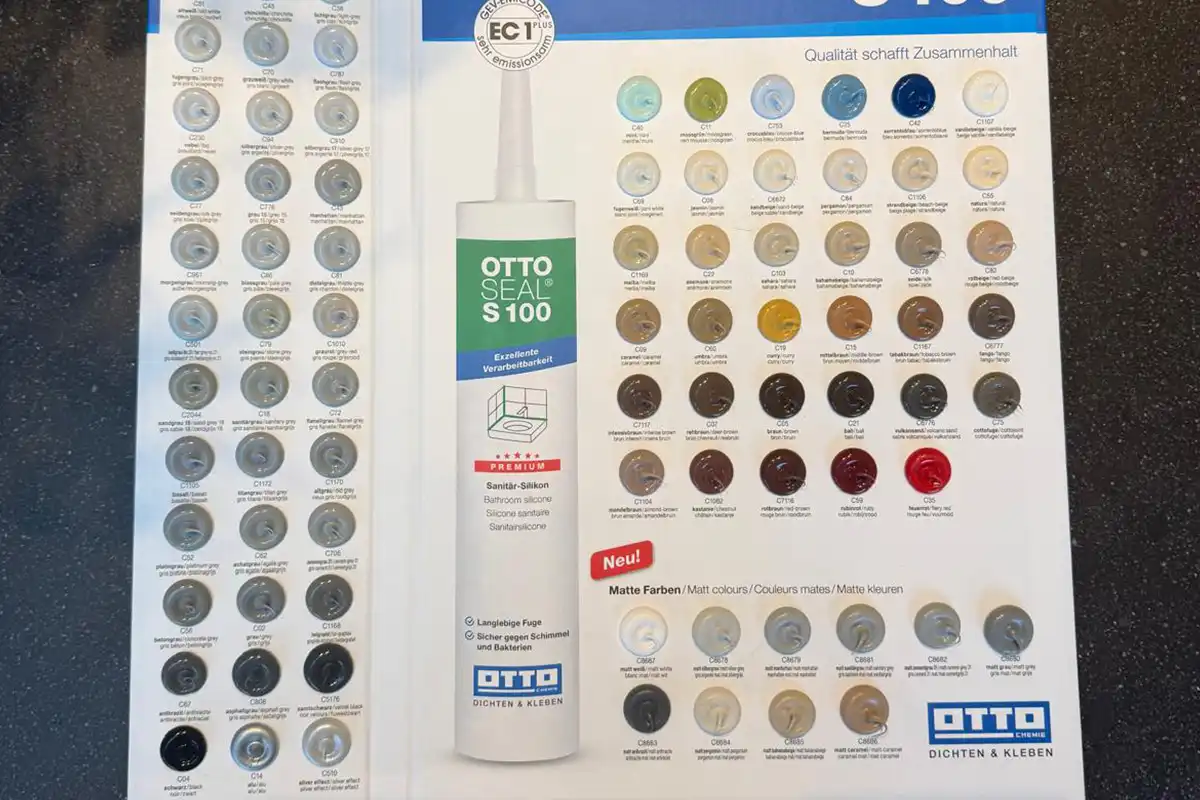
How to choose a sealant colour
Hold a cured sample against both the grout and the tile. Check it in daylight before choosing white, grey or translucent.
-
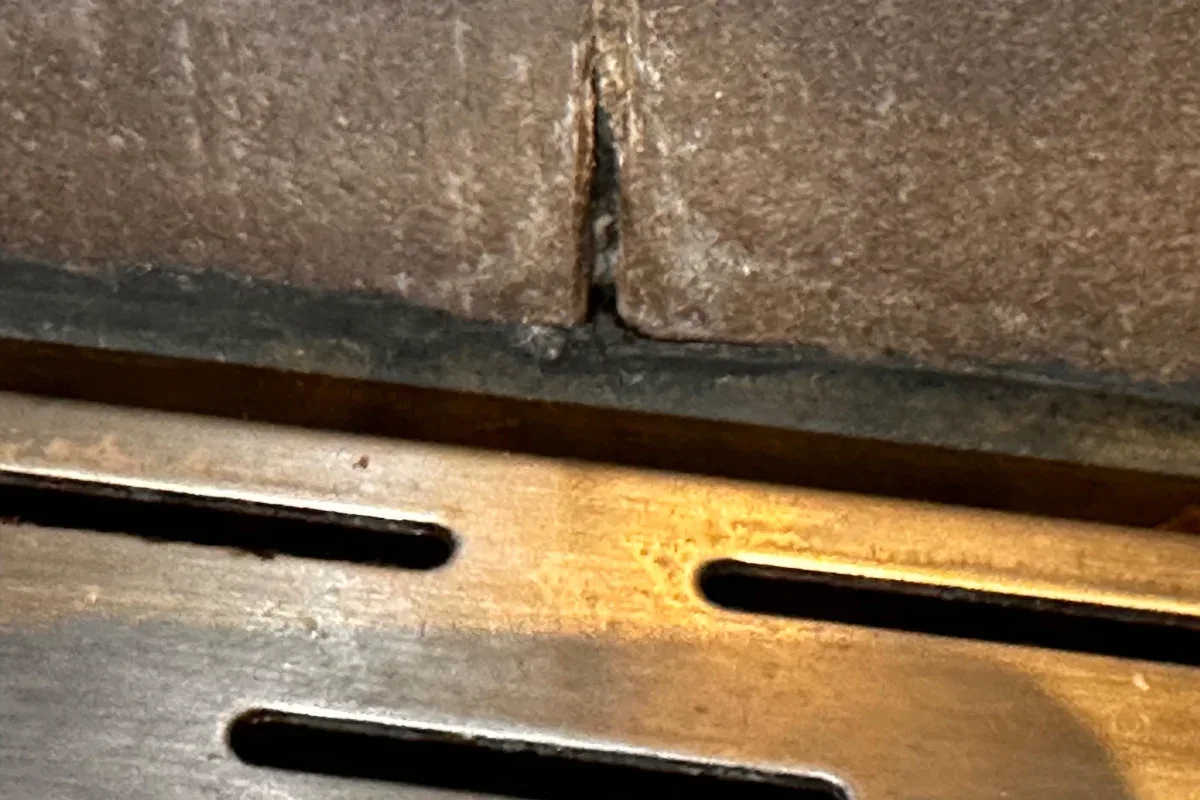
Why is a sealant bead hollow or ragged?
Look along the bead. Voids and torn edges can point to interrupted application or smoothing after a skin formed.
-
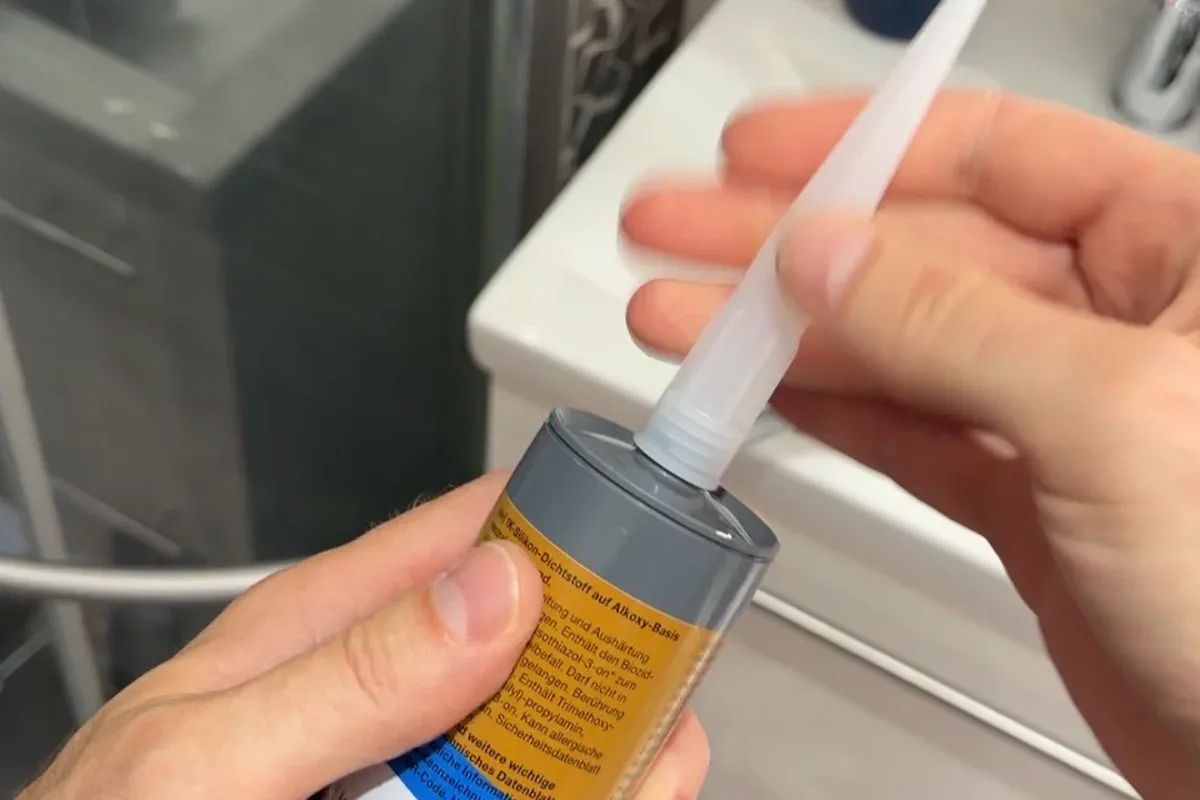
What to check when a shower tray moves
Check the support and movement under load before stripping out sealant. A new bead cannot stabilise the tray.