
Preparing a surface for sealant adhesion
Remove loose material, then check the cleaner and any primer against the actual surface.

A bead that peels off clean is an adhesion failure: film, moisture or residue on the substrate. Degrease with a technical cleaner. Primer is not the same product — use it when that substrate needs it.
Buying through a product link may earn us a commission at no extra cost to you.
What gives way: the edge or the body?
Cohesion is the sealant holding itself together. If the bead tears through the middle, the mass failed — often age, the wrong joint shape, or movement the joint was never sized for.
Adhesion is the bond to the substrate. If you can pull the bead off and the back is still smooth and the tile looks unused, there was almost no bond. The polymers never keyed into the face.
The second failure is nearly always preparation: an invisible greasy film, a damp face, old silicone residue, or a skipped primer on a porous material.
If the specified primer calls for a Brush with handle, use a clean one and treat only the surfaces listed on the sheet. Keep a used applicator out of the container.
Real cleaning
Glass spray, washing-up liquid and white spirit often leave a film (shine agents, oils). That film blocks chemical grip. Use a technical degreaser suited to the substrate — typically an isopropanol-type cleaner sold for sealant work — wipe with a lint-free cloth, and let it dry until the cloth drags, not slides.
A prep cleaner and a bonding primer are not interchangeable. One strips contamination. The other builds a bridge on a porous or difficult face. Do not swap them because the names sound similar.
Do not seal a face that still feels damp. Moisture breaks adhesion immediately.
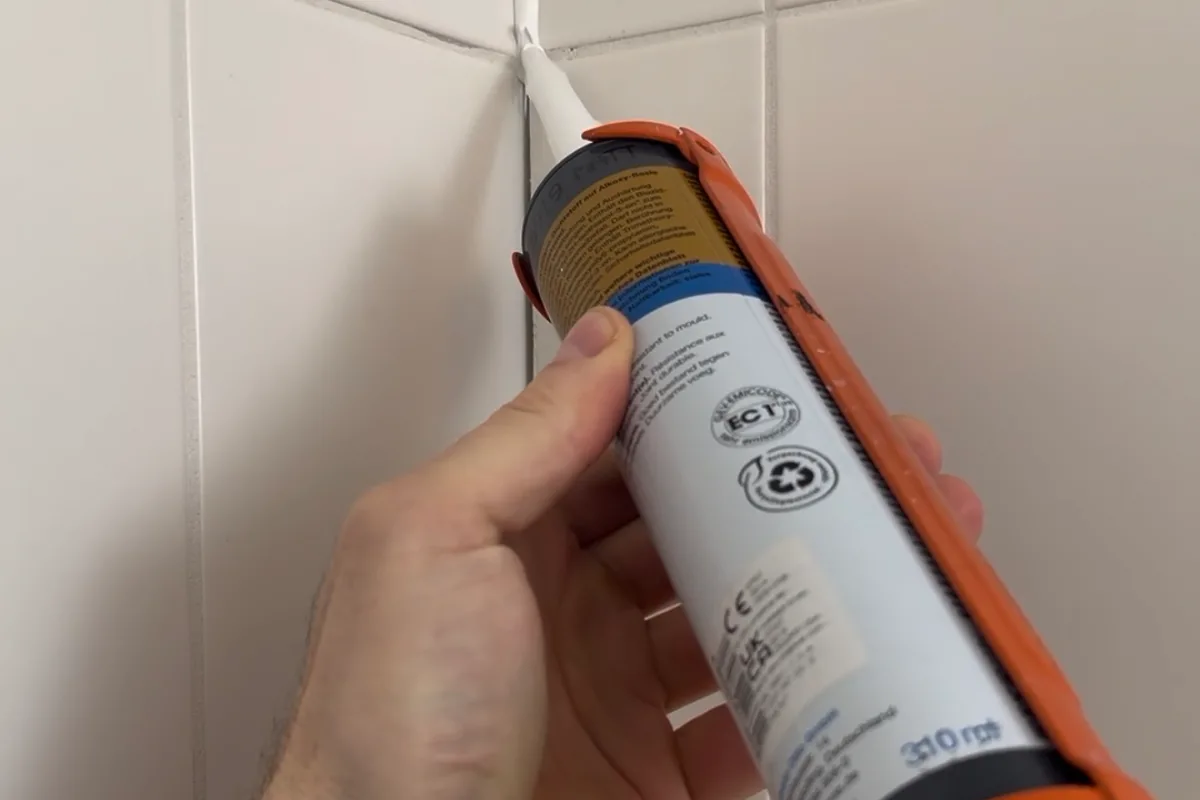
Before opening the cartridge, try the Presch silicone gun in the tightest corner. Check you can turn your wrist and release pressure at the end of the run.
When primer, when not
- Porous (concrete, many natural stones, wood): primer is often required so the substrate does not suck oils from the silicone and so the bond has something to key to. Which primer is a product decision — follow the silicone you are using.
- Dense, dry glass or glazed tile: thorough technical cleaning is usually enough; primer only if that system asks for it.
- Acrylic or some plastics: a light mechanical key plus the cleaner and primer named for that plastic. Smooth PE/PP is a special case; sealant can sit as beads instead of wetting the face.
- Old silicone: full mechanical removal. New silicone does not bond reliably to a cured silicone film.
I use a sanitary silicone such as OTTOSEAL S100 on a clean shower tile. That does not make household cleaner “good enough”.
Use Cleanprimer 1101 only where the manufacturer’s primer table specifies it for that sealant and non-porous substrate. Observe the flash-off time. It is not a household cleaner or stain remover.
Common mistakes
- Degreasing with a product that leaves a glossy film.
- Priming the wrong face, or skipping primer on stone.
- Tooling so fast the bead never wets the flanks — it sits on the surface instead of being pressed in.
- Perfect cleaning on a tray that still moves, or a joint bonded on three faces. Geometry still wins.
Dry-fit the FUGENFUX profiling tool. Choose the edge that meets both sides without scooping out the middle, then tool the bead before a skin forms.
Tools and materials for this job
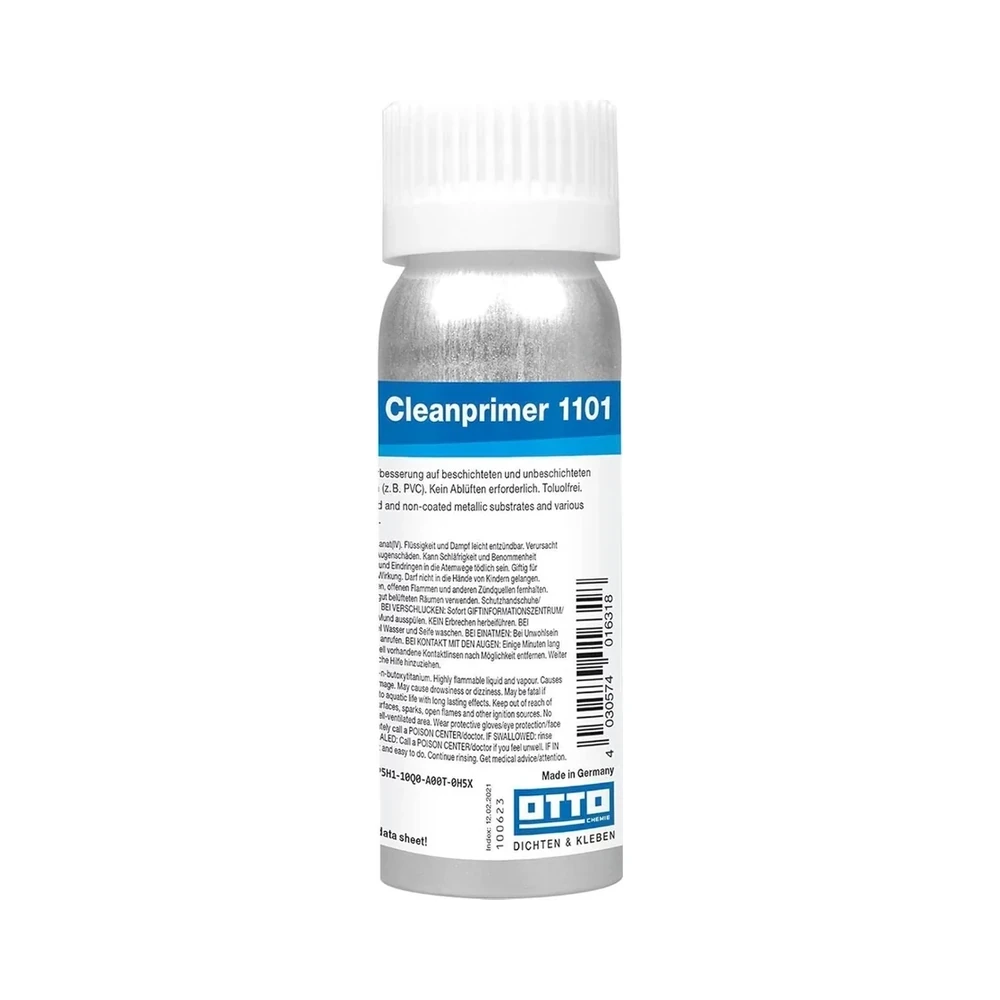
Cleanprimer 1101
Pretreatment for specified non-porous substrates; consult the primer table.
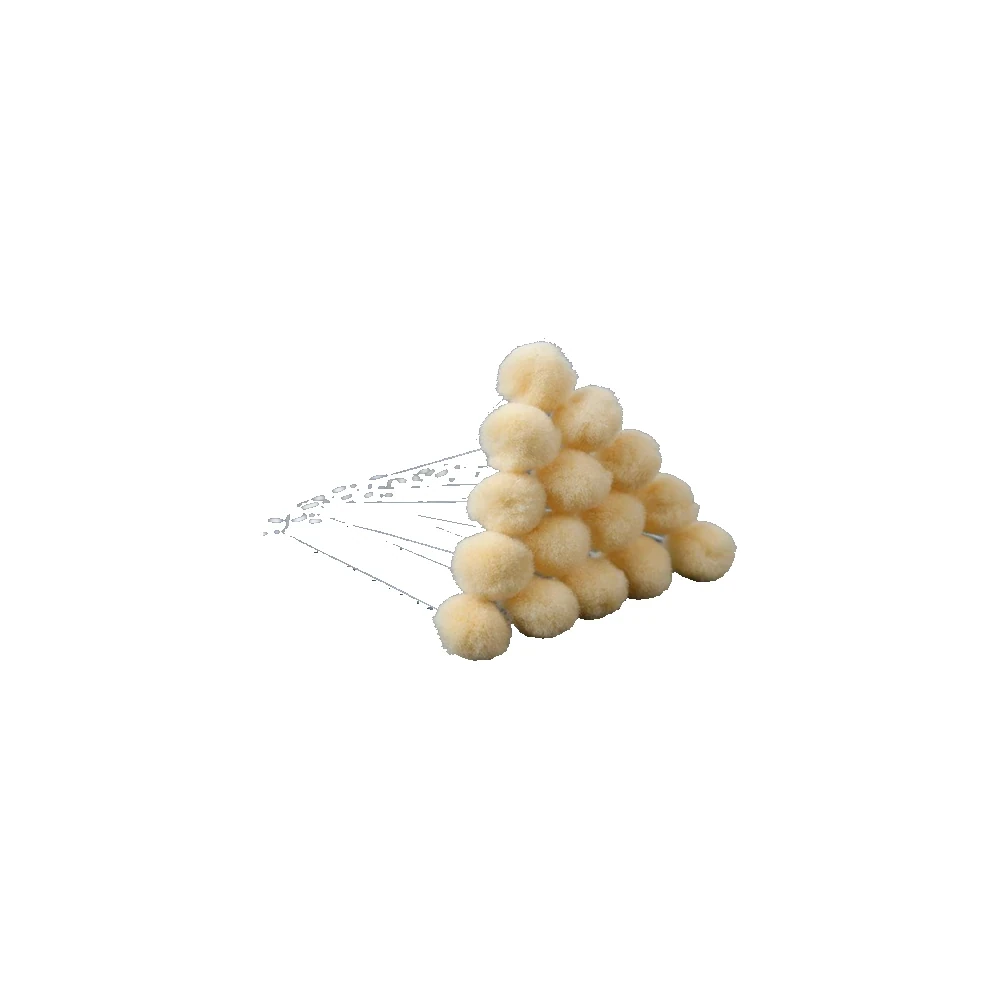
Brush with handle
A clean applicator for a primer specified by the product sheet.

Presch silicone gun
Manual cartridge gun. Check you can release pressure in the last centimetre.

FUGENFUX
Profiling tool. Dry-fit the edge that reaches both sides of the joint.
Exceptions
A moving shower tray and three-sided adhesion fail even with laboratory-clean flanks. Stabilise the tray and set the joint shape first.
-
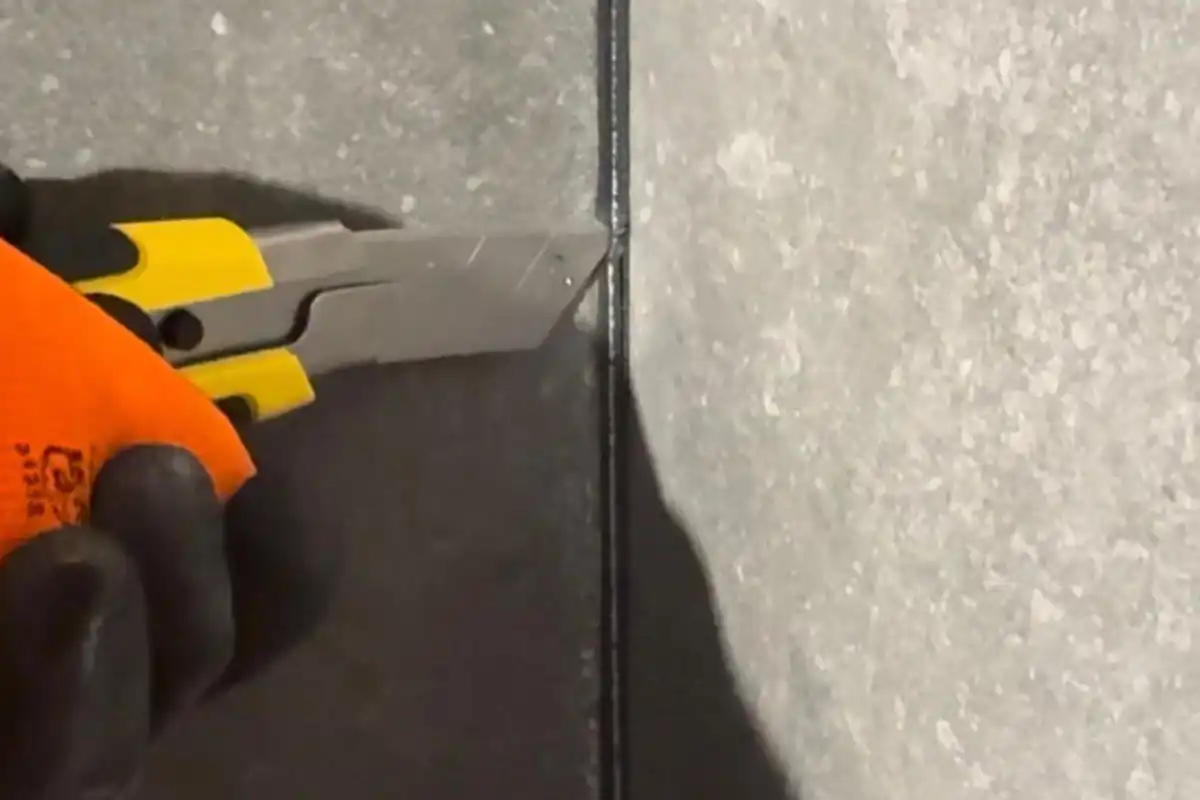
How to remove old silicone without damaging the surface
For a replacement joint, remove the bead and residue from both sides. A smear on glass or fabric calls for a different method.
-
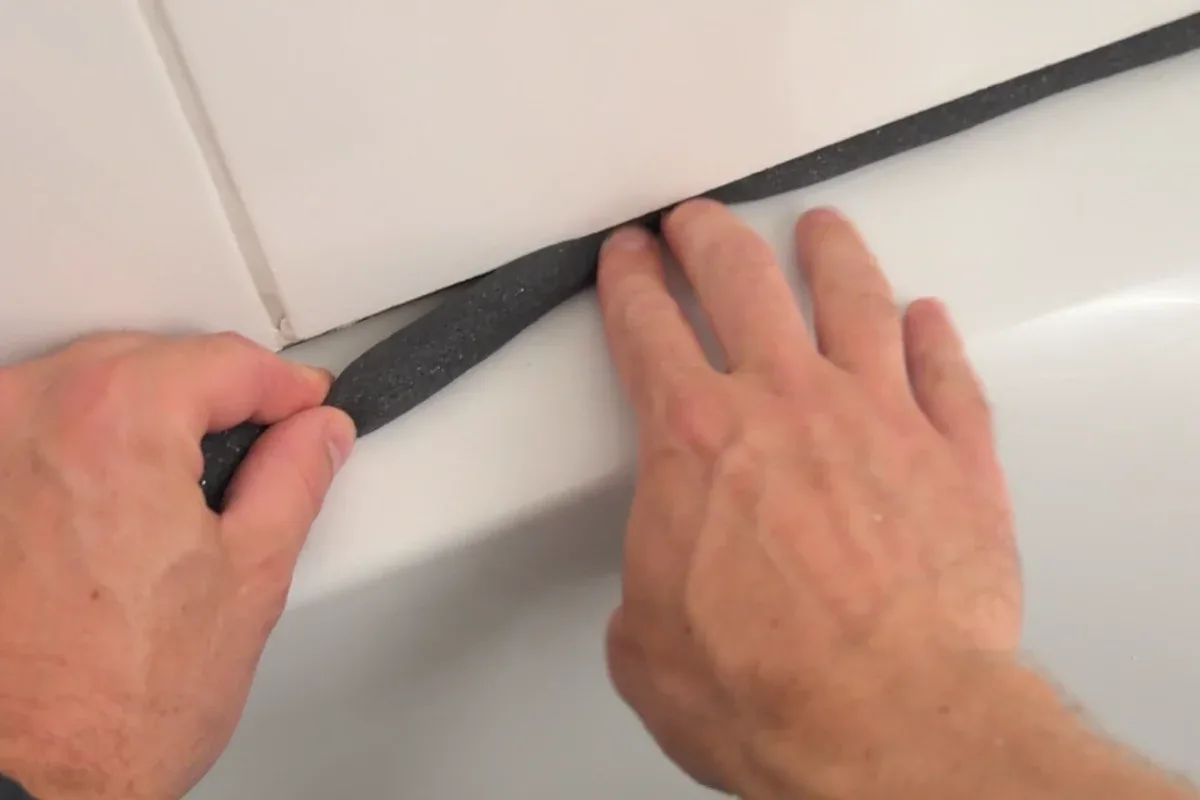
When to use backer rod
A PE backing rod controls bead depth and separates the sealant from the base. Measure the joint before choosing its diameter.
-
Can you paint silicone sealant?
Check that the specific sealant accepts paint and try the combination on an offcut. For a shower bead, choose the cartridge colour.