
Sealant joints with underfloor heating
Identify the floor system’s joints and expected temperature changes. Preserve the movement the installation requires.
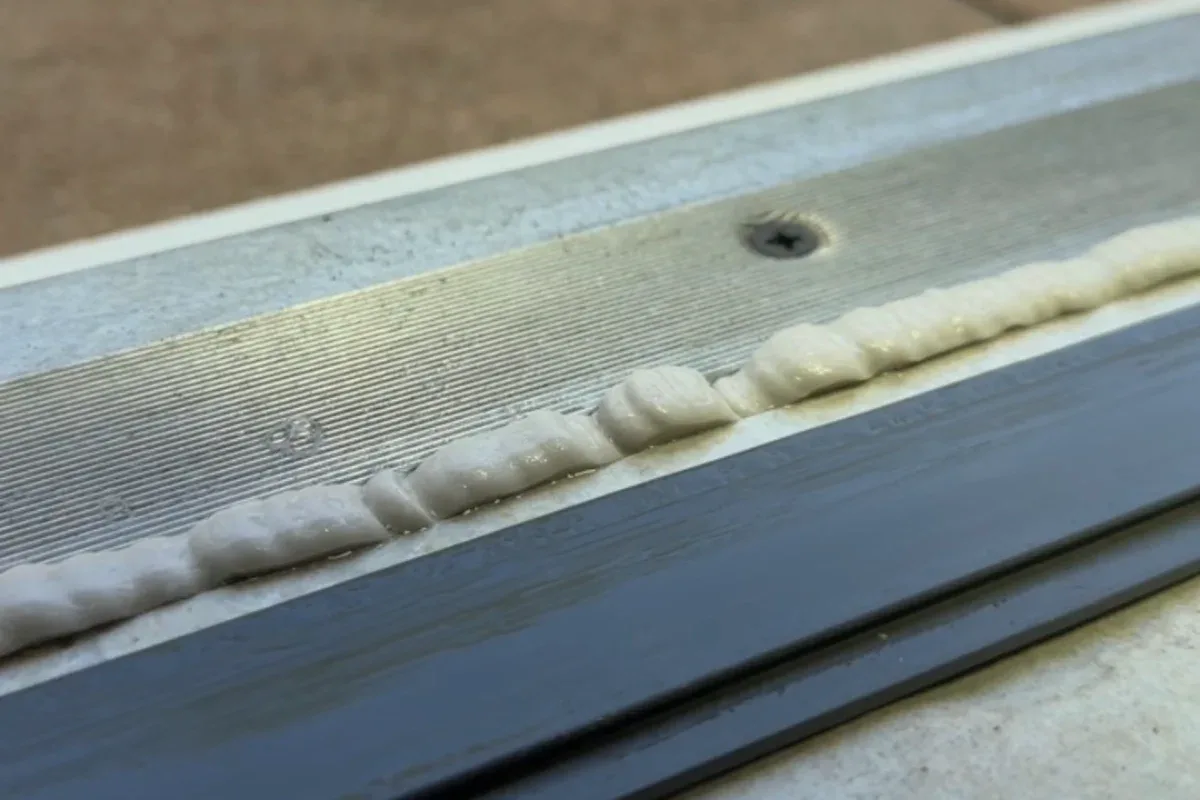
Switch the underfloor heating off at least 24 hours before, seal cold (about 15–20 °C), wait for cure, then ramp slowly. A hot floor is not a hairdryer for silicone.
Buying through a product link may earn us a commission at no extra cost to you.
Working temperature and floor movement
Yes: underfloor heating goes off before you seal and stays off while it cures. A warm slab is expanded. You lock the joint in that geometry. As it cools, the floor shrinks and pulls. Cohesive failure (the bead tears) or adhesive failure (it lets go of the tile or the skirting).
Heat from below also speeds skin formation. In minutes you have a stiff film: you cannot tool cleanly and the flank does not wet. Above about 25 °C on the substrate, I do not seal. 15–20 °C is the comfortable range.
People think a warm floor “dries it faster”. The opposite: it wrecks the chemistry and the geometry.
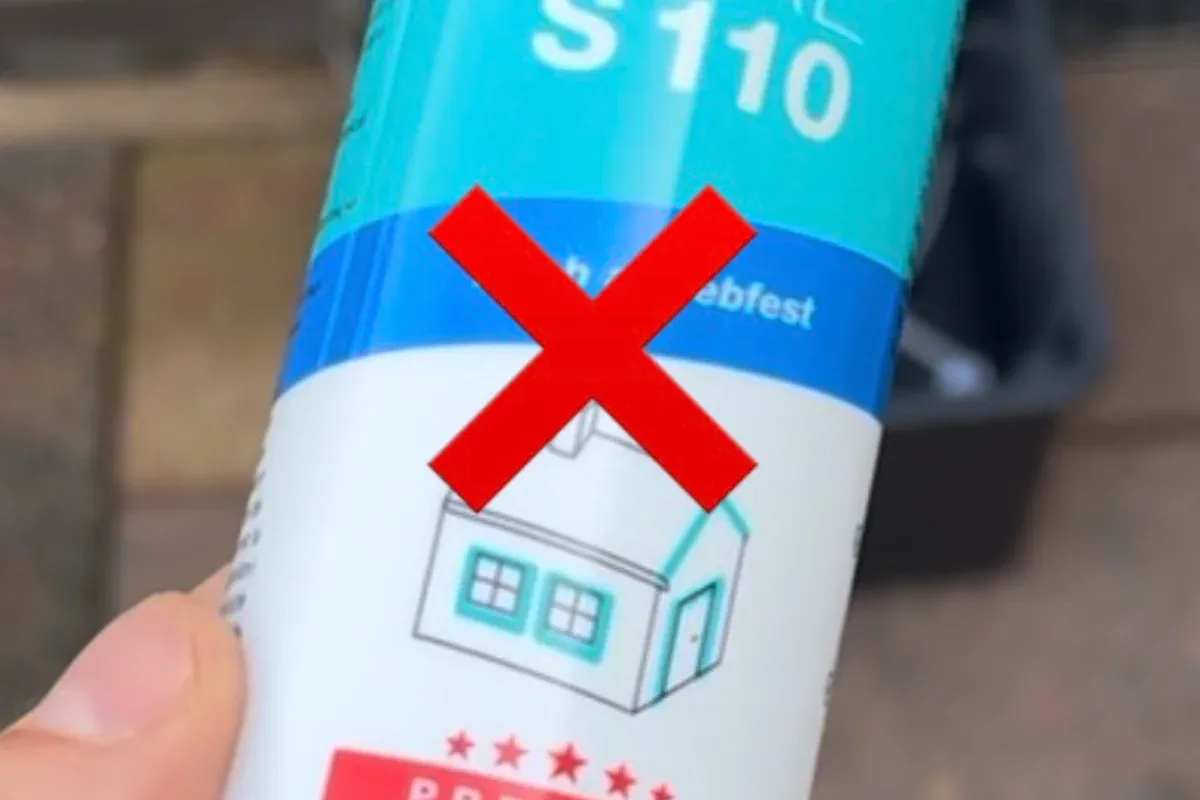
For a compatible floor covering, consider OTTOSEAL S125 only where the floor manufacturer permits an elastic joint. Keep required expansion clearances free.
When to seal — and when not
Off 24 to 48 hours before if you are doing movement joints, perimeters, bathroom meetings or the skirting edge on a heated slab.
Back on 24 to 48 hours after, and slowly — a usual habit is not more than about 5 °C a day. Thickness and product decide; silicone cures on the order of a few millimetres a day at room temperature.
Do not seal if the floor still feels warm, or while the temperature is rising or falling. Movement in the fresh bead distorts the mass.
The same for skirtings: that joint takes the floor’s expansion. Seal it hot and it splits as the slab cools.
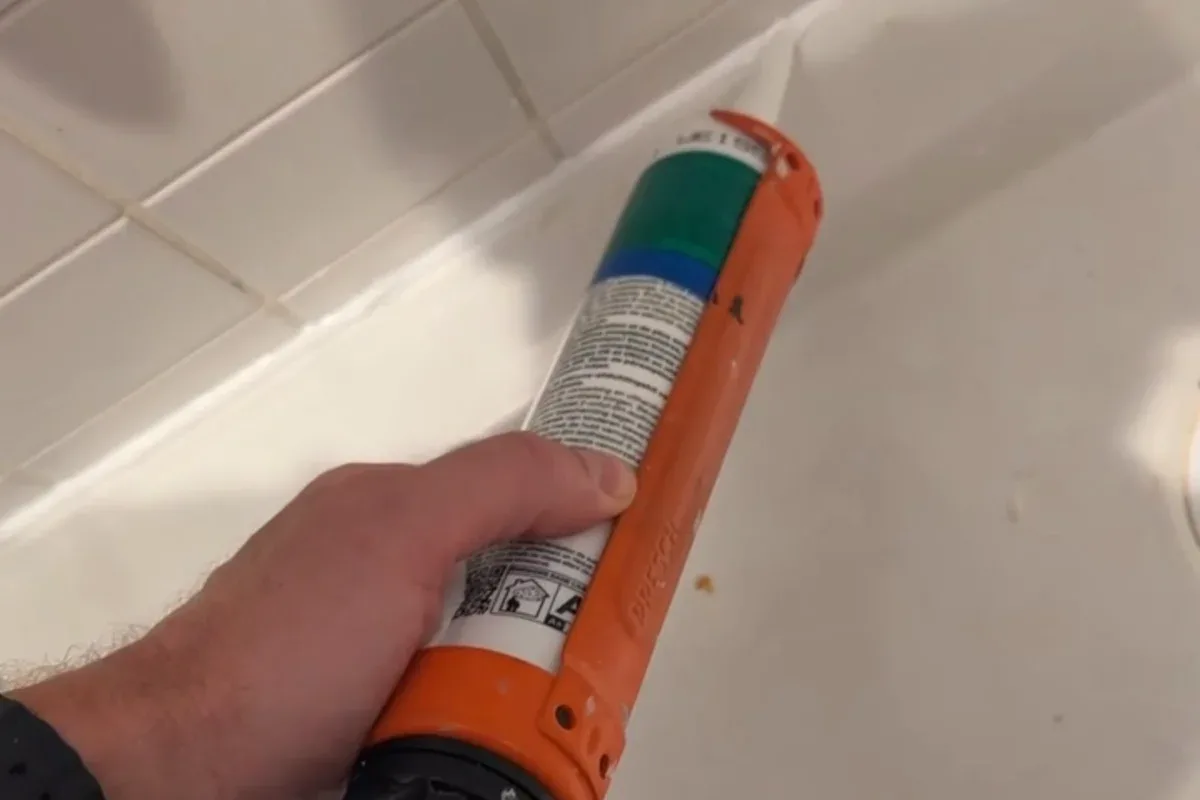
Before opening the cartridge, try the Presch silicone gun in the tightest corner. Check you can turn your wrist and release pressure at the end of the run.
How I do it
- Heating off in good time. Check the floor is at room temperature.
- Clean, strip residue, degrease the flanks.
- Closed-cell PE backer rod in deep joints: without it, three-sided adhesion, and the floor tears the bead as it works.
- Primer on very absorbent mineral, if needed.
- Neutral silicone or an elastic hybrid with decent movement capacity (typical classes around 25 % — a product class, not a promise for that joint). On natural stone, a stone silicone, or it stains.
- Tool at once. Let it cure at a stable temperature. Then the ramp protocol, not the thermostat on full.
Dry-fit the FUGENFUX profiling tool. Choose the edge that meets both sides without scooping out the middle, then tool the bead before a skin forms.
Common mistakes
Sealing on a hot slab (fast skin, wrinkles, bubbles). Full power the next day. Stone floor with acetoxy “shower” silicone. Deep perimeter void without Backer rod.
Tools and materials for this job
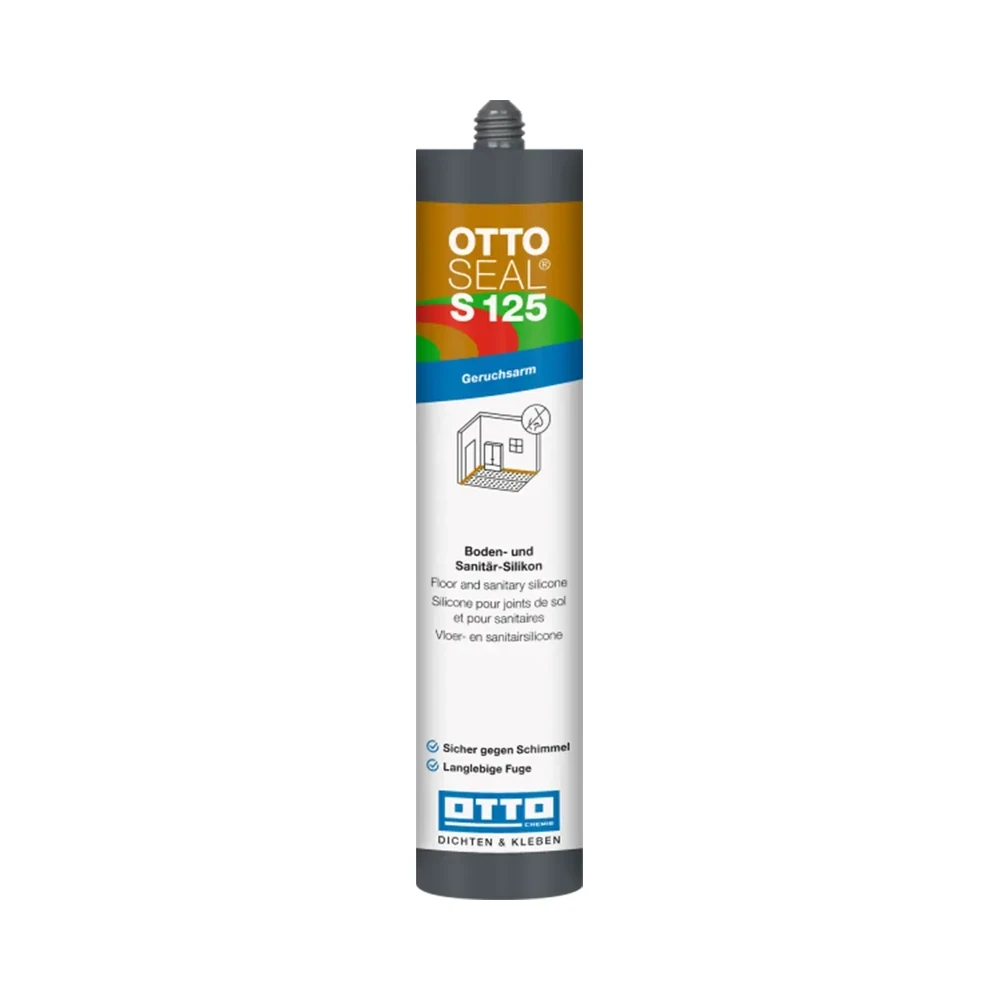
OTTOSEAL S125
For a compatible floor joint where sealing is allowed. This is the sealant, not a colour chart.
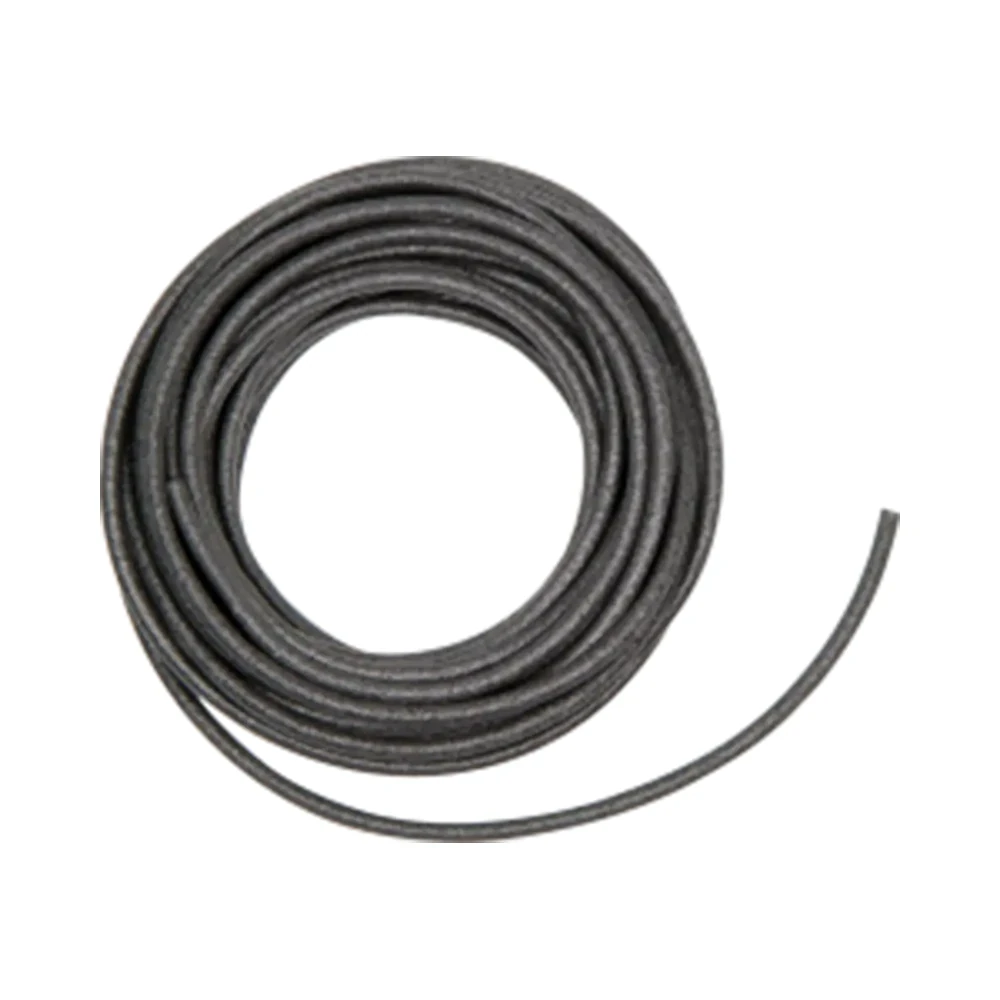
Backer rod
For depth control where specified. Choose the diameter to suit the measured width.

Presch silicone gun
Manual cartridge gun. Check you can release pressure in the last centimetre.

FUGENFUX
Profiling tool. Dry-fit the edge that reaches both sides of the joint.
Exceptions
A loop that will not come down in temperature is not “fooled” by a fatter bead. A floor already cracked from a bad first heat-up is a protocol problem, not a silicone colour.
-
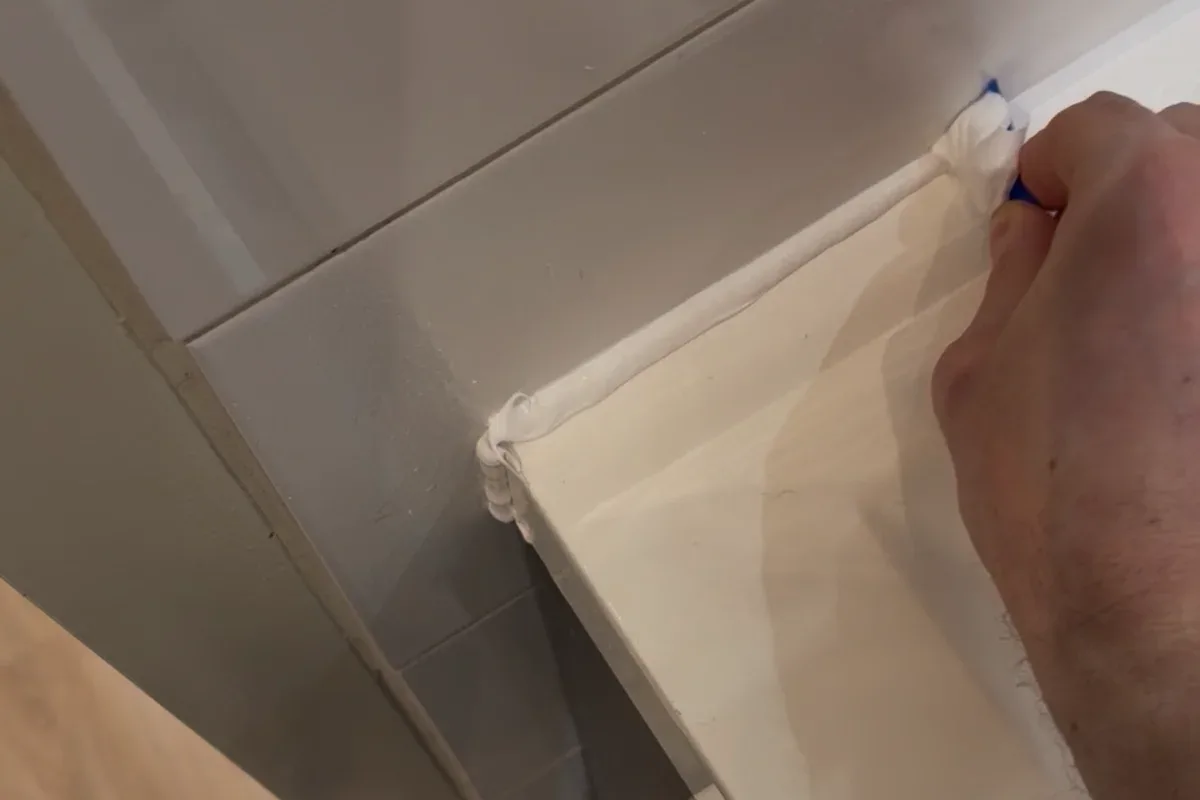
Movement joints in a tiled floor
Trace the joint and identify how the floor system allows movement. Rigid filler can crack again as the floor moves.
-
When to leave a joint open
Identify moving parts, drainage openings and water arriving from behind. Each needs a different decision.
-
Why sealant needs two-sided adhesion
Look at a cross-section. The sides hold the bead. A third bond at the base restricts the material that can stretch.