
How to seal a sink to a worktop
Dry the cabinet and locate the first drop. If it comes from the trap or waste fitting, resealing the rim will not stop it.
Inset: a joint on the top flange, against the worktop. Undermount: mainly underneath, between flange and cut edge. Swollen chipboard is not rebuilt with paste.
Buying through a product link may earn us a commission at no extra cost to you.
Tracing water under the sink
A kitchen lives with fat, washing-up and almost constant moisture. An elastic, neutral bead that copes with cleaners — OTTOSEAL S100 here, or a stone silicone if the worktop stains — is not “any bathroom tube”.
Inset (the sink sits on top): the critical joint is the top flange against the worktop. Miss it and water creeps between flange and cut edge.
Undermount: the joint that saves the core is underneath, between the bowl flange and the underside of the board. A pretty bead on top and nothing below leaves chipboard open to the washing-up. The edge swells, rots and the bowl lets go.
The visible line alone is not enough. And if the cut-out is already rotten or soft, I do not rebuild it with silicone: worktop or timber repair first.
Before opening the cartridge, try the Presch silicone gun in the tightest corner. Check you can turn your wrist and release pressure at the end of the run.
How I do it
- Cut out all the old sealant, without wrecking the edge.
- Degrease, dry, dust-free. In a kitchen the flank is often greasy: skip the degrease and you get no adhesion.
- Primer only if that substrate needs it (some stone, porous timber).
- Undermount: a continuous bead underneath, pressed home. Inset: geometry on the top flange.
- Tool at once. Keep water off for a day or two, depending on depth and product; that is not a universal timer.
If the meeting is deep, backer rod or bond-breaker tape: three-sided adhesion kills the stretch.
Use Cleanprimer 1101 only where the manufacturer’s primer table specifies it for that sealant and non-porous substrate. Observe the flash-off time. It is not a household cleaner or stain remover.
Mistakes I see
Forgetting the undermount. Sealing onto grease or wet. Gun fresh silicone over the old. Aggressive kitchen cleaners on a fresh joint.
Natural stone: stone chemistry, or you get a halo on the edge.
If one edge is marble or natural stone, trial OTTOSEAL S70 on an offcut and check the tooling agent before touching the visible surface.
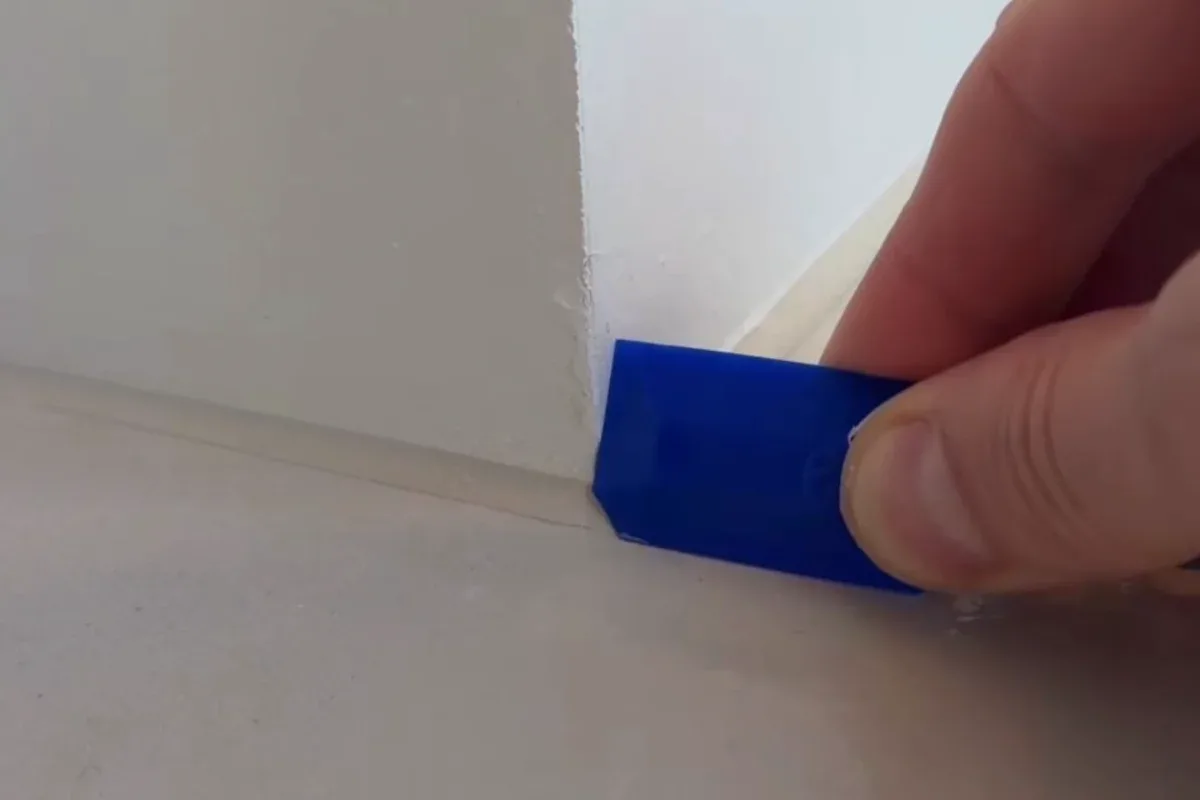
Dry-fit the FUGENFUX profiling tool. Choose the edge that meets both sides without scooping out the middle, then tool the bead before a skin forms.
Tools and materials for this job
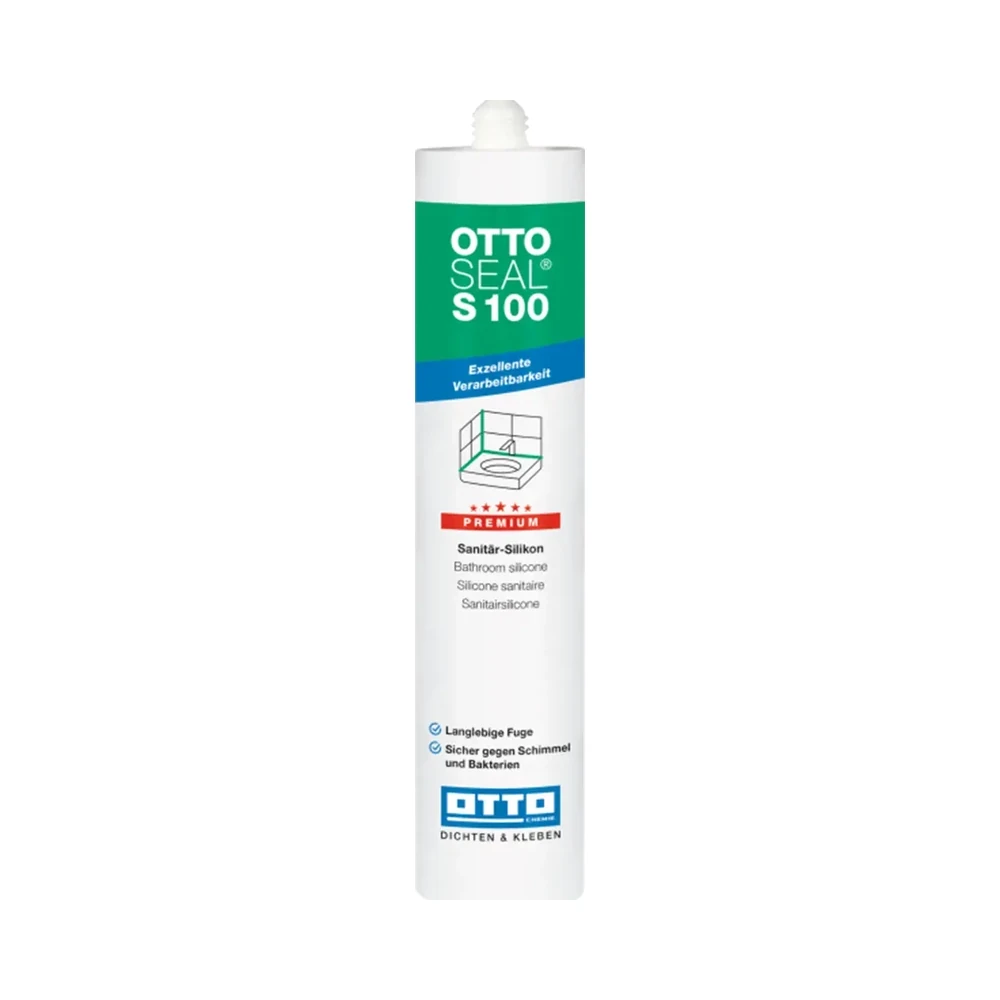
OTTOSEAL S100
Sanitary silicone for compatible surfaces. Check both edges before opening the cartridge.
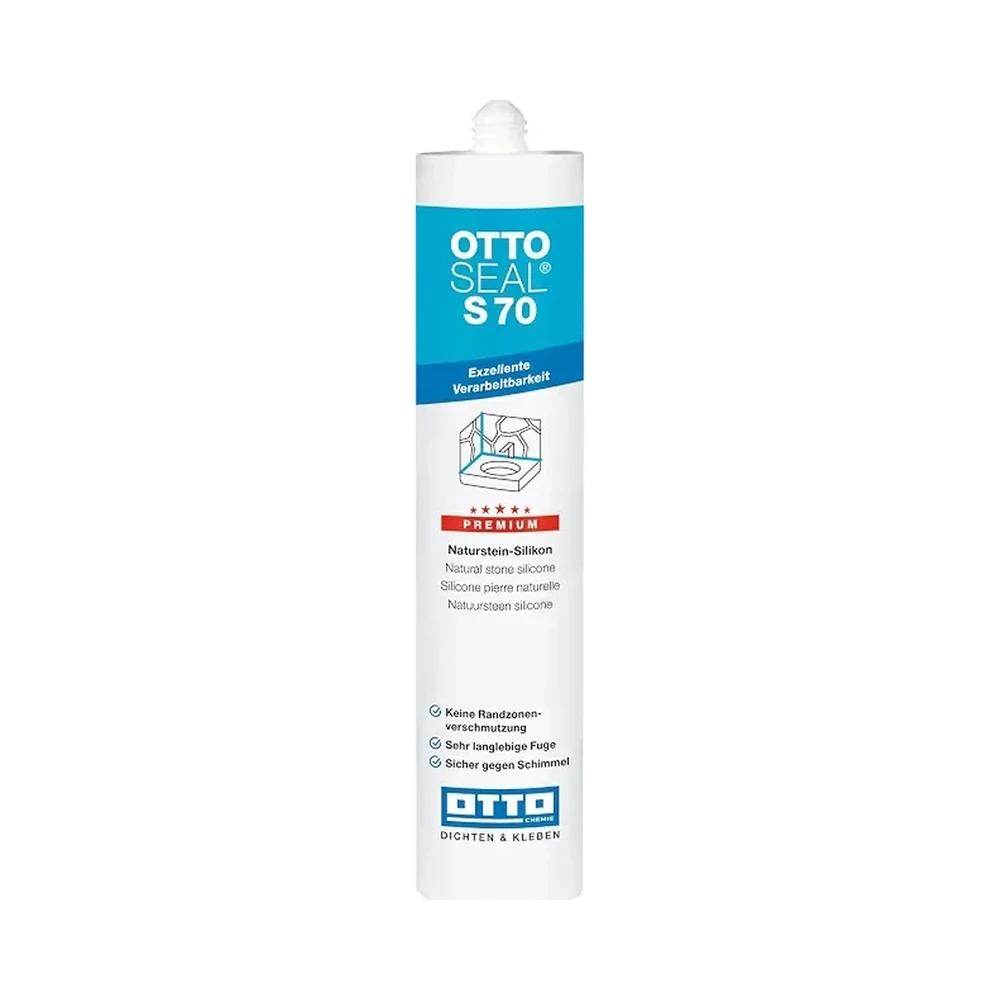
OTTOSEAL S70
For compatible natural stone. Test colour and finish on an offcut.
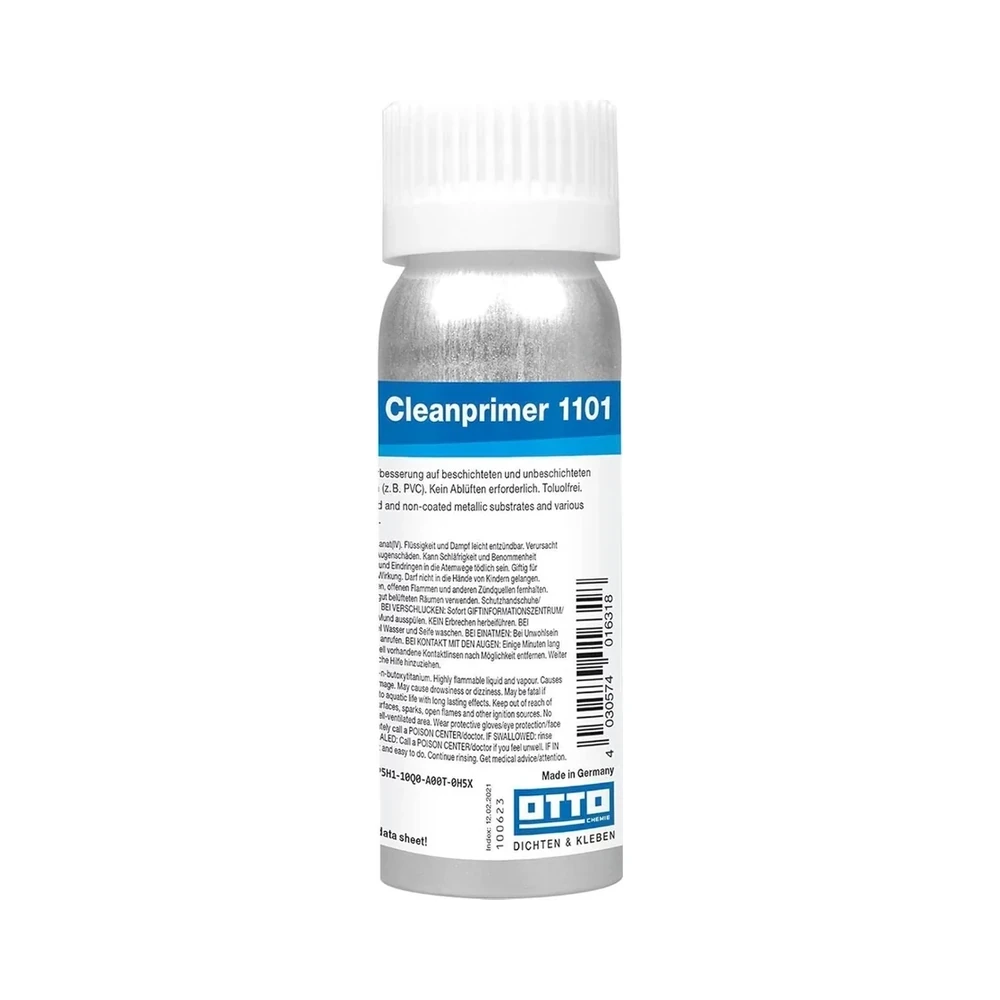
Cleanprimer 1101
Pretreatment for specified non-porous substrates; consult the primer table.

Presch silicone gun
Manual cartridge gun. Check you can release pressure in the last centimetre.

FUGENFUX
Profiling tool. Dry-fit the edge that reaches both sides of the joint.
Exceptions
A swollen core, a cut-out that will no longer take screws: joinery. A skinny undermount that was cut badly is not “filled” until the bowl actually sits.
-
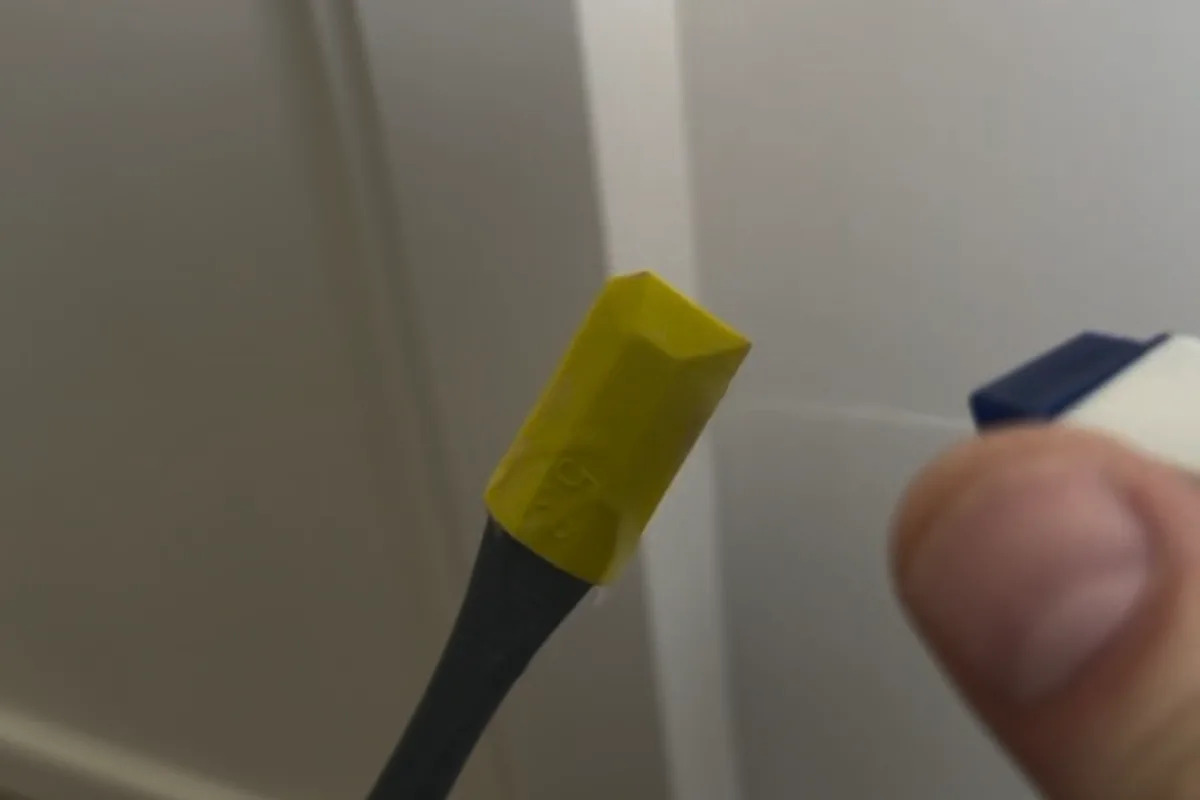
How to seal the worktop-to-wall joint
Identify the fixed edge and the worktop material. Check appliance instructions separately for a hob.
-

Preparing a surface for sealant adhesion
Remove loose material, then check the cleaner and any primer against the actual surface.
-
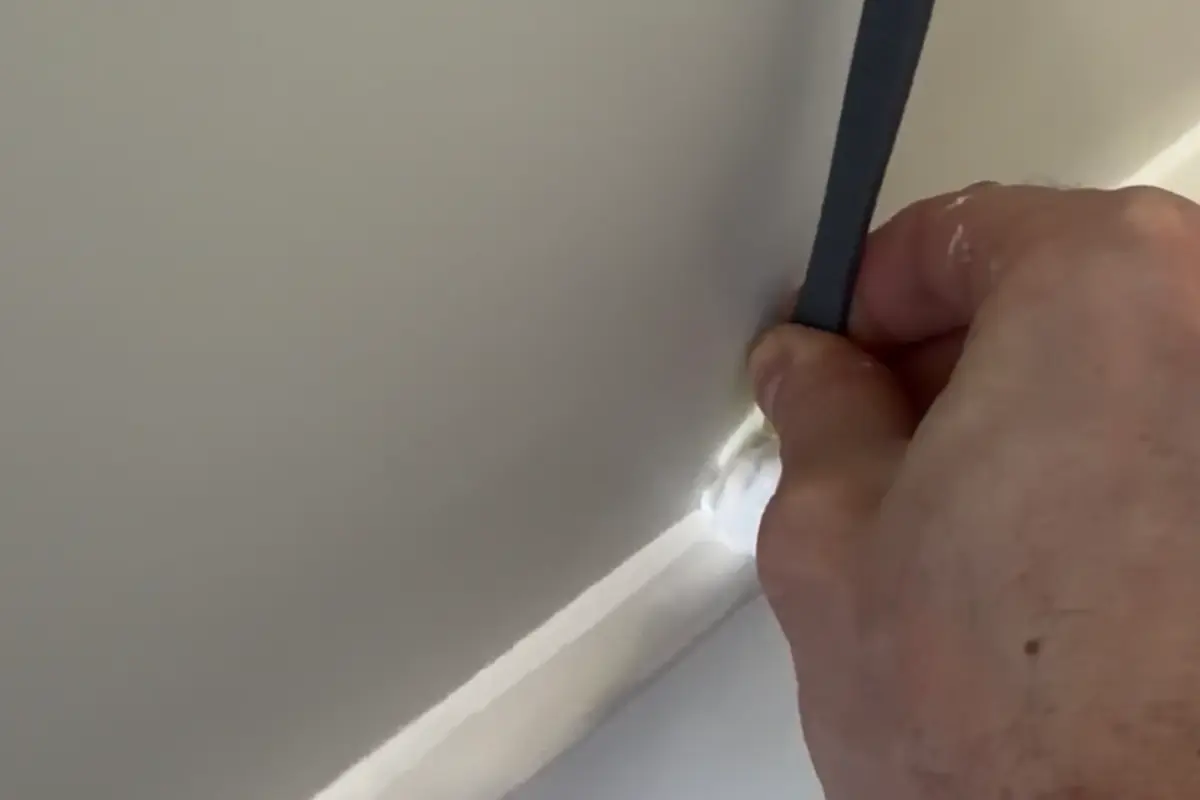
Which silicone is suitable for marble and natural stone?
Test the sealant and smoothing agent on the actual stone. Inspect the edges after curing before working on the visible piece.